- Home
- Papercraft Adhesives
- Altered Art 2
Altered Art 2
Written and Created by PaperCraftCentral Susan
In Altered Art 2 you can see how an ordinary matchbox is transformed into a special little gift box that I used in a papercraft swap.
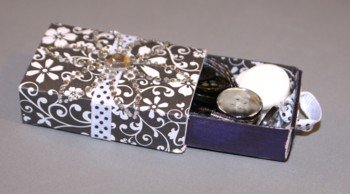
You may be surprised to find out how many items you can comfortably place inside such a little space. In my case, I took part in an altered matchbox swap where the theme needed to be black and white, and the items placed inside were also to be black and white scrapbooking embellishments.
You may find this same idea a useful one for placing special little gifts like jewelry inside. If you are planning on giving a gift of jewelry for Mother's Day, for example, why not alter a matchbox?
"Matchbox: a box for holding matches"
Wordnet
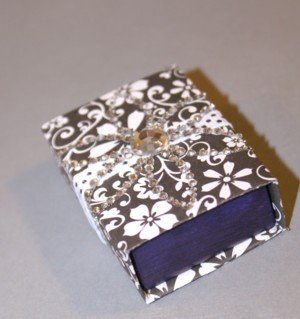
Decorated Matchbox Swap
In Altered Art 2 I am going to show you how to turn an ordinary little matchbox into a special gift box. There are other versions of gift box on this site but today it is all about changing boxes for holding matches into boxes for holding other little treasures.
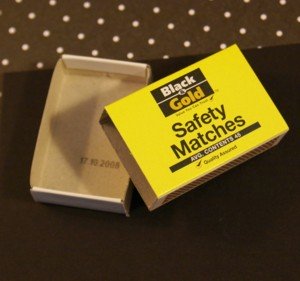
Altered Art 2 - Matchbox
You will need:
- An empty matchbox in good condition
- Some designer series paper
- Some embellishments such as bling shapes, ribbon, eyelets, ribbon, brads
- Papercraft tools such as a ruler, double-sided tape, scissors with good, sharp points, a pencil, a bone folder, some tweezers and an eyelet setter such as a Crop-a-dile
Here's what to do:
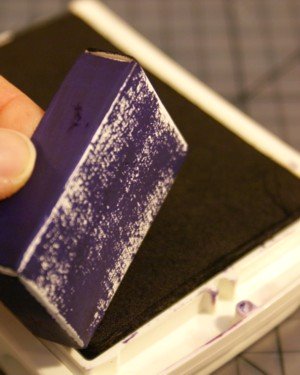
First decide what colour you would like the insert box to be. Mine was white but I decided I wanted it to be black, so I used an ink pad to change it's colour. I dragged it through the ink and used a sponge dauber to complete filling in any white spots left after that.
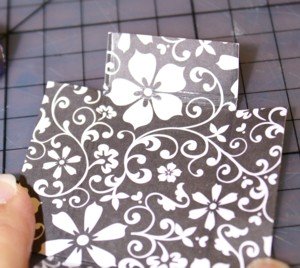
Next, decide which designer series paper you want to use on the matchbox sleeve. I was sticking with the black and white theme, so I chose a black and white flowered paper. Cut a piece that will go around the whole sleeve and still overlap at the back. Leave about 1/2cm (1/4") margin so you can fold the edges of the paper over the sleeve and make a nice finish.
Use your bone folder to score along each side of the box as you roll it over the designer series paper. This will help the paper fit to the box smoothly. Keep some tension on the paper as you roll it with the box to avoid having the finished covering be too loose.
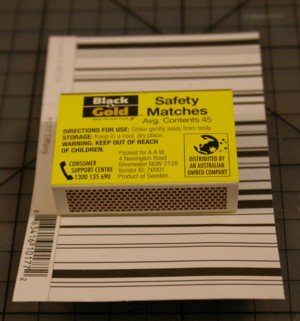
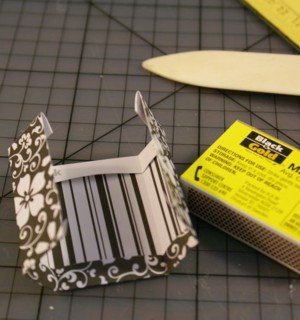
I then placed a length of double sided tape along the edges of my paper but did not remove the backing paper. I scored the paper to wrap neatly around the sleeve and sharpened the folds with my bone folder. I also scored, folded and creased the overlapping bits so they would fit neatly into the sleeve.
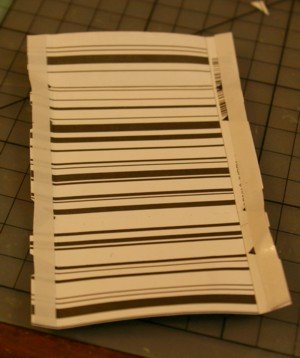
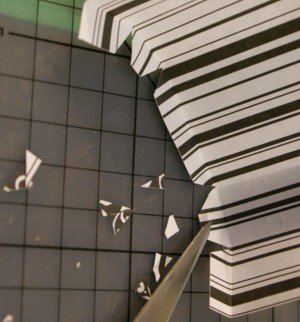
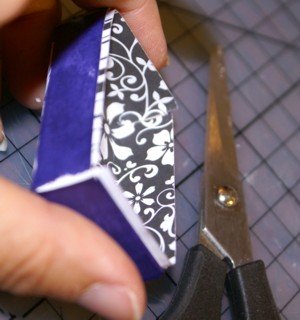
Then I cut notches in the borders where the creases in the sleeve coincided, so the folds would be neat and not bulky. If you are a sewer, you will have done this with fabric. The picture will show you what I mean about the notching:
After that I peeled away the backing paper from the double sided tape and folded the designer series paper around the wrapper, folding in the edges and making them fit firmly by using the bone folder.
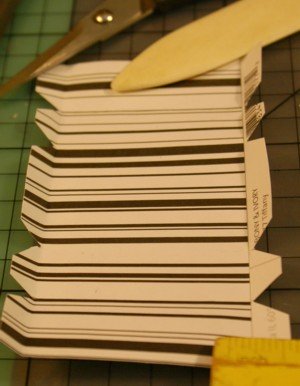
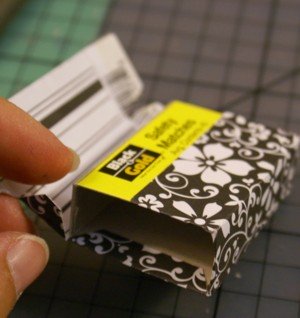
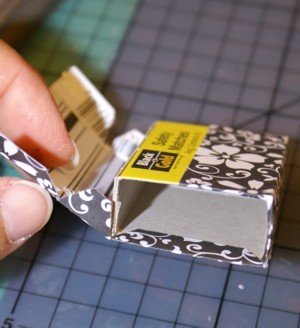
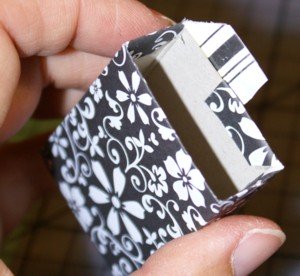
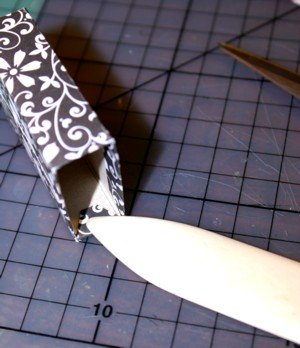
Still with me? Good! Let's continue on to Part 2 of Altered Art 2 as we turn our attention to the inside of the matchbox:
I added designer series paper to the inside of the box so it would be as cute to look at inside as it was out. I measured the paper I needed and cut the corners right away, then trimmed the edges after I had adhered the paper into the box.
I wanted to make a little ribbon pull next, so I cut a longer piece of ribbon than I knew I would need to make handling it easier.
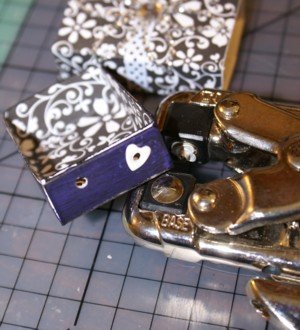
Next I chose some cute little heart-shaped eyelets and set them in one end of the inner box with my Crop-A-Dile. I knotted the ribbon on one end, then fed the un-knotted end through the back of an eyelet. I threaded the ribbon through the other eyelet and took up the slack to form a tiny drawer pull, then knotted the other end of the ribbon and tied the two ends together as well. It was only then that I trimmed the end of the ribbon (trimming off once the embellishment is in place makes the whole threading and knotting process easier).

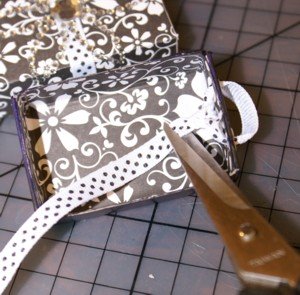
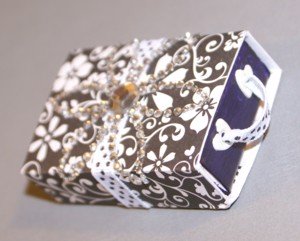
After I ensured the box would slide in and out of the sleeve, I finished decorating it by adhering a ribbon around the sleeve then adhering a crystal flower to the top and around the sides, then filled it with buttons, eyelets and brads, ribbon and twine, all of them black and white.
It made a nice little gift for a friend of mine.
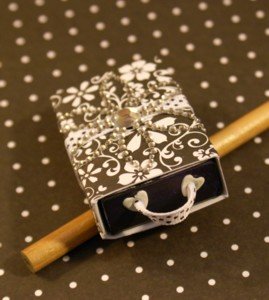
I hope you have enjoyed Altered Art 2, how to decorate an ordinary matchbox to make it into an extraordinary gift box.
If you make a little treasure of your own like this, please do share it with me.
Have A Favourite Altered Art Piece?
Do you have a piece of altered art you have created? I'd love to see it.


New! Comments
Have your say about what you just read! Leave me a comment in the box below.