- Home
- Papercraft Adhesives
- Candy Thank You
Candy Thank You
Written and Created by PaperCraftCentral Susan
A candy thank you is a sweet way (in more than one way!) to thank someone for their thoughtfulness or kindness, and dressing up candy your own way makes it even more special. Sometimes a person is just so nice. I really feel I want to thank people quite often for their kind words, kind thoughts, kind actions.
I wanted to thank a bunch of people recently by sending them a little something through the mail. As summer was coming I didn't want to send chocolate in case it melted along the way. Then I got my Curly Label Punch Bundle (retired) and I knew what I could do. I could make Candy Thank You favours.
So I did. And now I want to share them with you. Here's a way to make a Candy Thank You favour as a sweet treat.
""I would thank you from the bottom of my heart,
but for you my heart has no bottom".
~Anonymous
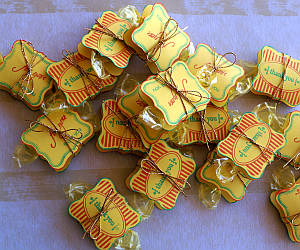
Make a Bunch of Candy Thank Yous in an Afternoon
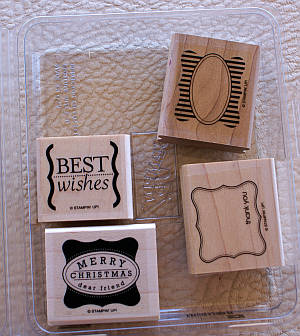
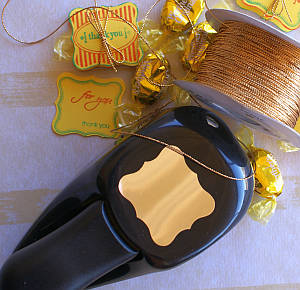
First I gathered my tools. I needed some hard candies (I chose Werther's Caramels) the (now retired) Curly Label Punch Set from Stampin' Up!, some cardstock and inks, a spool of gold cord and some Stampin' Up! mini glue dot.
Then you just need a little time to do the following:
- Stamp your labels and sentiments out on a piece of A4 cardstock. I chose Yo Yo Yellow (retired) cardstock, Pumpkin Pie ink and Tempting Turquoise ink.
- Punch out two labels for each piece of candy you plan to decorate
- Ink around the edges of each label with a sponge dauber
- Apply a glue dot to the wrong side of each of the labels. I worked with two at a time so I didn't wind up with a bunch of labels sticking together on my craft desk - lol!
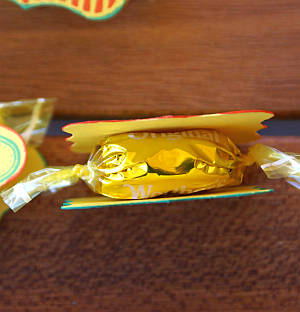
- Adhere the labels to the two sides of a piece of candy
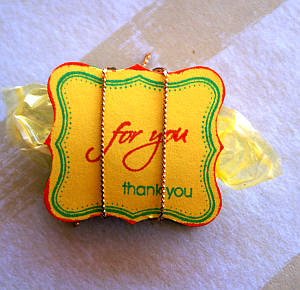
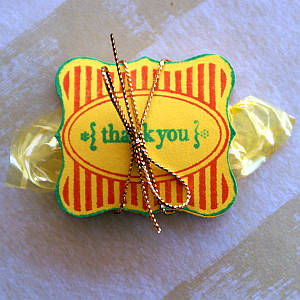
I hope you will let me know if you make any of these little treats. Imagine the possibilities! You could use them favours for weddings, birthdays, Valentine's Day, Christmas, or any other special occasion where you wanted to give someone a little something special and unique. Just customise your stamps, card stock and inks to match your occasion.
I'd love to see your own customised candy thank you treats or any other favours you make for other occasions
Do You Have A 3-d PaperCraft Project To Share?
Do you make 3-d PaperCraft items? I'd love to see your work. Please do share below.


New! Comments
Have your say about what you just read! Leave me a comment in the box below.