- Home
- Papercraft Adhesives
- Christmas Star
Christmas Star
Written and Created by PaperCraftCentral Susan
I have seen a lot of folded Christmas Star cards and decorations. I wondered if they were hard to make, but guess what? They are very simple. Let me show you how to make them.
And if you want to know how to make a Magic card, scroll down to see the next project using Stampin' Up! star stamps.
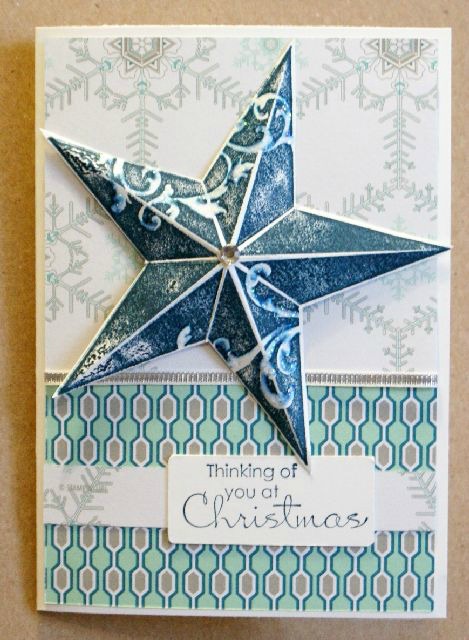
How to Make a Christmas Star
If you do not have a stamp, draw your stellar shape on cardstock and cut it out. You will need to make your image an evenly shaped one with five points for this to work. Well, this is the only shape I have tried it with so I am not sure about how it would work with fewer or more points to your star.
It helps if you have the Stampin' Up! Christmas Star stamp (134813) which unfortunately is no longer available to order but you may find one on eBay or Gumtree. This is a good sized stamp and makes the score lines and fold lines very easy to find. so if you have that stamp, stamp out a few images on cardstock in your colour of choice.
Emboss, ink or shimmer the images while they are still smooth and flat. Glitter is better to add after you have formed the shape.
Cut the image out leaving a small border around the outside line.
Now take your Simply Scored Scoring Tool (122334) and score along all the solid lines, joining each tip with the indent opposite it. You should be scoring along five lines.
Fold along the scored lines, making sure the lines running along the tips are mountain folds, and the folds along the indents are valley folds. You can make this work if you fold the shape into an accordion around the centre point.
Now unfold and you have your 3-d embellishment. This is when you would add glitter and gems.
Add a single shape to a card with some Stampin' Dimensionals (104430) in the middle so the shape doesn't get flattened. I stacked two or three dimensionals on top of one another to make them high enough.
I also made two of the images and hot glued them together at the inverted points to make a 3-d ornament for my tree, and I made some ornaments for my little Christmas gift bags too.
Make sure you hot glue some ribbon inside one of the shapes before you finish gluing the two images together.
You can also slip a sentiment tag in between the shells. I used the silver 1/8th" ribbon (132137) and the Itty Bitty Banners stamp set (132022 in wood, 126257 in clear mount, now retired) for my sentiment.
There are lots of ways to use a double sided decoration. See what else you can think of to add some festive touches to your own gifts and home decor this year.
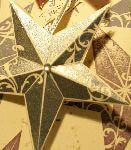
More Christmas Star Ideas
You can make a Christmas star decoration with punches and stamps, too.
I made a couple of different versions of the Christmas Star as baubles for decorating my Christmas tree, or for hanging on cupboard door knobs and so on.
These decorations were made using the Christmas Gleaming stamps and punches. The one on the left was actually made by my fellow demonstrator friend, Brenda Rennie.
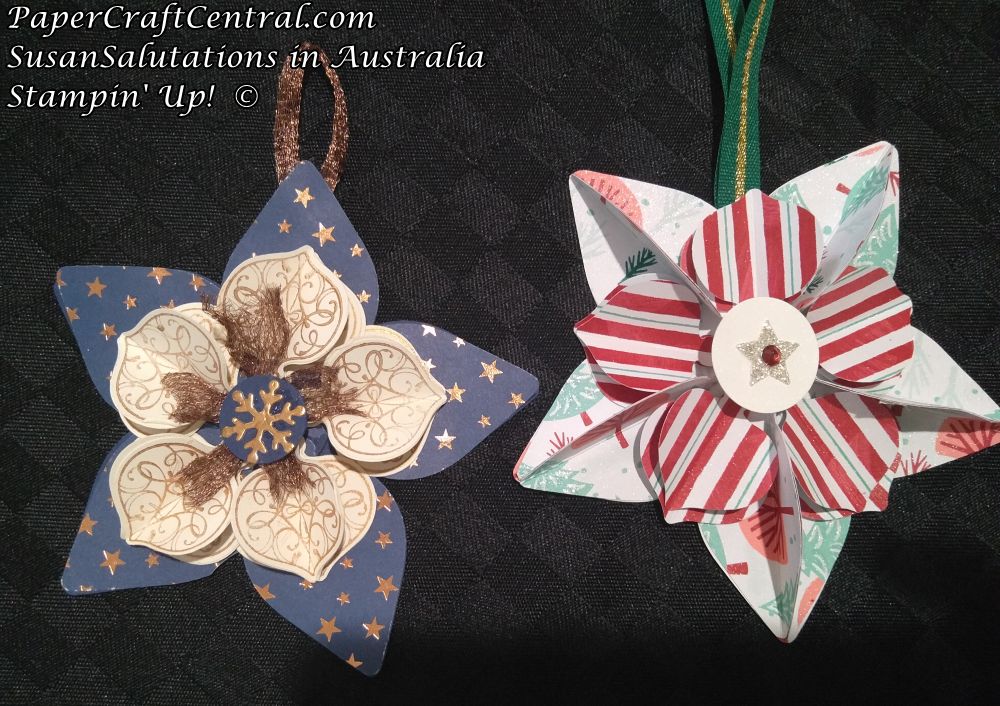
The next bauble was made up by me, after searching for inspiration online. I made mine slightly differently to others I saw:
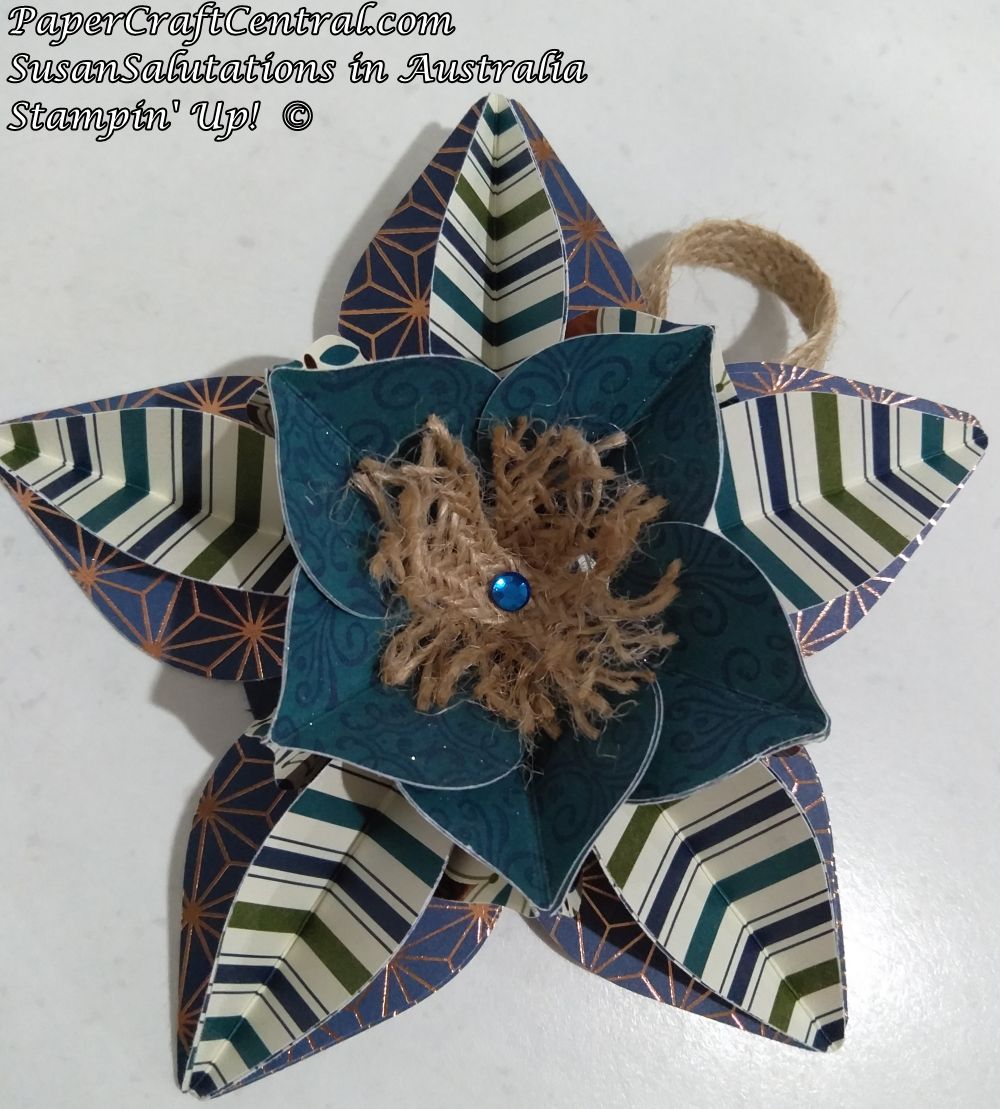
To make these baubles, punch and score baubles in the middle. You can use three or four punched shapes to make the elements. Once folded in half, glue clusters of three or four bauble shapes together.
Arrange the largest clusters in a star shape around a punched circle and glue into place with a hot glue gun.
Then make another layer of clusters in between the first layer,shaping another star in the middle.
Add something pretty to the centre of the star to finish it off.
You can decorate the back too:
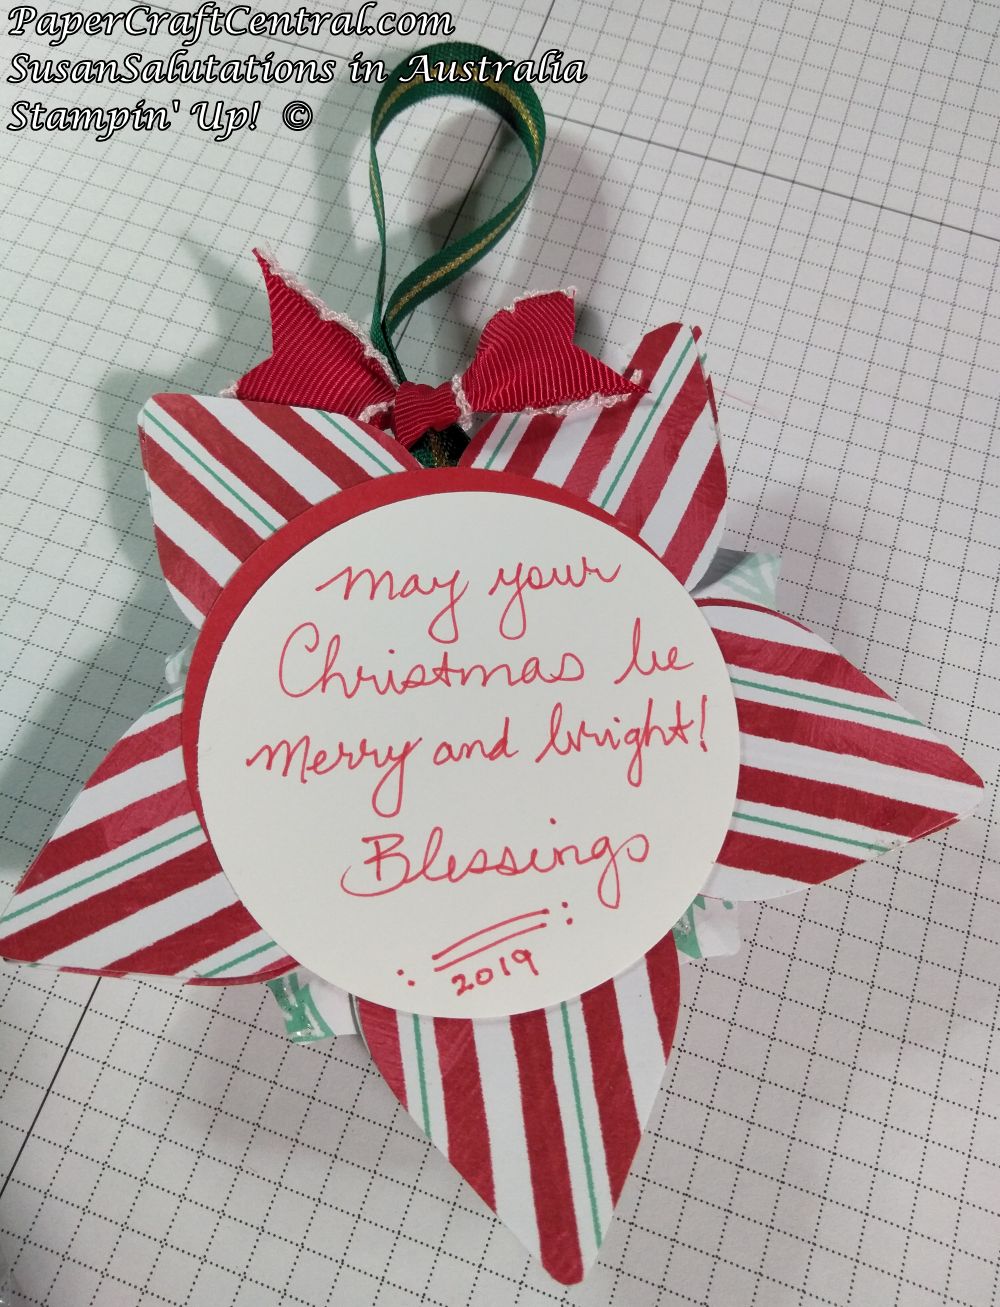
Pretty, huh?
How to Make a Magic Card
I made a Magic Card with some other Christmas Star and Snowflake stamps the other day. It turned out pretty nice. This shot shows it closed.
It's OK, kinda pretty, but maybe it needs something more?
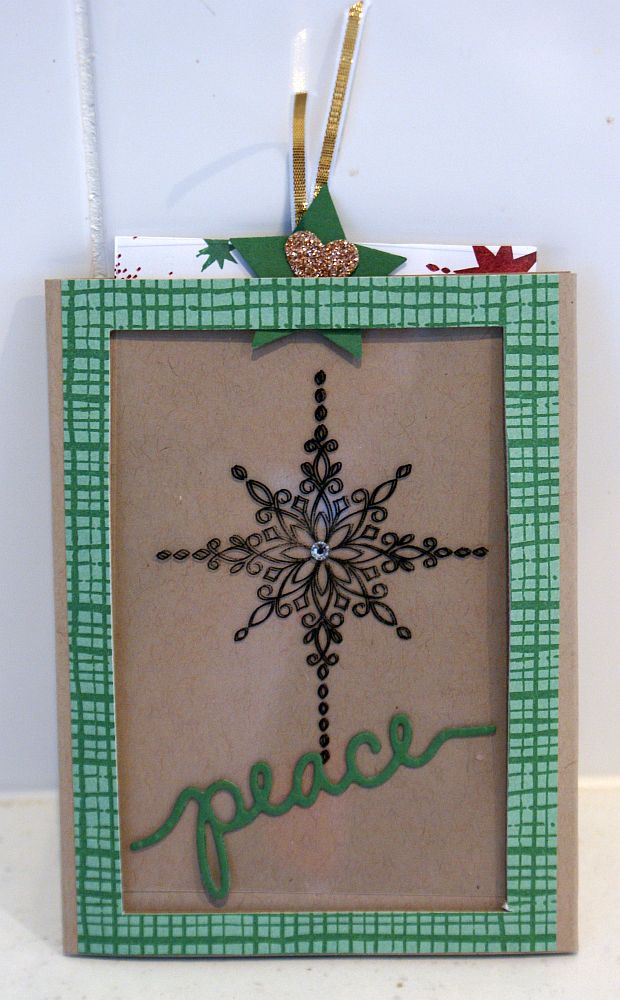
OK. I'll open it up for you. See what you think of it now:
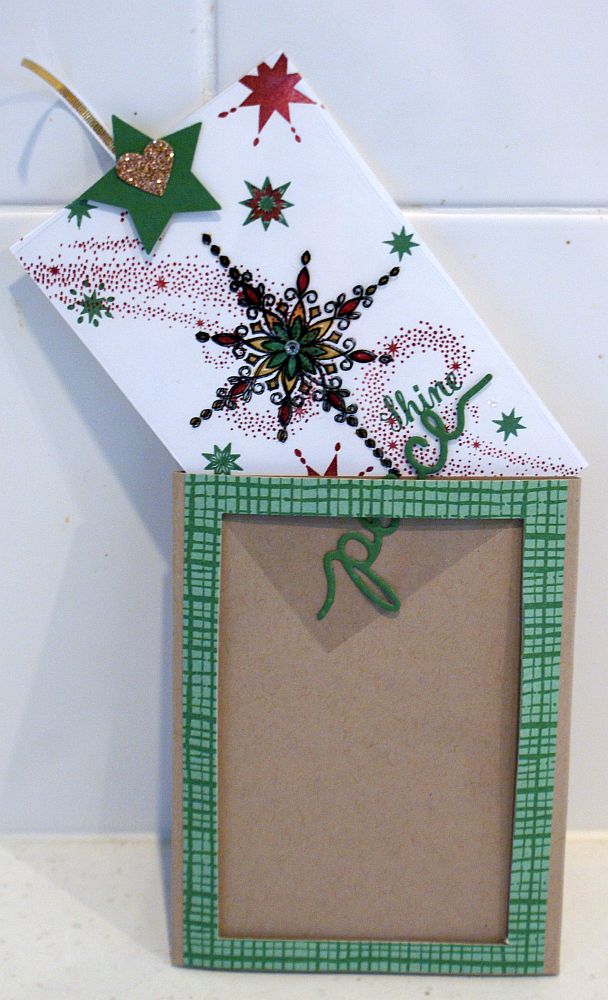
Wow! I thought that when I saw how this worked! That's why it is called a Magic card.
Want to know how to make one of these? If so, here is a video put together by Stampin' Up! to reveal the secrets of the Magic Card for you:
Enjoy!


New! Comments
Have your say about what you just read! Leave me a comment in the box below.