- Home
- Papercraft Adhesives
- Craft Room Makeover
Craft Room Makeover Part 4
Written and Created by PaperCraftCentral Susan
Moving to a new house offered me the chance to undertake my Craft Room Makeover Part 4. Come along with me to see how the planning and creation of the room happened!
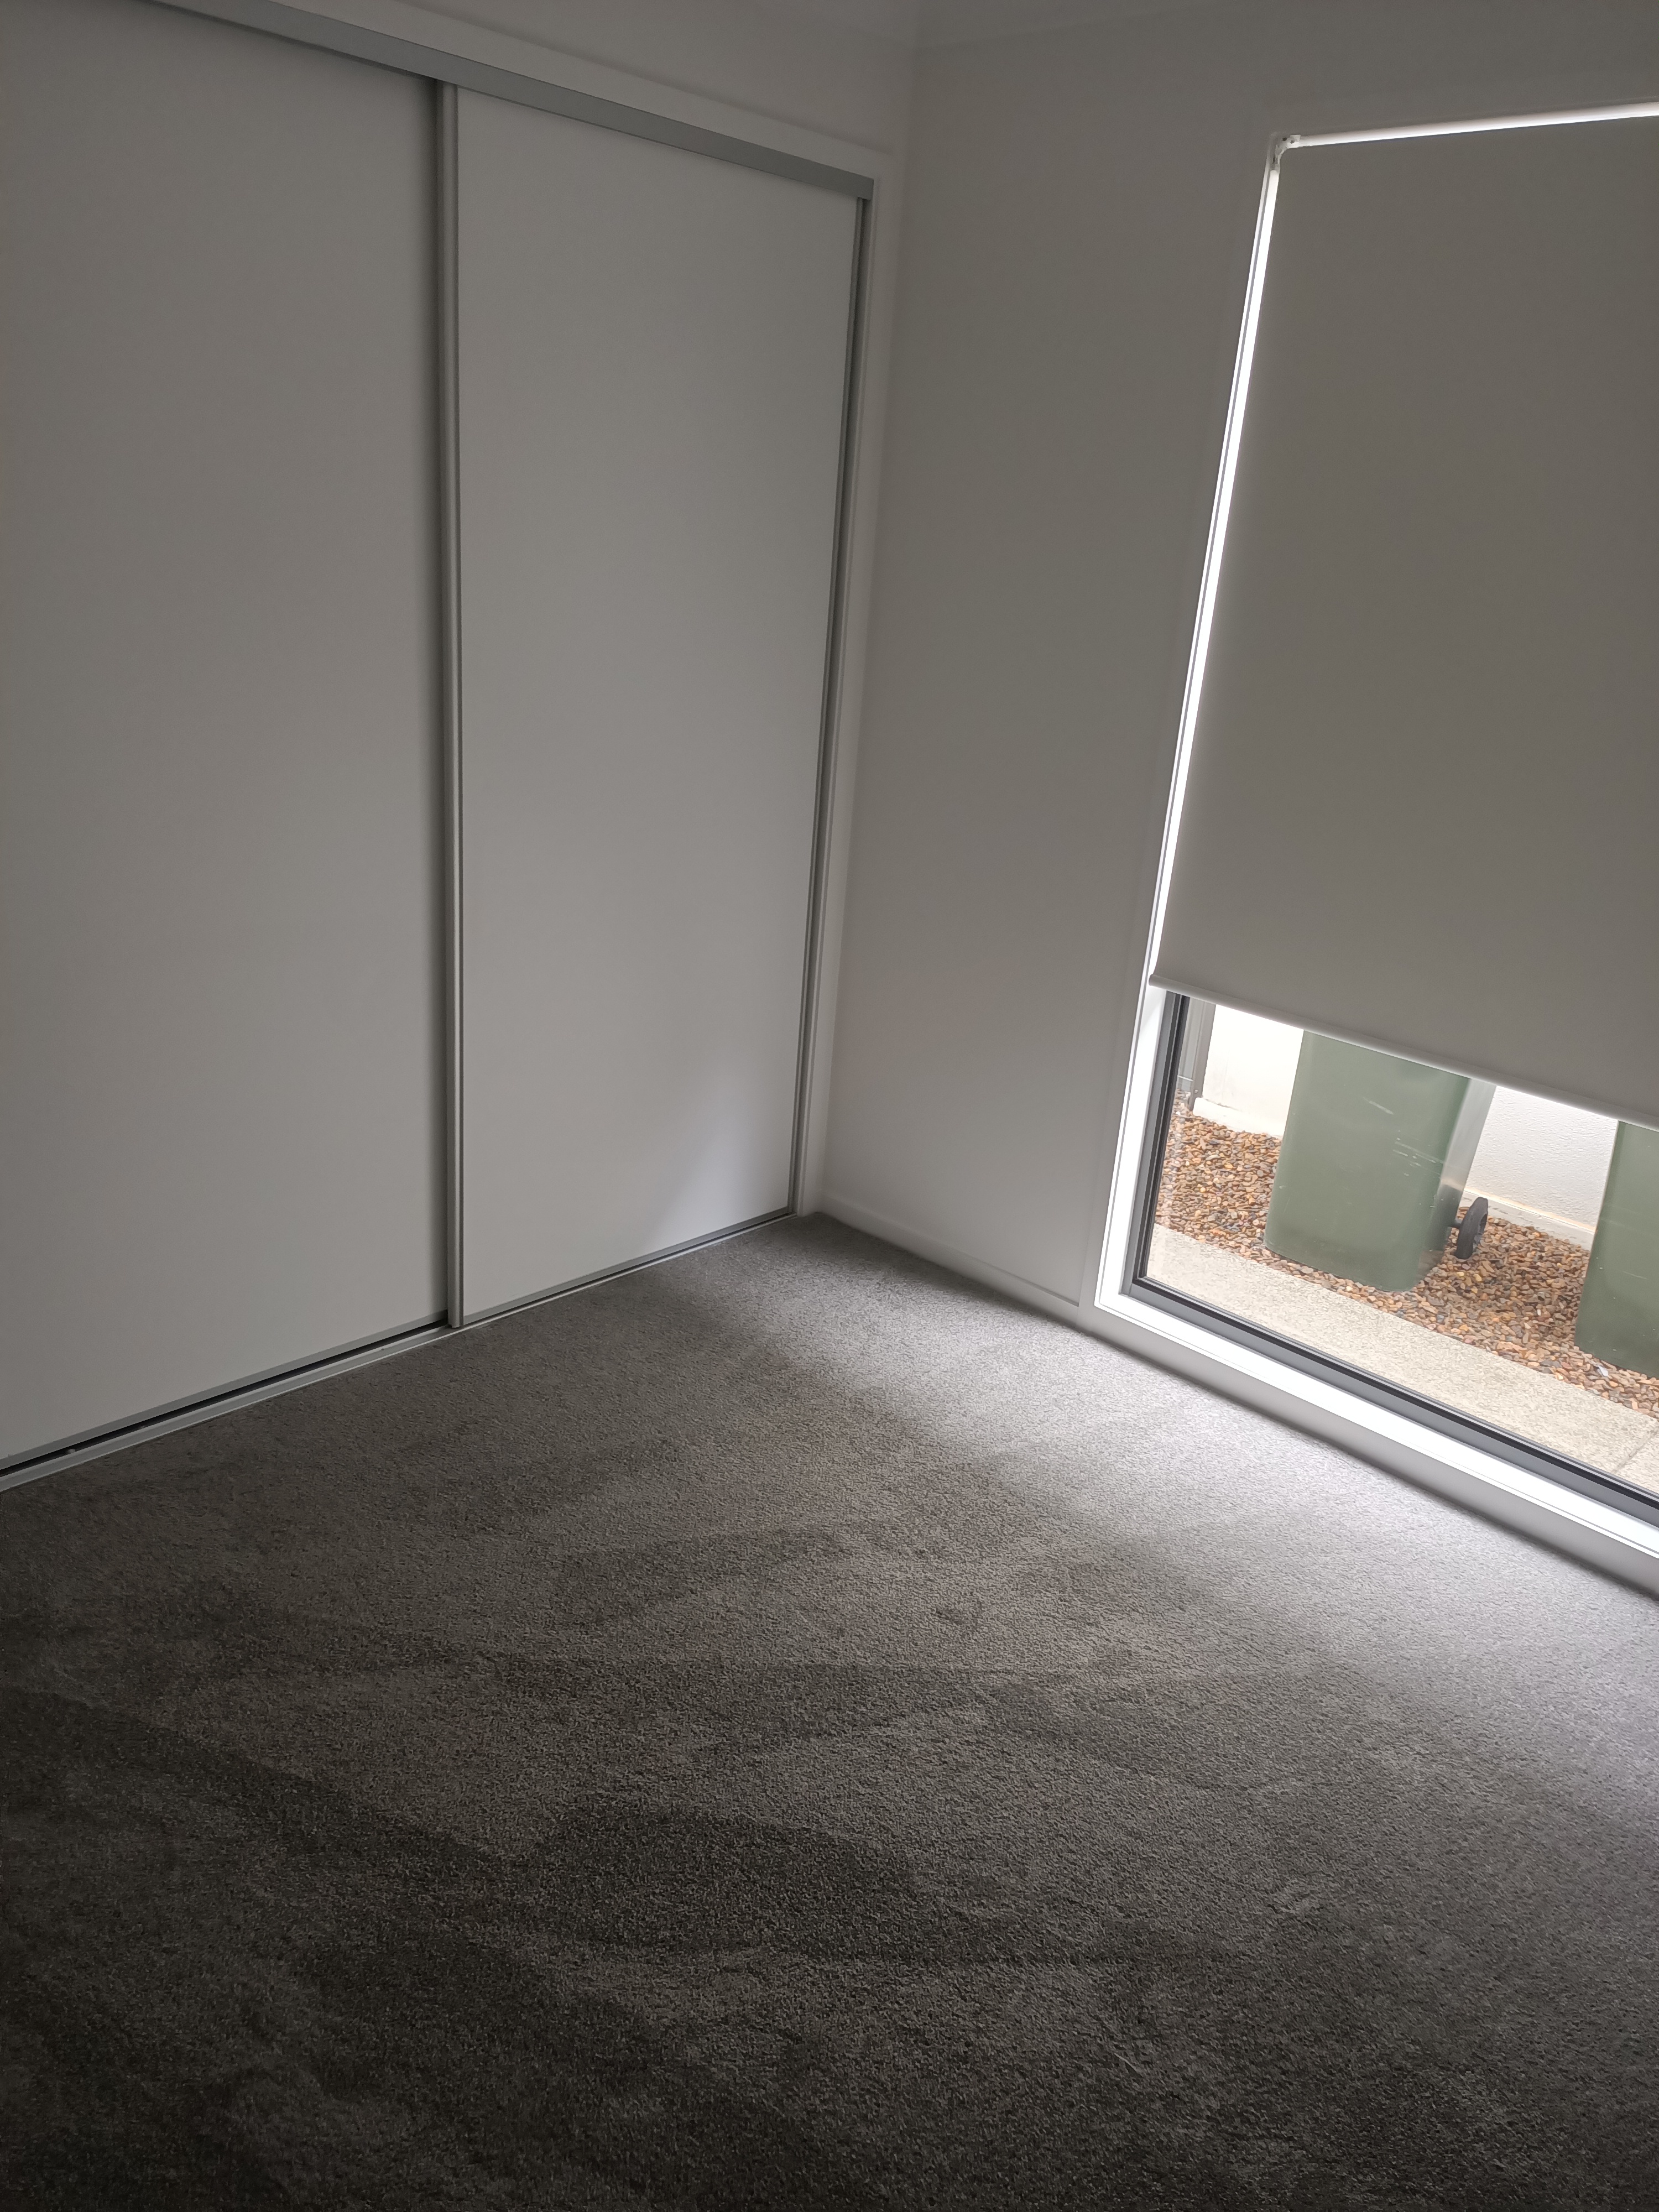
Step 1 - Buy a House and Sell the Old One!
Hubby and I had been thinking about our home for a long time, wondering if we should downsize and allow us to have a little less responsibility with yards, sheds and house size. We started looking around at retirement resorts and the vibe and facilities available was astounding!
A retirement resort is not an aged care facility. It is a place where older people live, but they can still be working and most are totally independent. These style of communities offer all sorts of things to their residents. Hubby was particularly interested in having access to a heated swimming pool he did not have to clean. I was excited that there was a community garden.
The resort we chose had both these things AND an exciting other thing - a community craft room!!
I was so happy to discover that.
And I knew we would buy a house where I could still dedicate one room to my love of crafting. Bring on my Craft Room Makeover Part 4!
Our previous house sold really quickly for a good price, so we were all set. We committed to buying in the retirement resort we liked best.
Then I took several weeks to pack my craft room up into boxes.
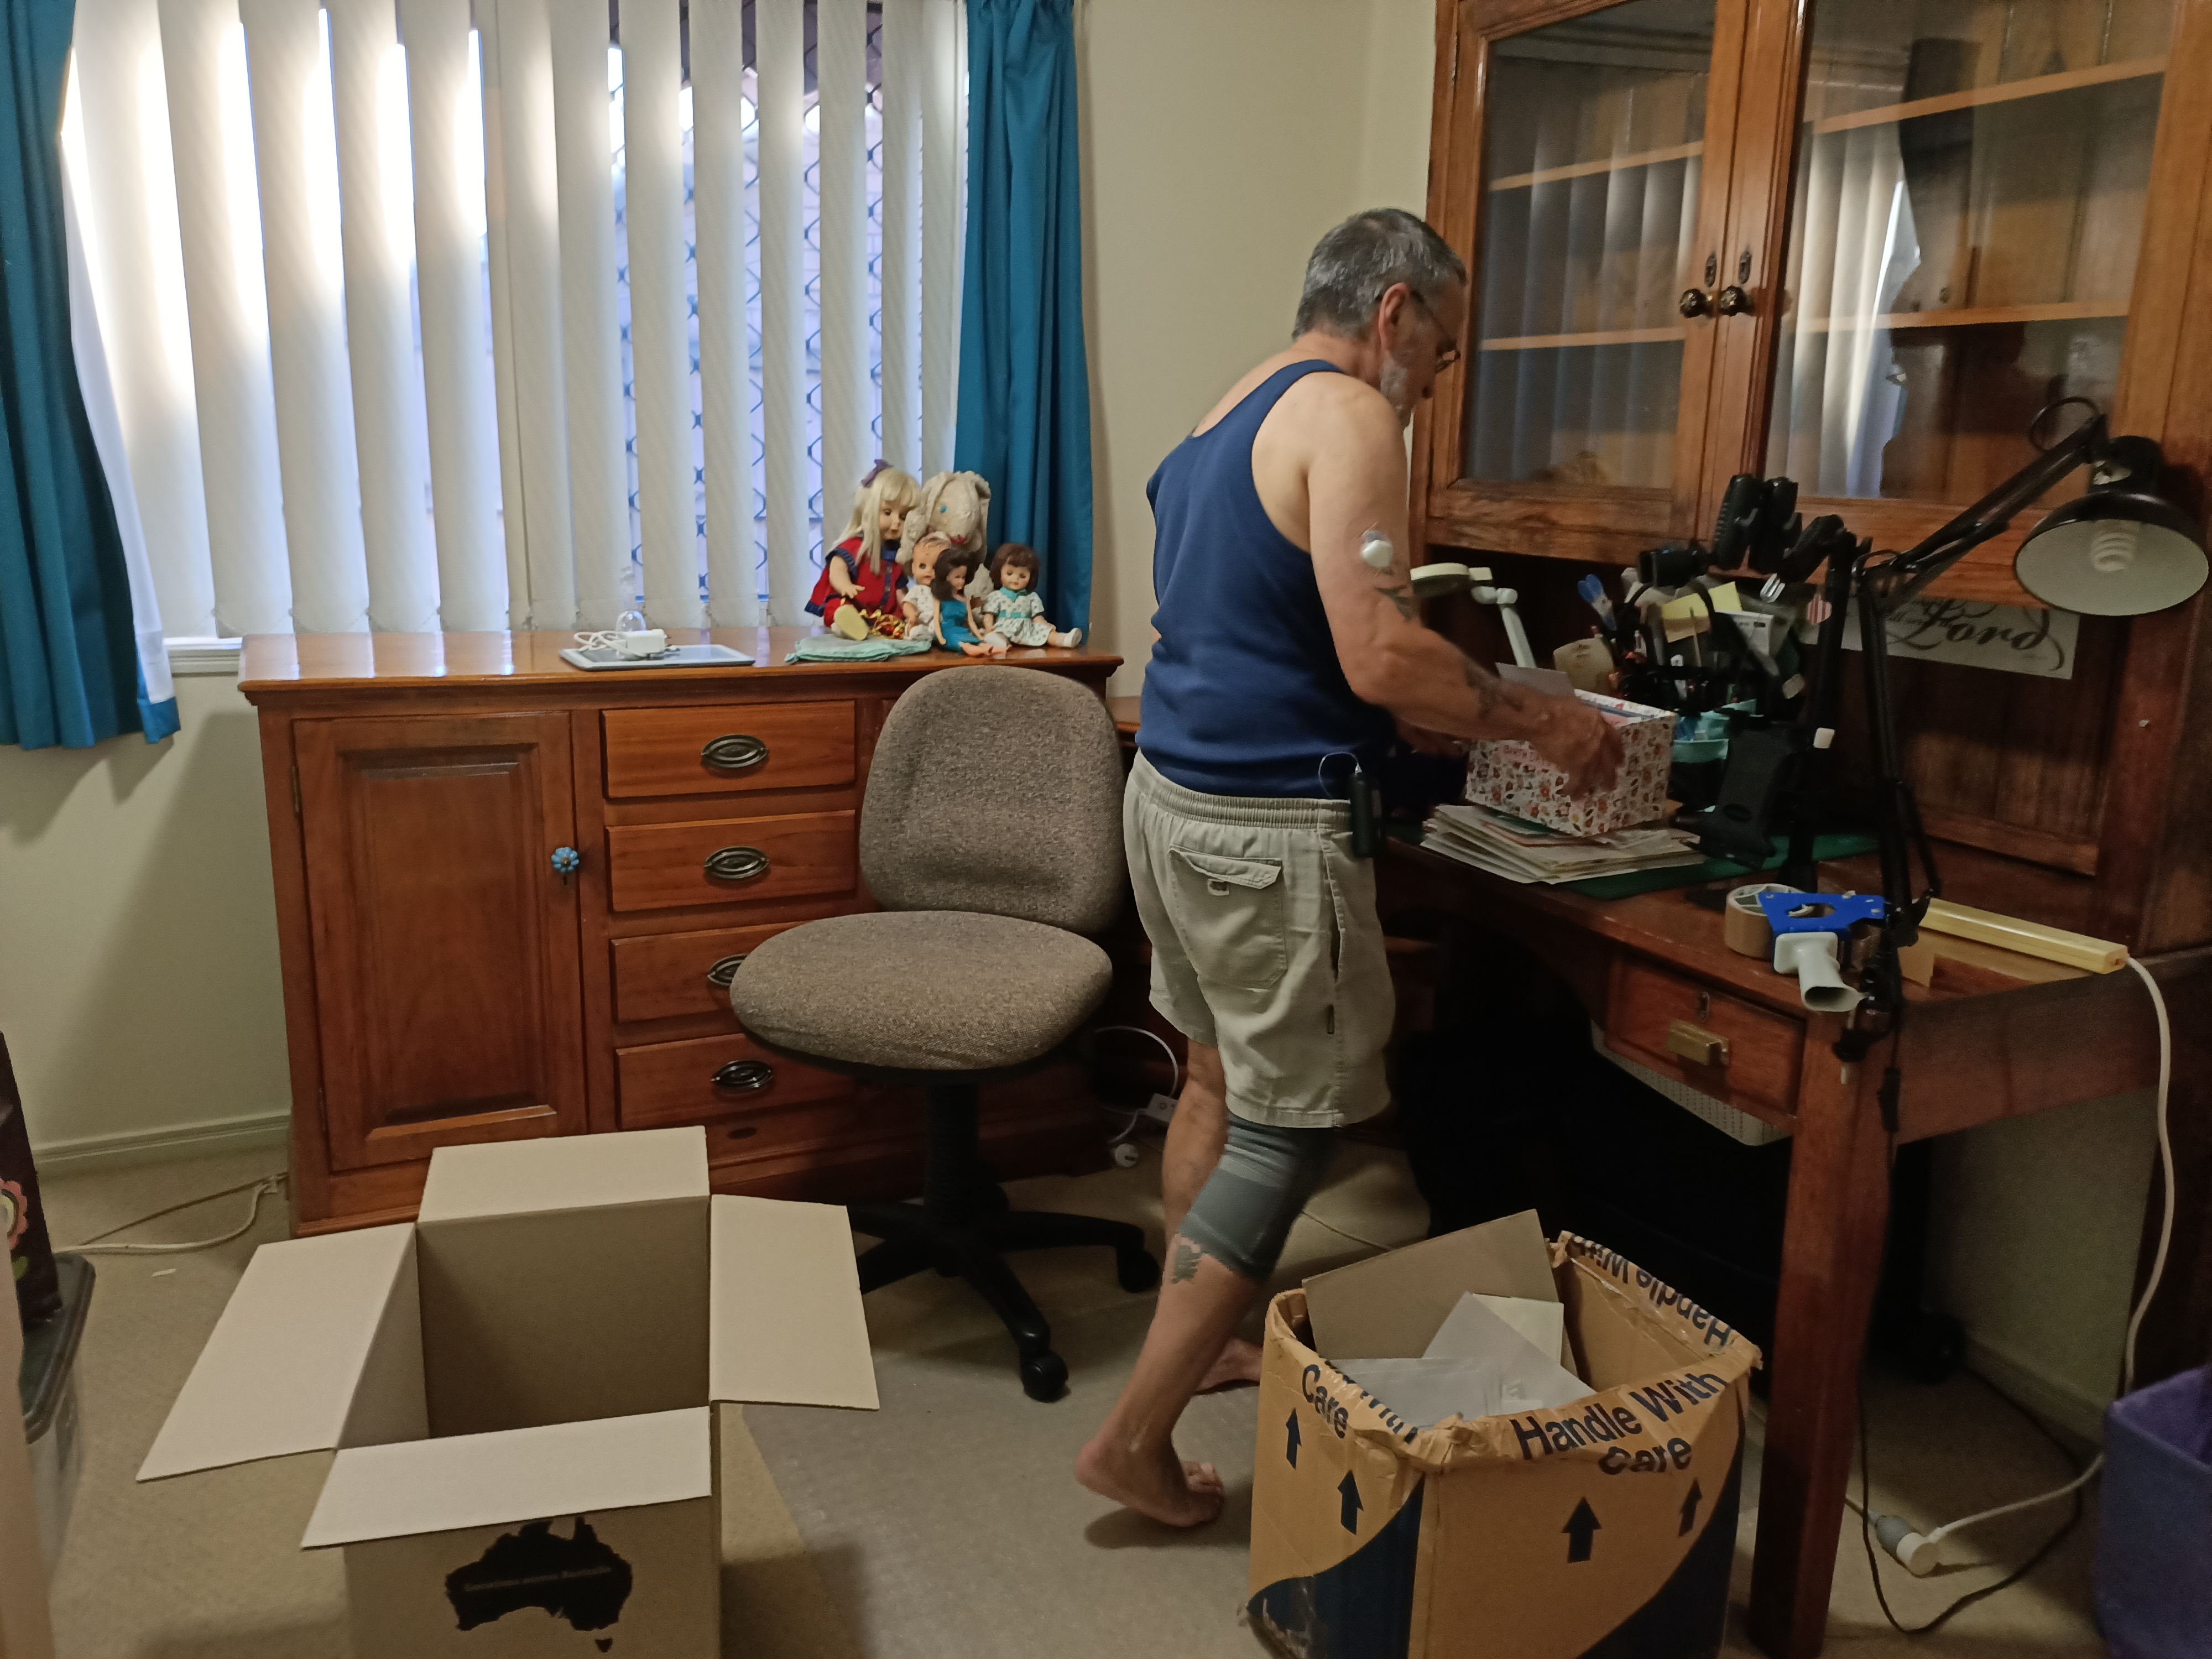
I culled, I sold furniture, I thought long and hard about my new space as it would be half a metre smaller all around.
I also asked the builder to take up the carpet in my new craft room and lay down lino that would be tough and easy to clean. They did that and now my new empty room looked like this:
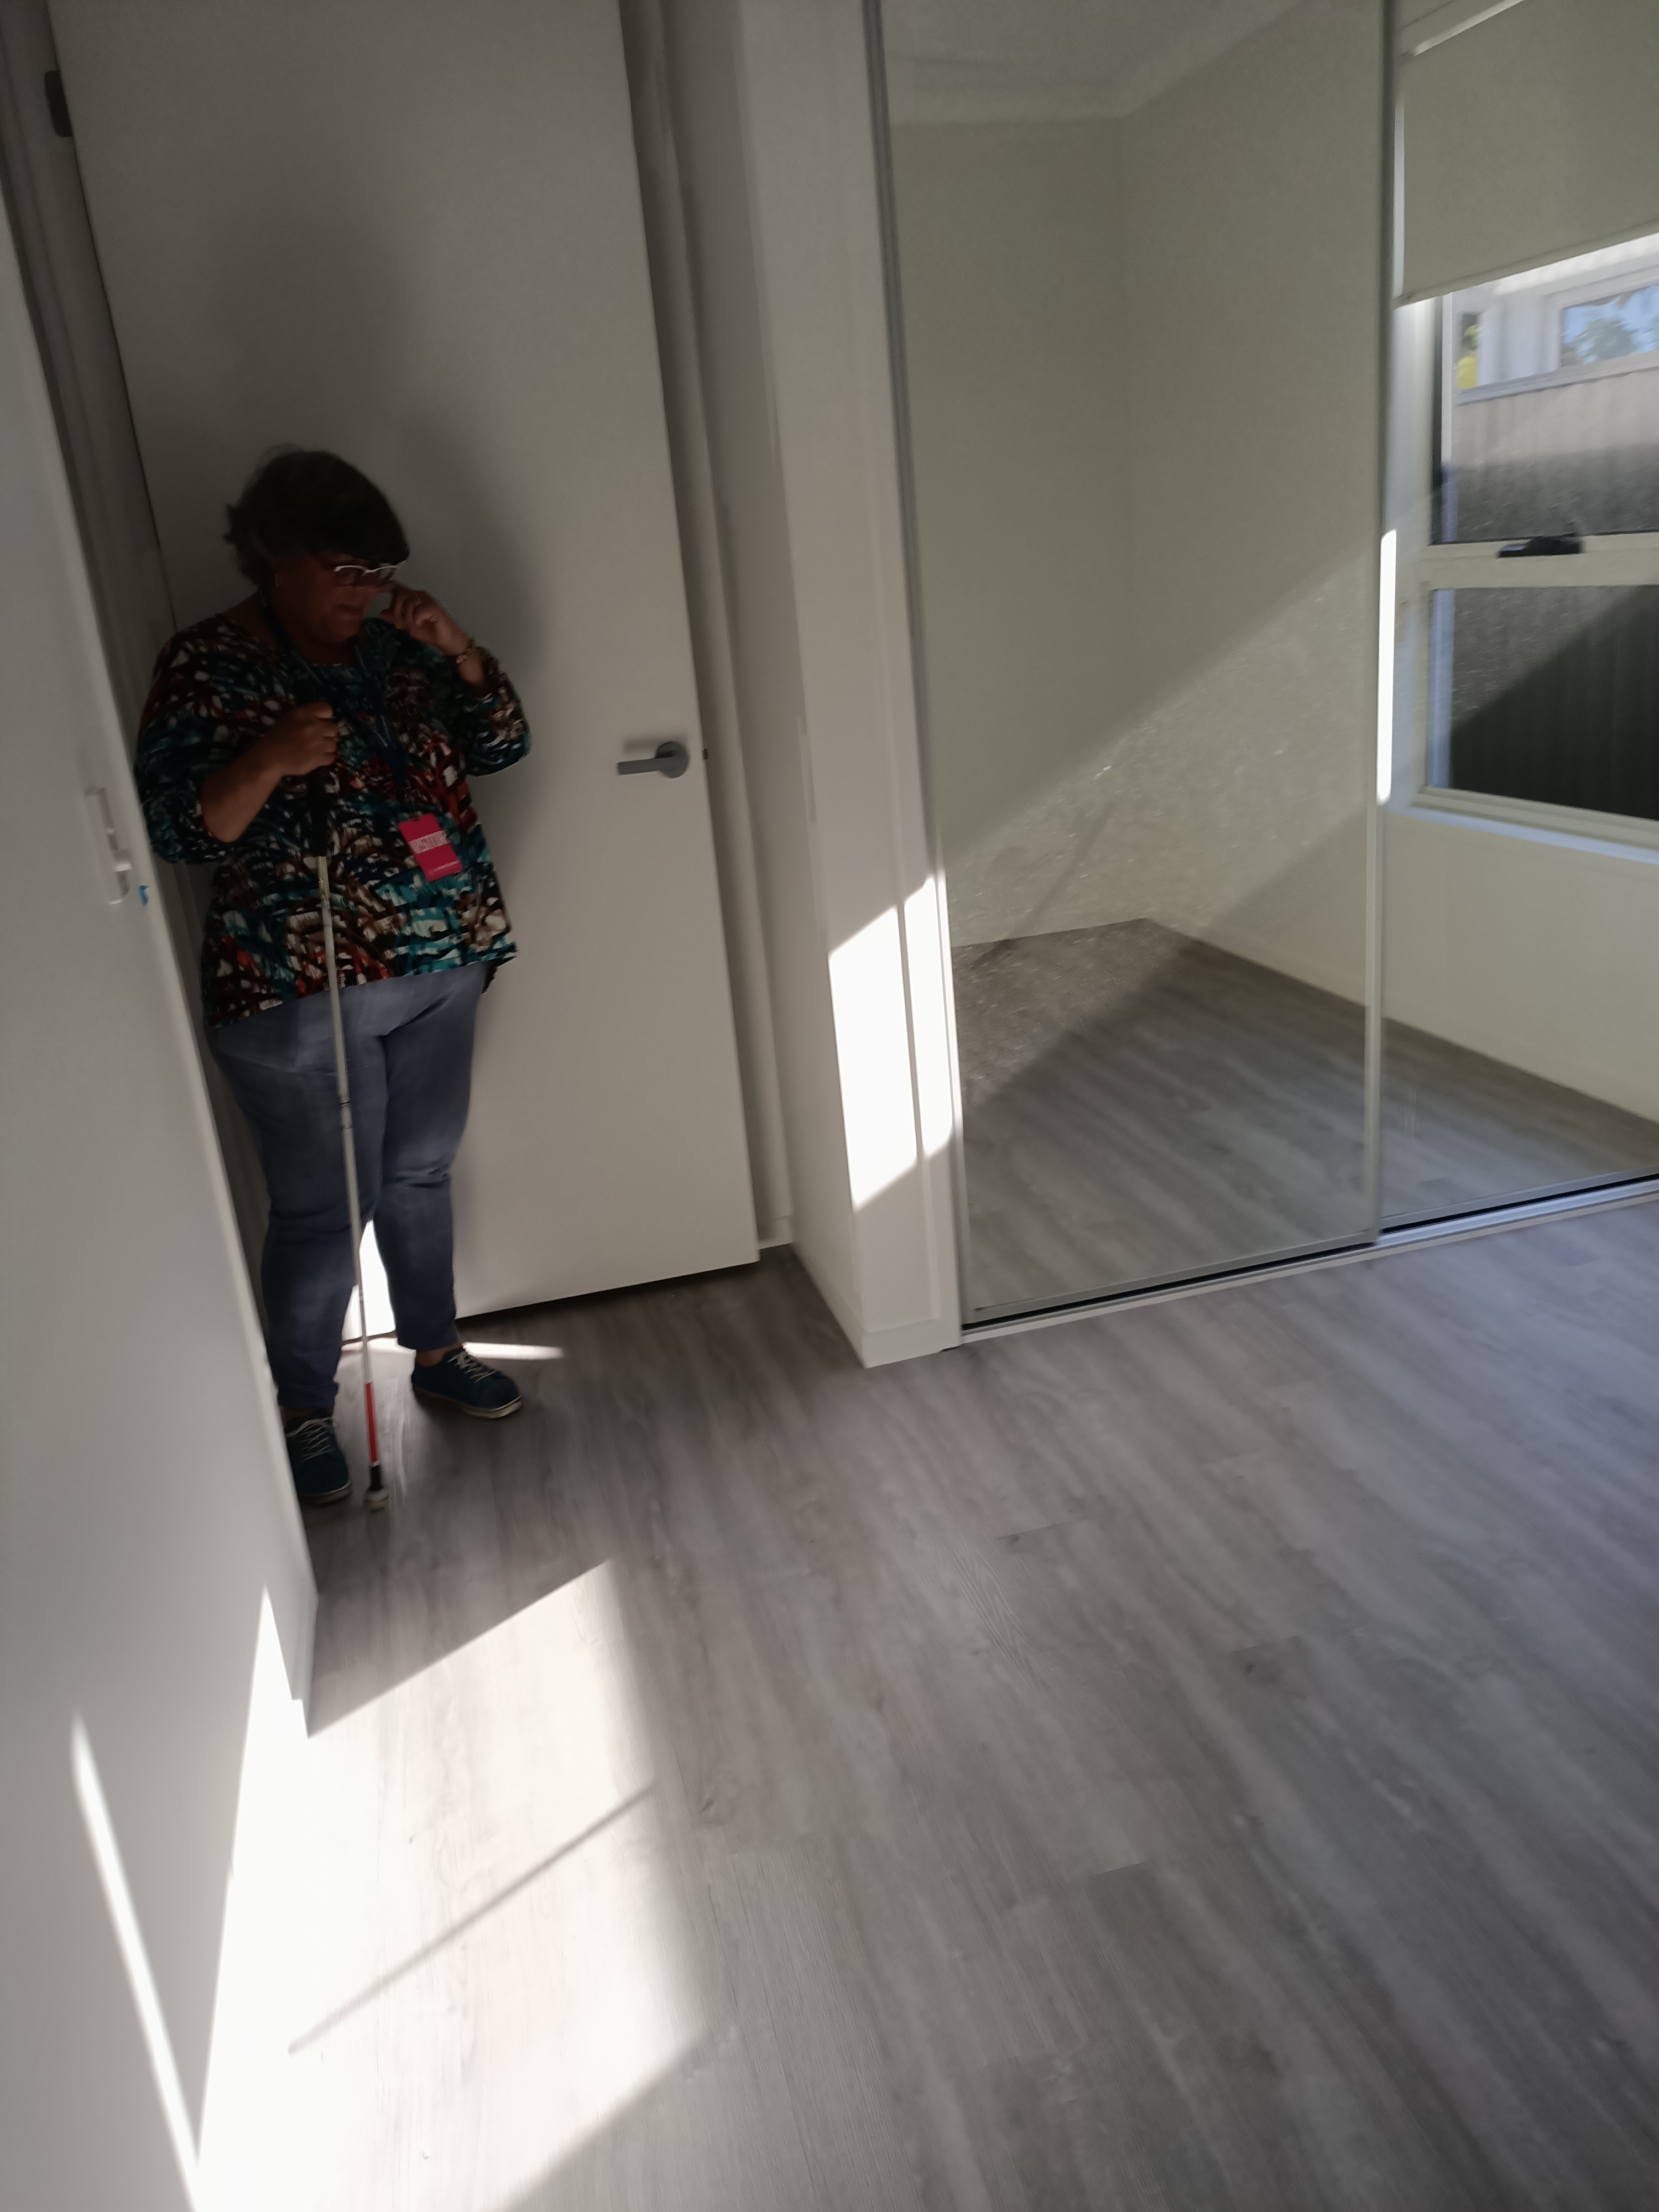
I'm loving the light in there.
My sister approved too. She doesn't do paper crafting but she knows a good room for crafting when she sees it. She would have loved that room for its light that she could sew by.
She knew I would have fun with my Craft Room Makeover Part 4.
Moving Day
Moving day went about as expected. Because I had labelled all my packed up boxes 'craft room' and had a pretty good idea about what I had put in my numerous boxes, all of them wound up either IN the new craft room or nearby.
Of course, you cannot put furniture you haven't built yet into a room full of boxes.
So I unpacked the rest of the house, then moved absolutely everything but my big old desk out of the new room so I could decide what I needed to fill the walls with shelving.
Craft Room Makeover Part 4 Furniture Selections
Hubby and I measured the new craft room then went to Ikea and selected a few boxes of flat pack Kallax units. I decided I needed a 5 x 5 cube one and a 4 x 5 cube one, so we bought the components that would give us just that.
We had to work together to get the boxes to the delivery counter! We asked Ikea to deliver our new shelving to us at home, and they did. The guys left the boxes in the garage like we asked them to.
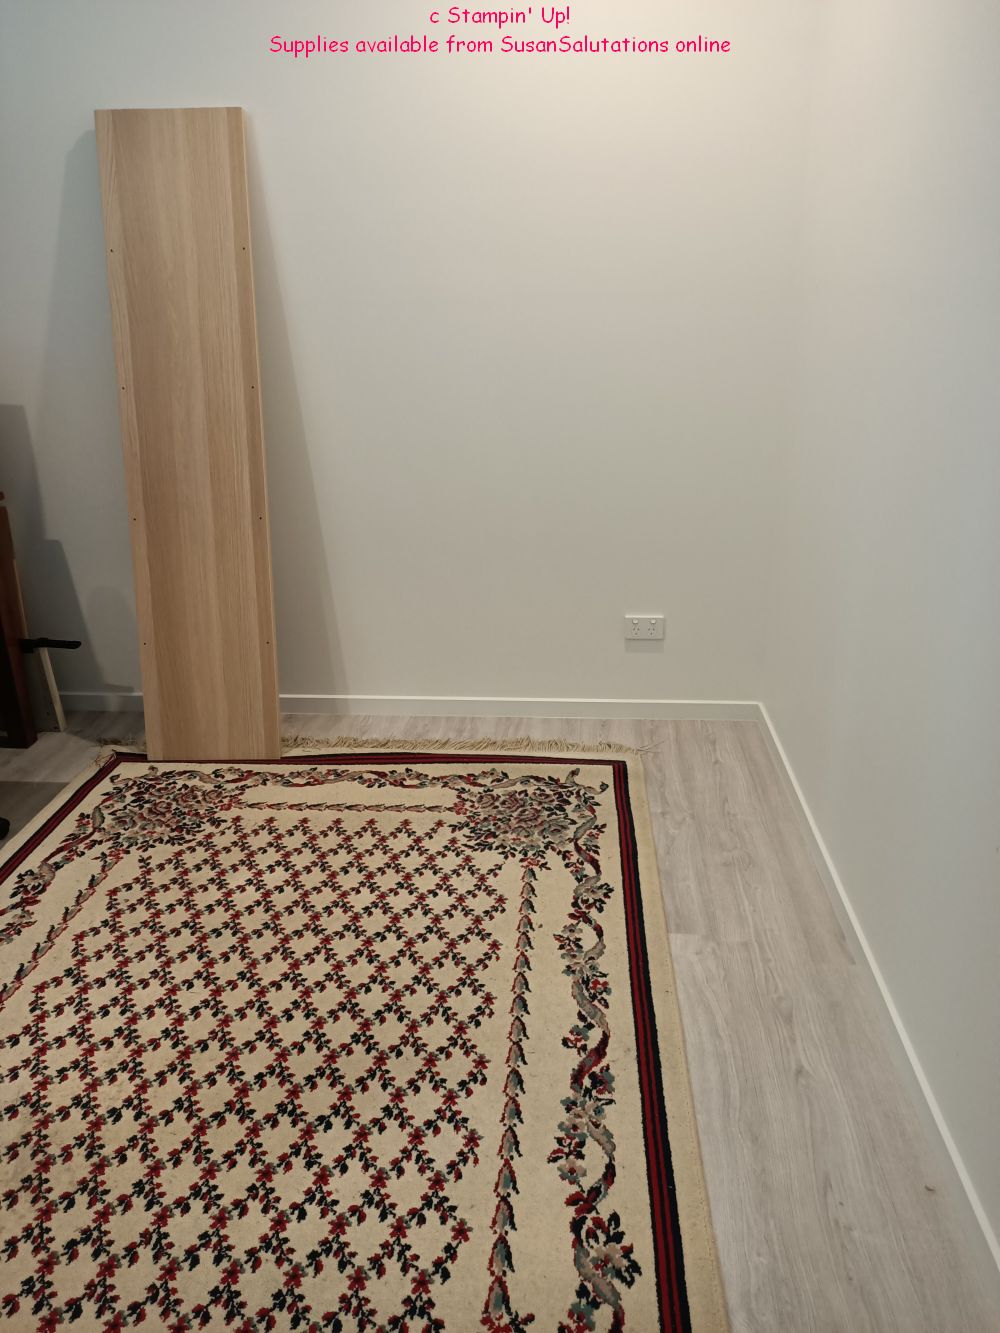
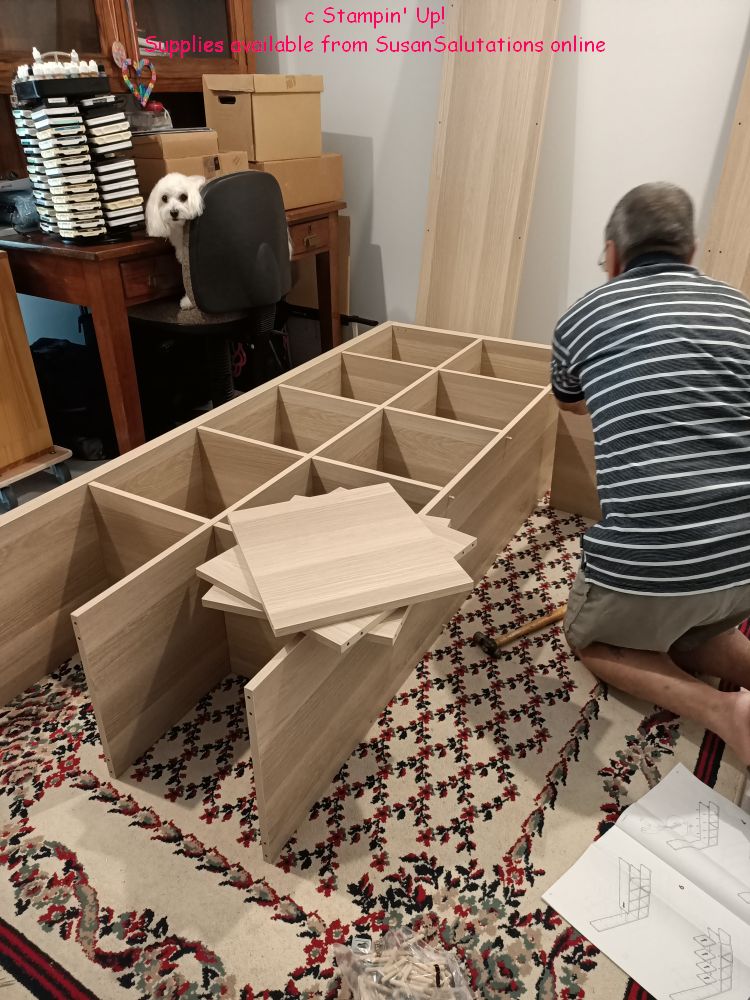
Then we started to take one box at a time into the new craft room where we assembled everything on the floor there, once we put a throw rug down so we would avoid scratching the new flooring while building.
Even Archie the dog had to get in on this new family activity. You can see him in my craft desk chair! He just would not leave the room and we were afraid of crushing him, so on the chair he stayed where he had a great view of the assembly process.
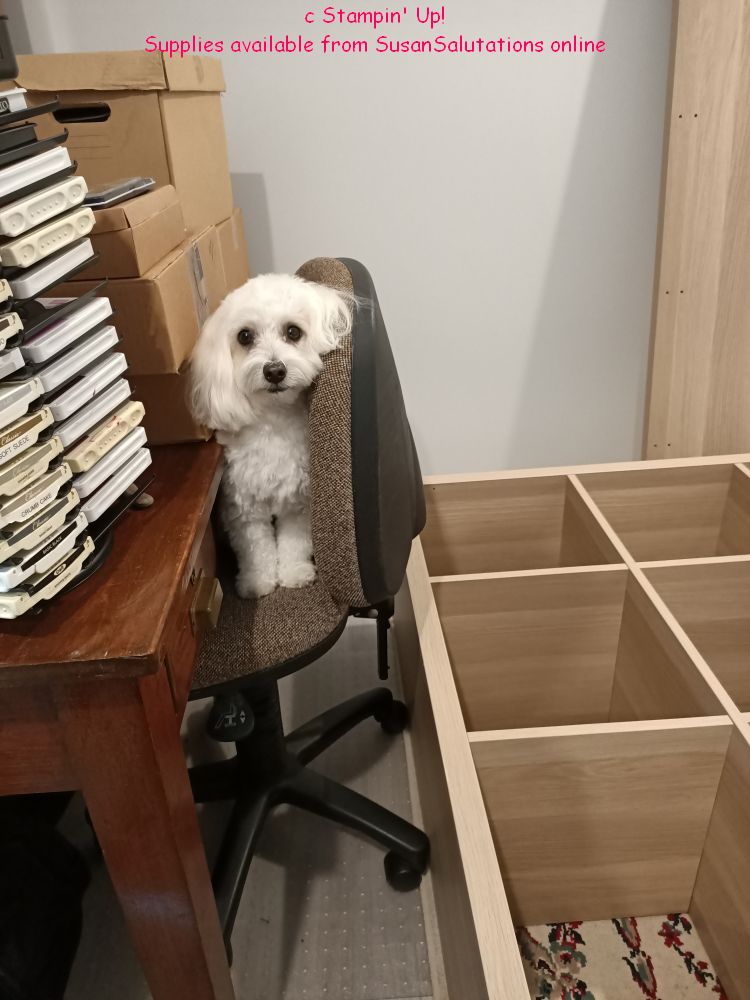
The units were a little bit of a challenge to put together, but we got there in the long run.
I just have to give a shout out of thanks to my marvelous hubby, who built this shelving for me one day before he had a total knee replacement!
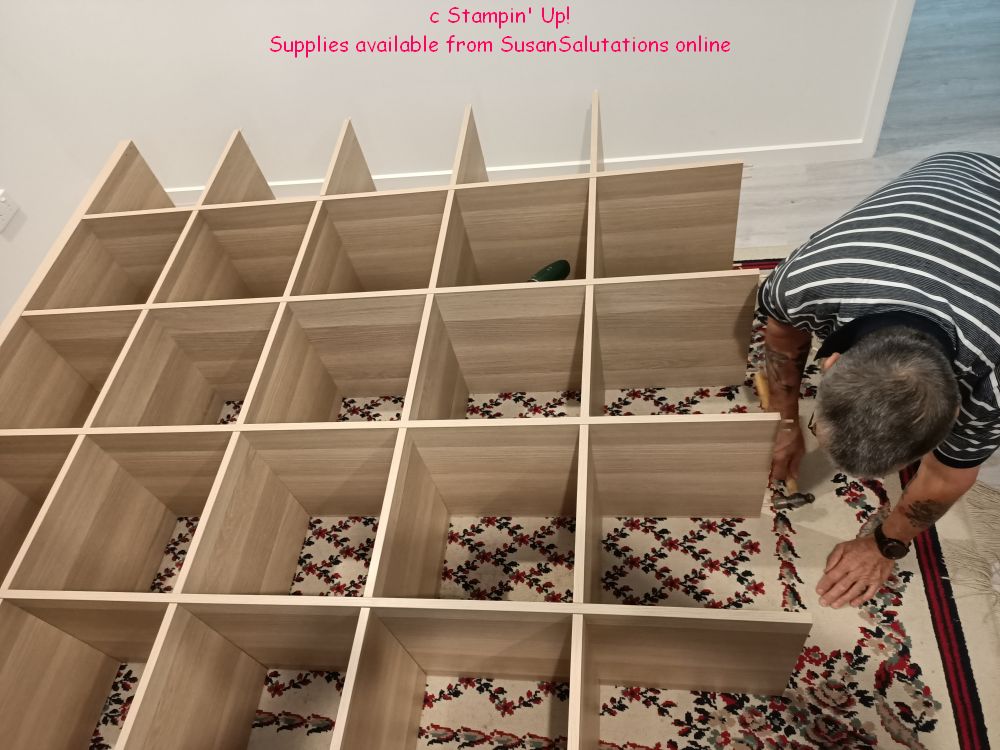
The units looked great once they were up. I added in some of the basket inserts Ikea makes as well, but not for every cube. I wanted to be able to see what I had and also still wanted to consult with Brenda Rennie of Crafty Storage to custom fill some of the cubes. I decided it was high time I had some nice storage for my ink pads, markers and ink refills.
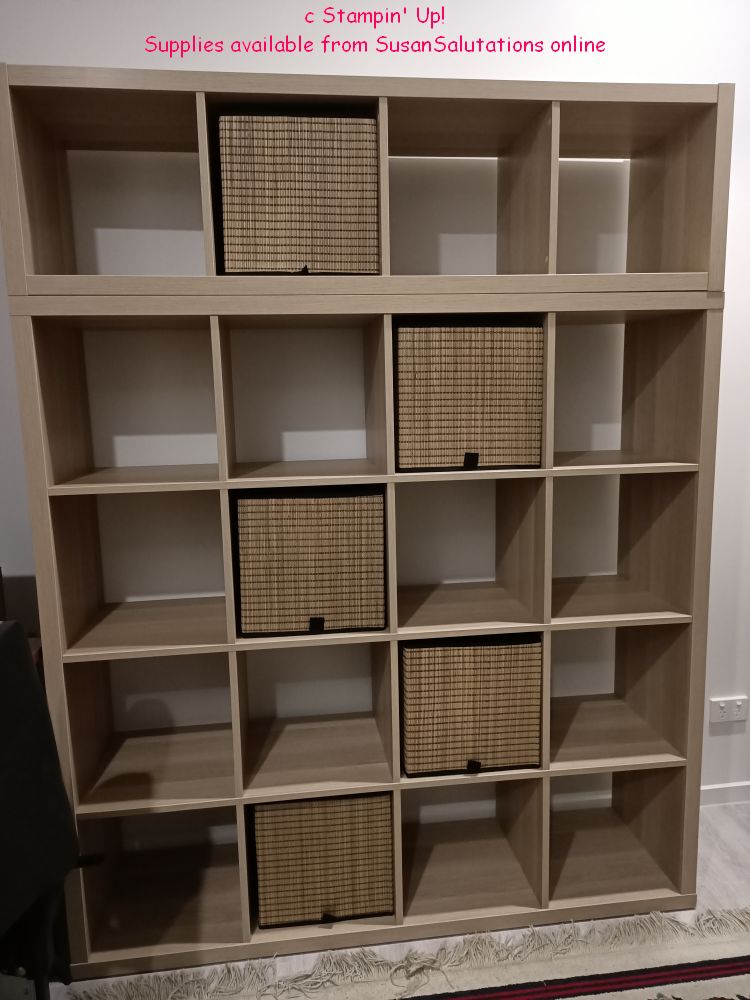
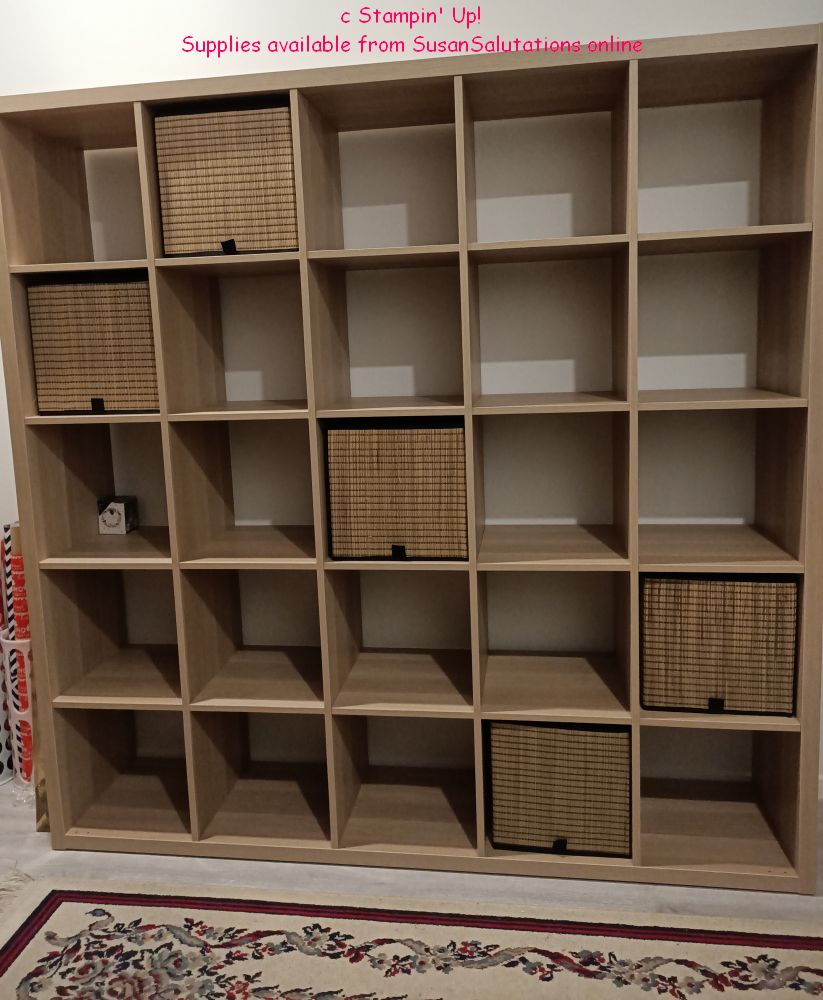
There were a few weeks where I could not get back in to my craft room to unpack my things as I was needed to look after hubby, and he comes first.
When I finally got to unpack all those boxes, I decided we had underestimated my need for shelving!
I not only filled my new Ikea units but the entire wardrobe as well, and I still had some rolling trolleys floating around too.
Back we went to Ikea, once hubby could get around again, to buy another row of cubes for the top of my shelving units.
And that is where we are now, waiting for a good time to build the extra shelving.
Meanwhile, hubby has done too much and has hurt his back! I keep hoping I won't go out in sympathy! He hasn't been able to help with unpacking and sorting of the house, so I have been doing most of that.
Between us, we're getting there!
Even though it feels like chaos still reigns in my craft room makeover part 4, I can see some progress.
I think!
It's Working!
My Craft Room Makeover Part 4 is nearing completion!
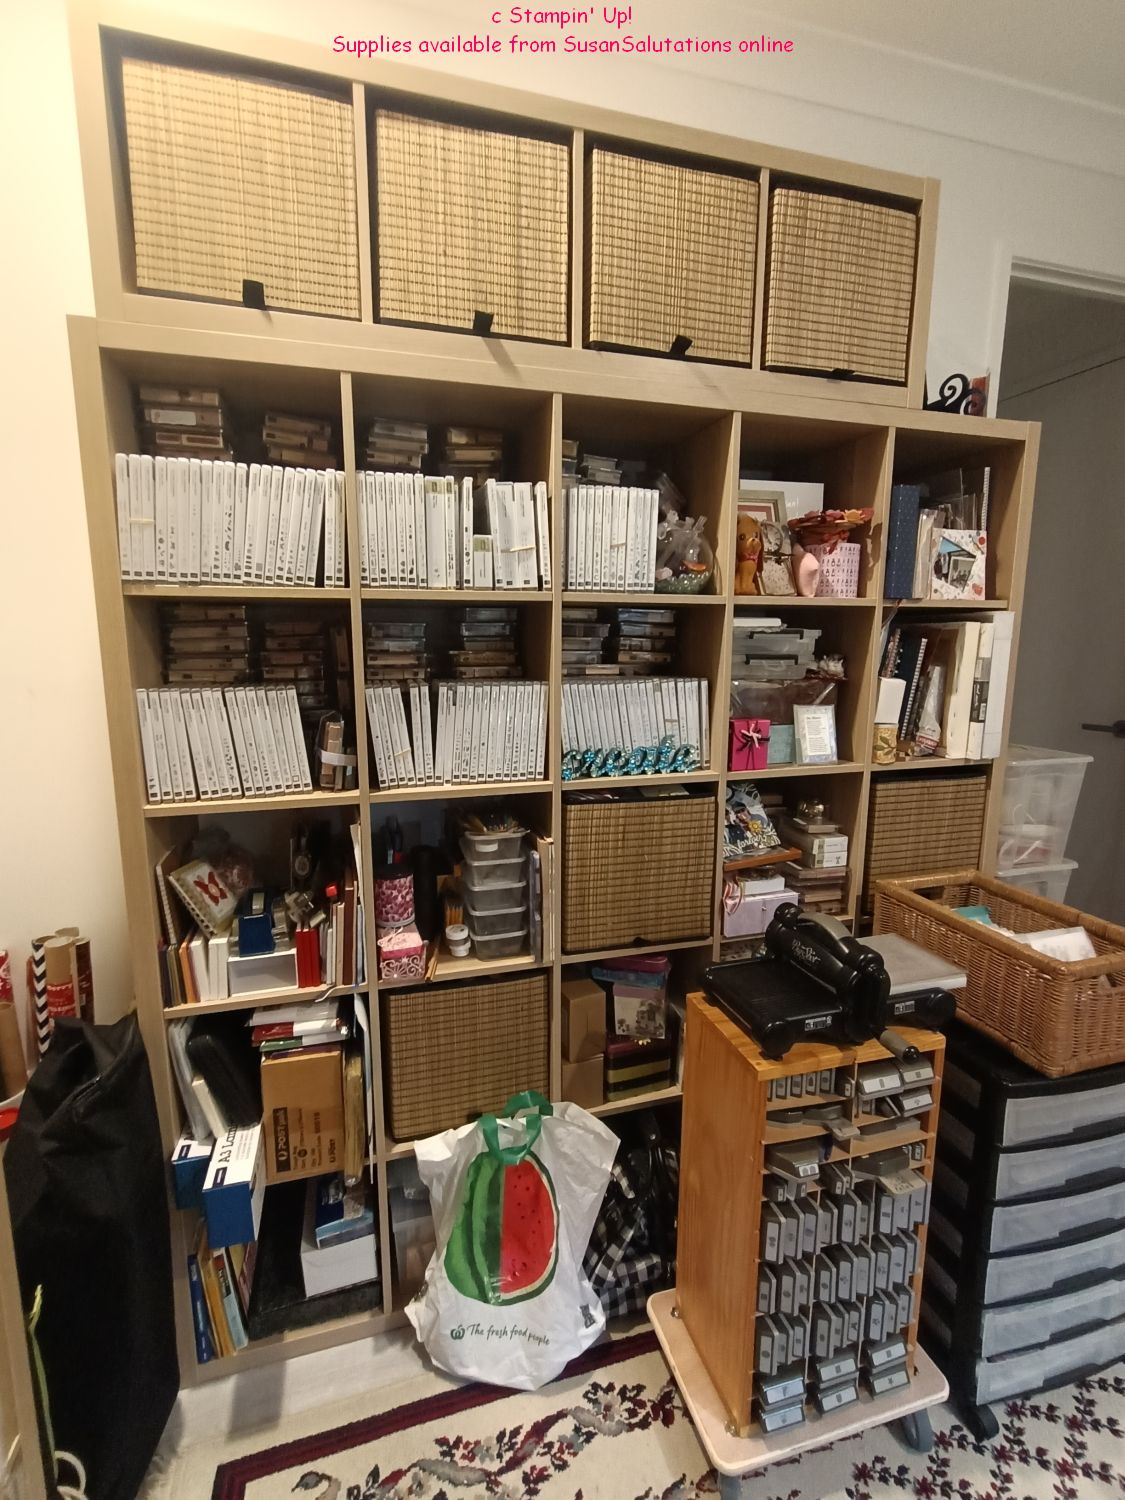
We eventually added two more rows onto each Kallax unit, making a four cube wide by six cubes high unit. We made sure we fixed these rows to the wall. I love my craft supplies but don't want to be buried in them!
The cubes to the right of the desk hold all the things I reach for most. No need to get up and down during craft sessions that way. I have things like markers, tools and adhesives in the easy to reach cubes.
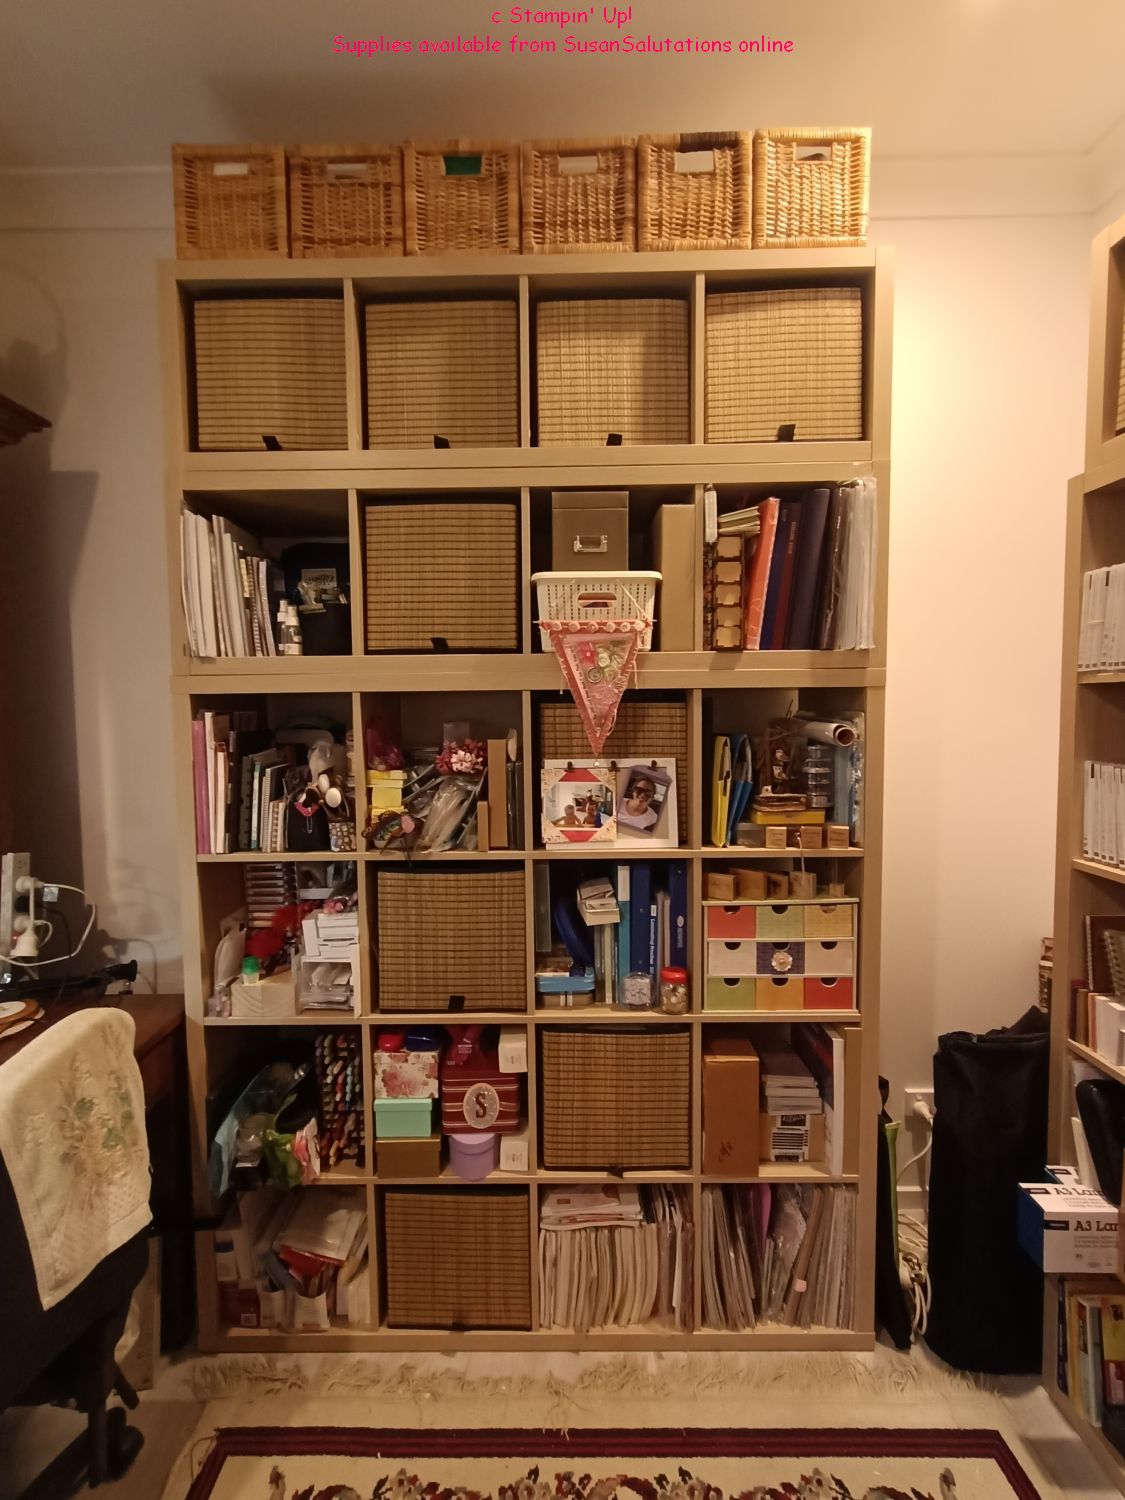
The bigger Kallax unit wound up being five cubes wide by six cubes tall. This one was also firmly fixed to the wall.
This is where my current stamps are. I have lots of retired ones in another storage unit in the room.
I also have a cube for wrapping gifts, one for embellishments, one houses my second Big Shot, and I have 12" x 12" designer series paper in some of the cubes.There's a cube for mailing things off full of staplers, tape dispensers and envelopes.
There are also items I like to display in cubes near the door. I have an open space on top to the far right where I can display a 12" x 12" layout.
This Craft room makeover part 4 is the best yet!
My desk works well with a hutch on the back. I am thinking of adding LED strip lighting to the underneath of the hutch.
I already ditched the desktop lamp you can see laying on the desk for a free standing floor craft lamp. The desk lamp was just too top heavy and got in the way of my hutch doors opening and closing.
Lighting is a work in progress. I do have good natural light to the left of my desk. That window goes practically from floor to ceiling.
Tools are still a problem, really. They just look so messy the way I have them, even though they are easy to grab. I'm thinking about how to do them differently and Brenda of Crafty Storage has a few ideas too.
You can see a ribbon holder behind the inks. I have plenty of other ribbon n one of the Kallax baskets. Brenda is going to fix that for me as well.
It's an exciting part of my Craft room makeover part 4 to be consulting with Brenda.
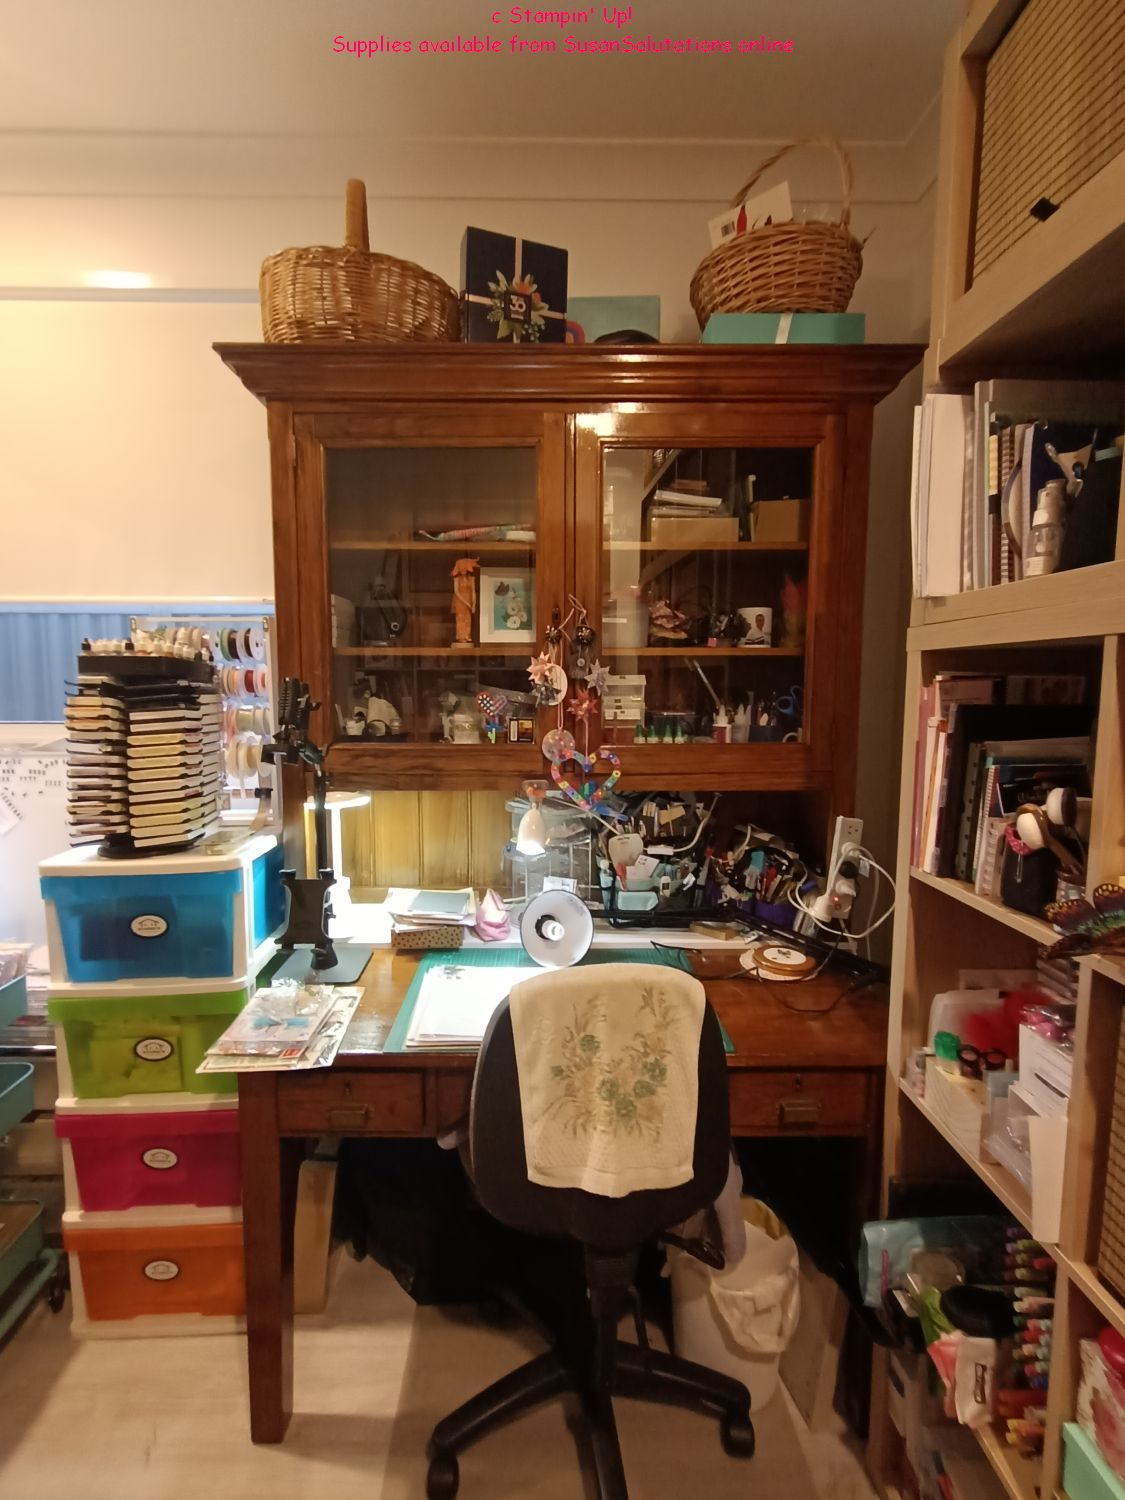
You can see I still have my ink pads on a carousel. That isn't going to last long. I've ordered some new ink pad storage from Brenda of Crafty Storage.
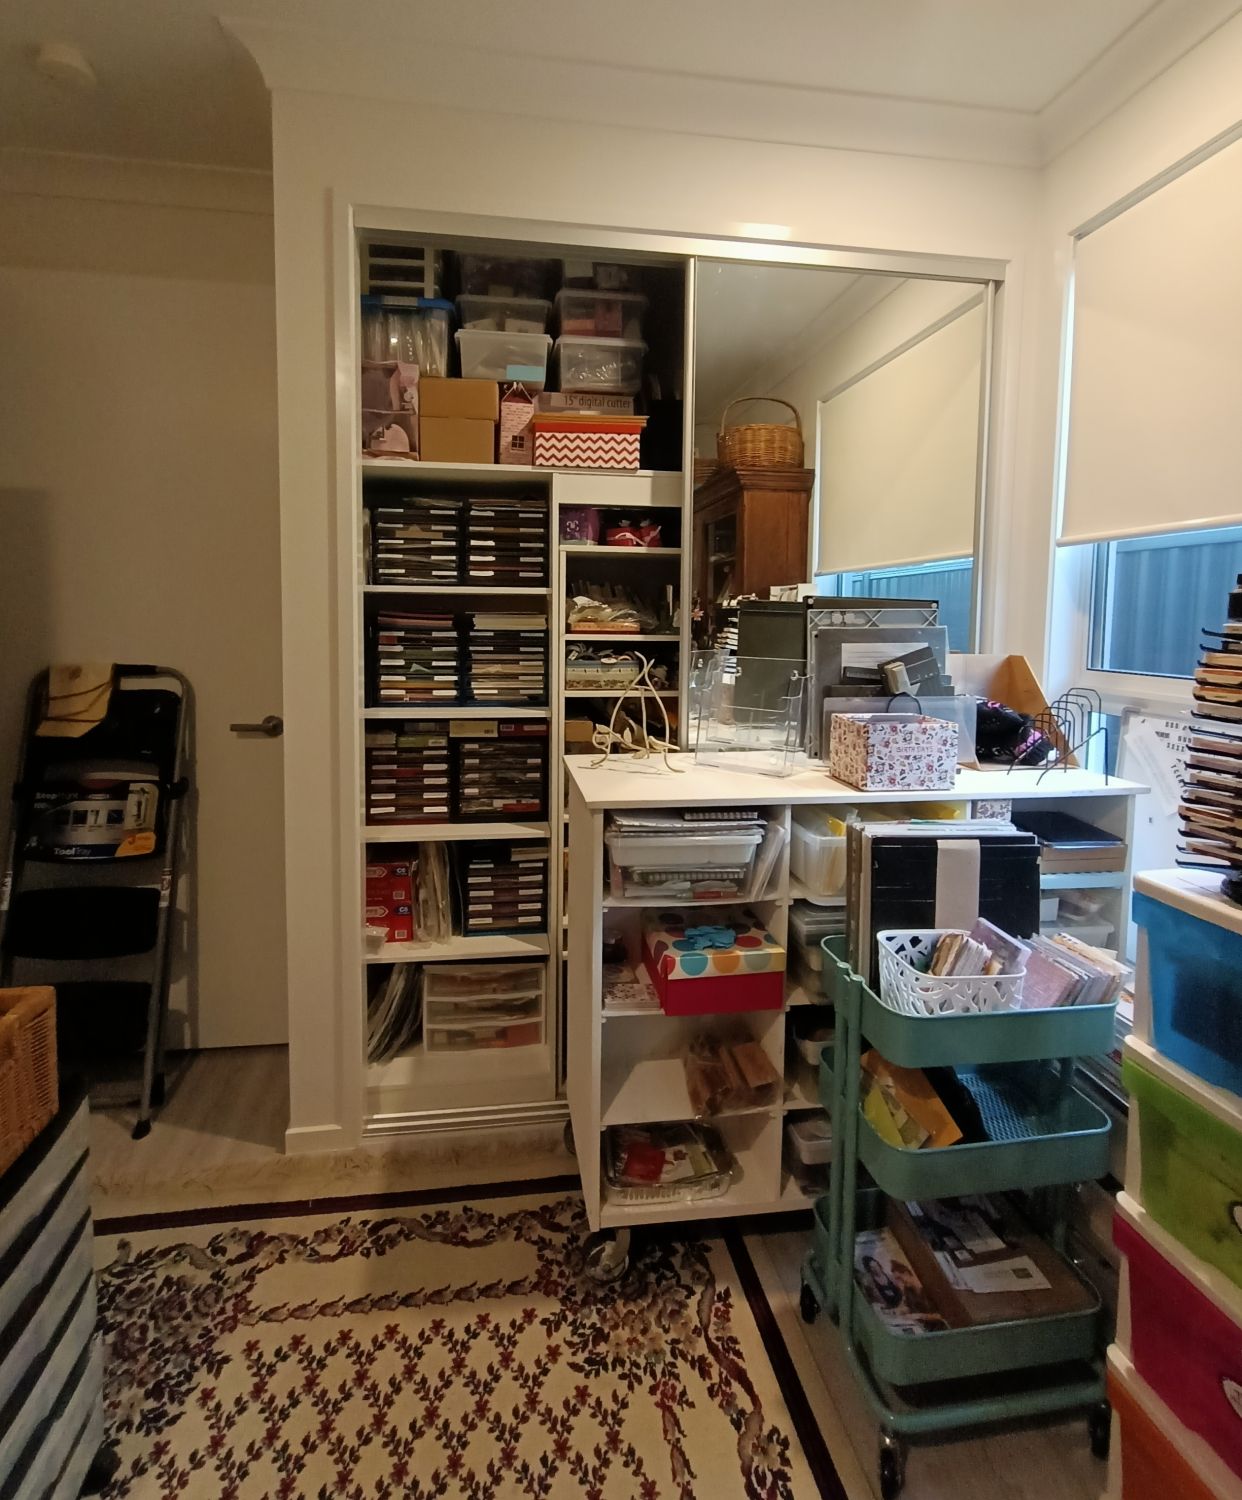
My wardrobe was able to be filled with shelving and was just right for my cardstock holders. I have packed away more things I don't use all the time, like seasonal items, in behind the mirrored door.
My rolling carts are everywhere and I have embossing powders in one cubby, handmade cards in tubs, paints boxes and art materials in other tubs.
My catalogues are in my Raskog trolley (also from Ikea) along with items I usually take with me to teach classes elsewhere, though my current designer series paper likes to live in it too.
It means my Craft room makeover part 4 has made it easier for me to be ready at a moment's notice (sort of!) to take a class out to someone.
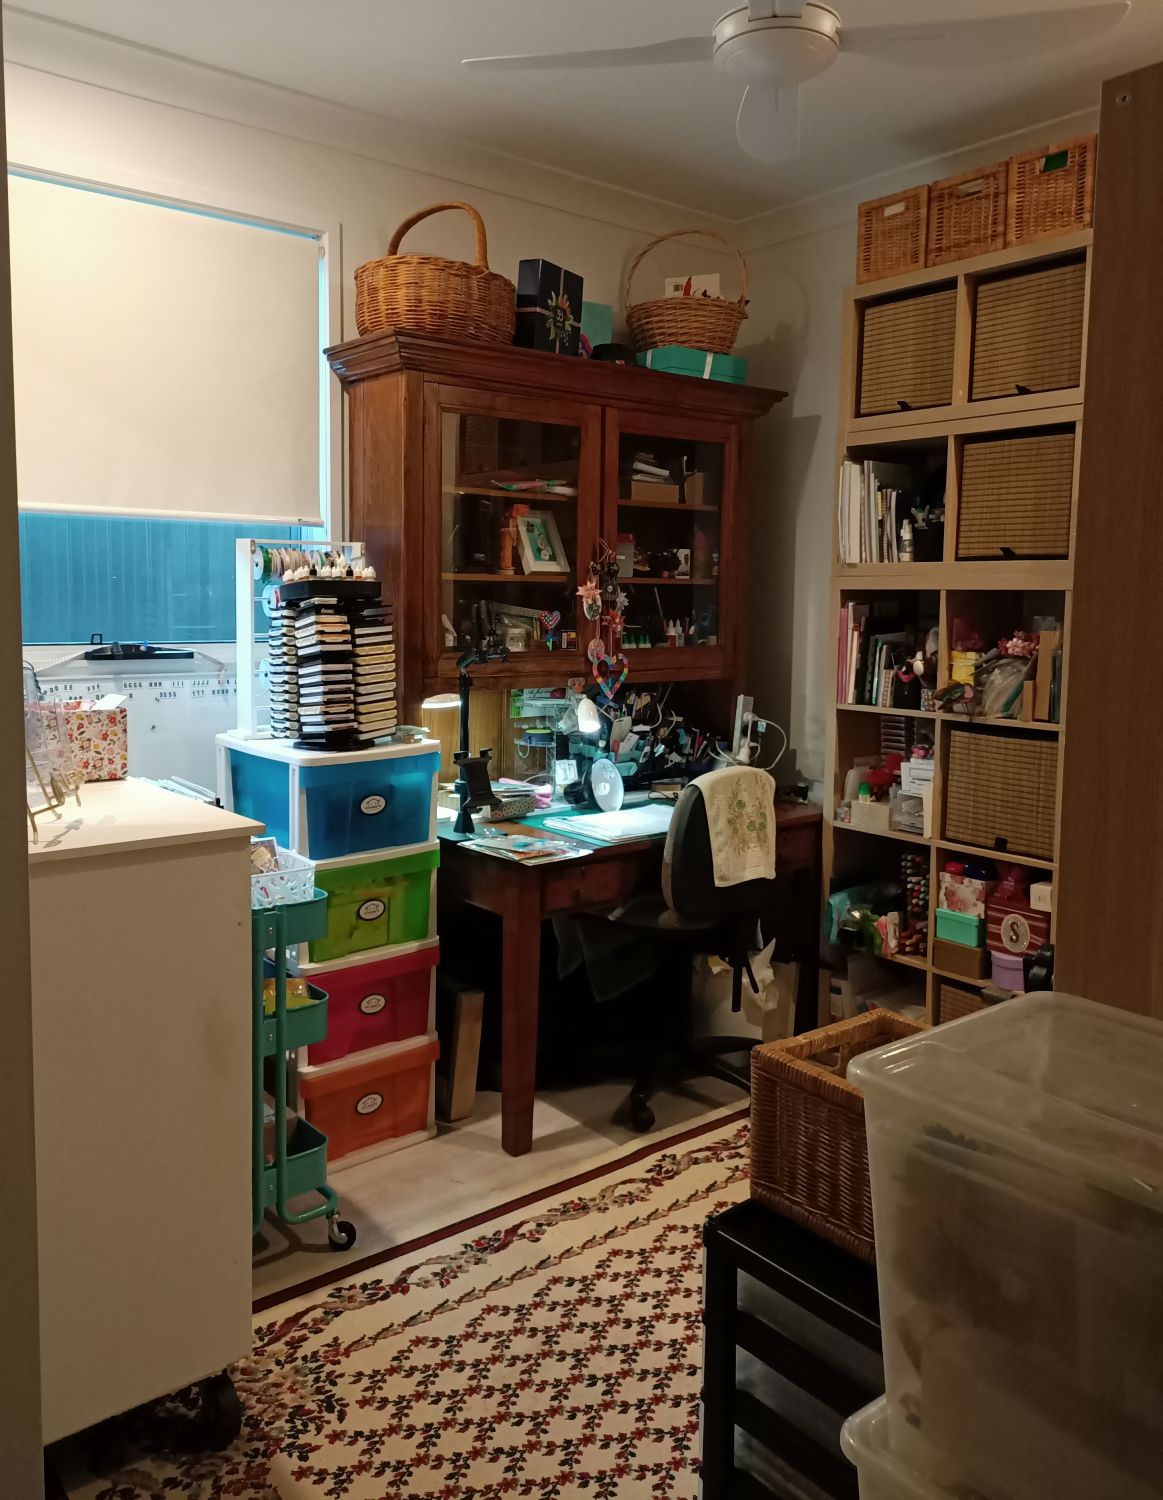
Here's a view from the door. I feel it is welcoming and that I have more floor space in this room than I had at our previous house, as the furniture is thinner and taller.
I like that I can pretty much see everything from my desk, and am spending a lot less time searching for things I just know I have! Great result, Craft room makeover part 4!
I was able to put all similar things together in 'collections', so there's a good chance I can find things by category (paints, inks, papers etc)
Another Step to Go
Now you have seen the rough shape of my latest craft room. I am working on details and ways to make my supplies more organised, so stay tuned for the next step!
I want to show you how Brenda created storage solutions for me that really help visually and create convenience for me.
It's all part of my Craft room makeover part 4!


New! Comments
Have your say about what you just read! Leave me a comment in the box below.