- Home
- Papercraft Adhesives
- Pop Up Corner Easel Cards
Easel Card or Pop Up Corner Card
Written and Created by PaperCraftCentral Susan
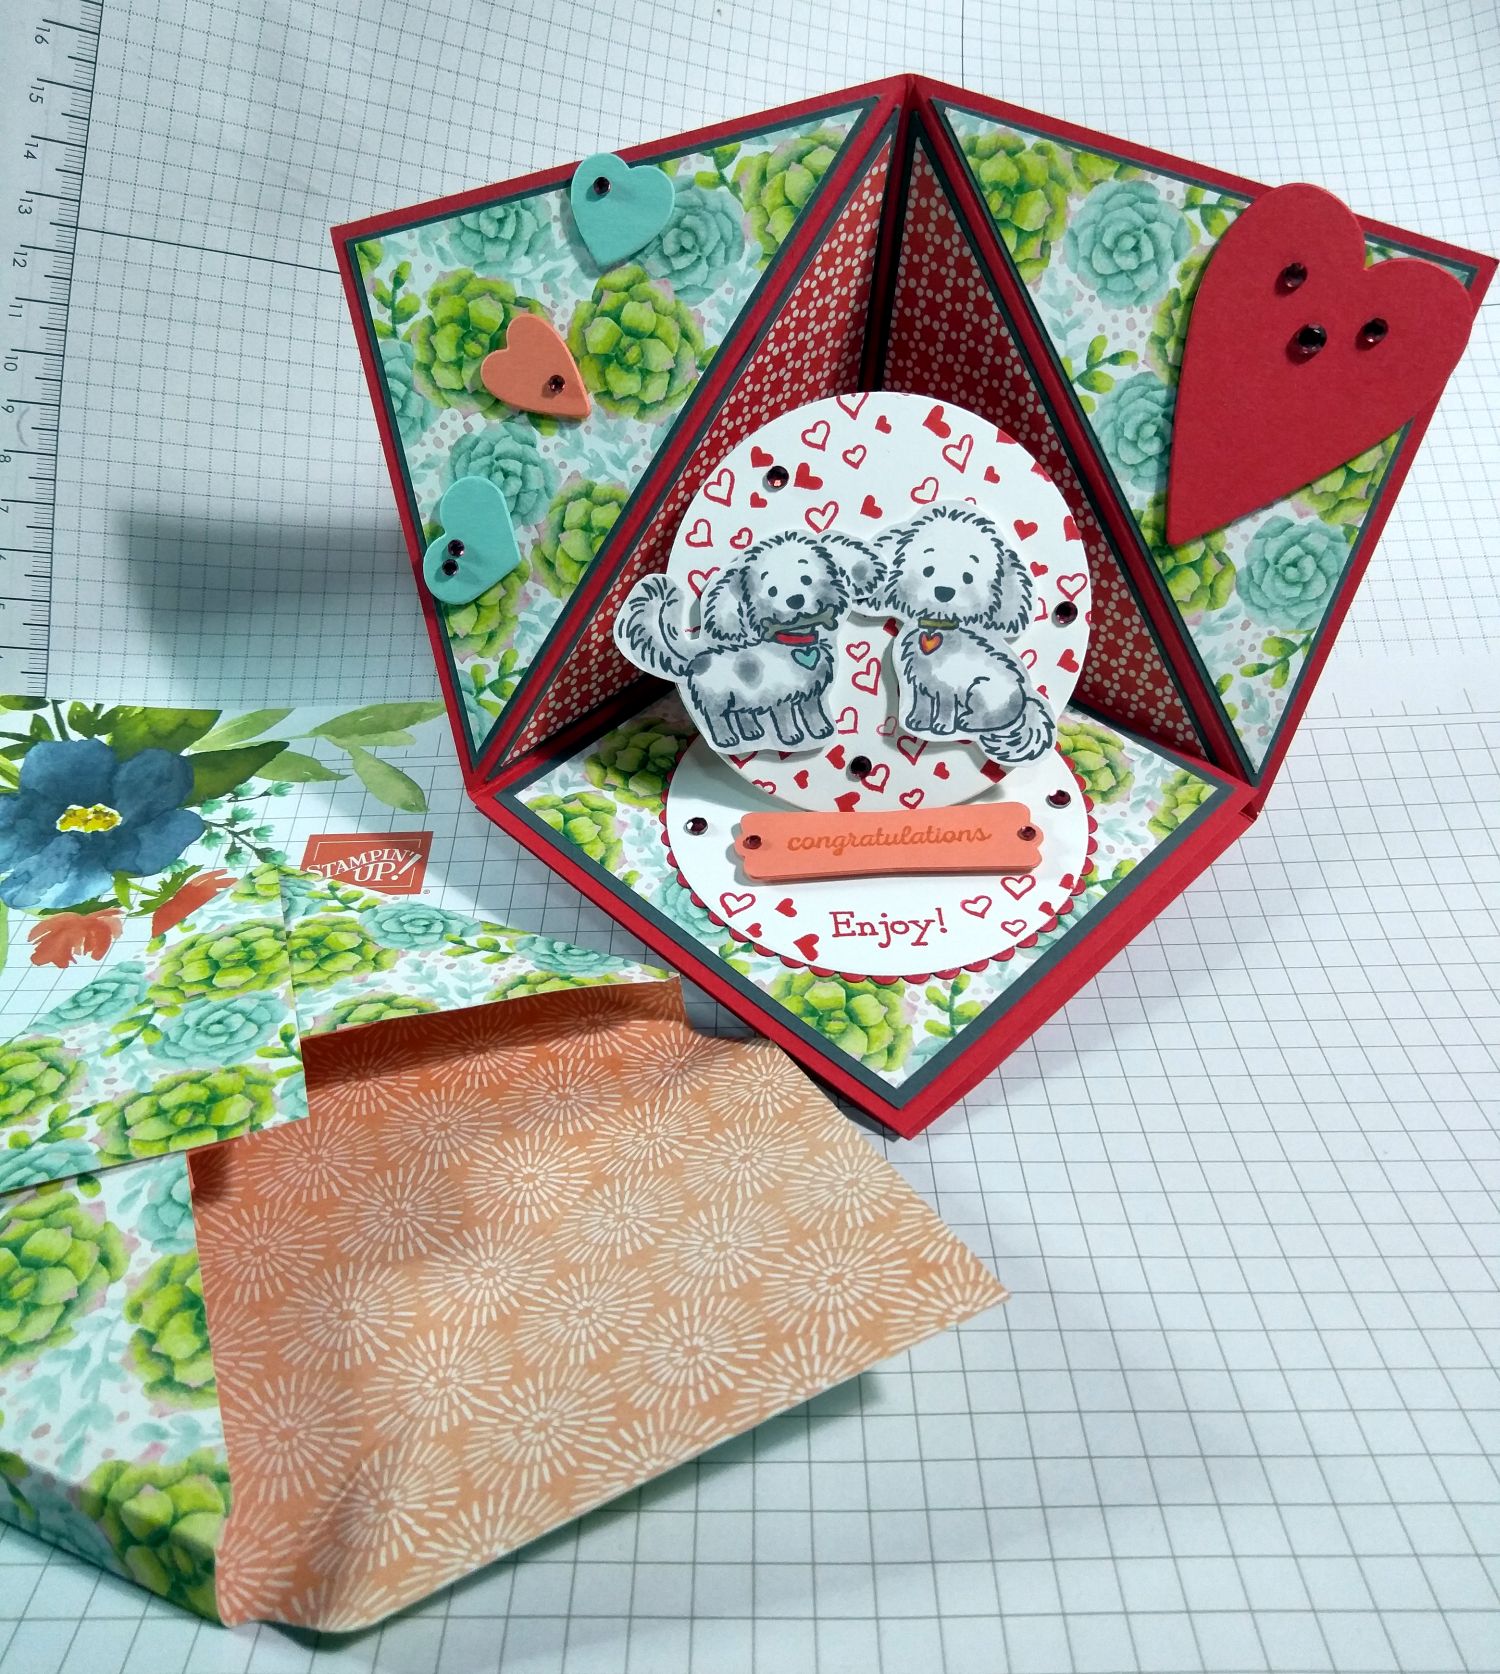
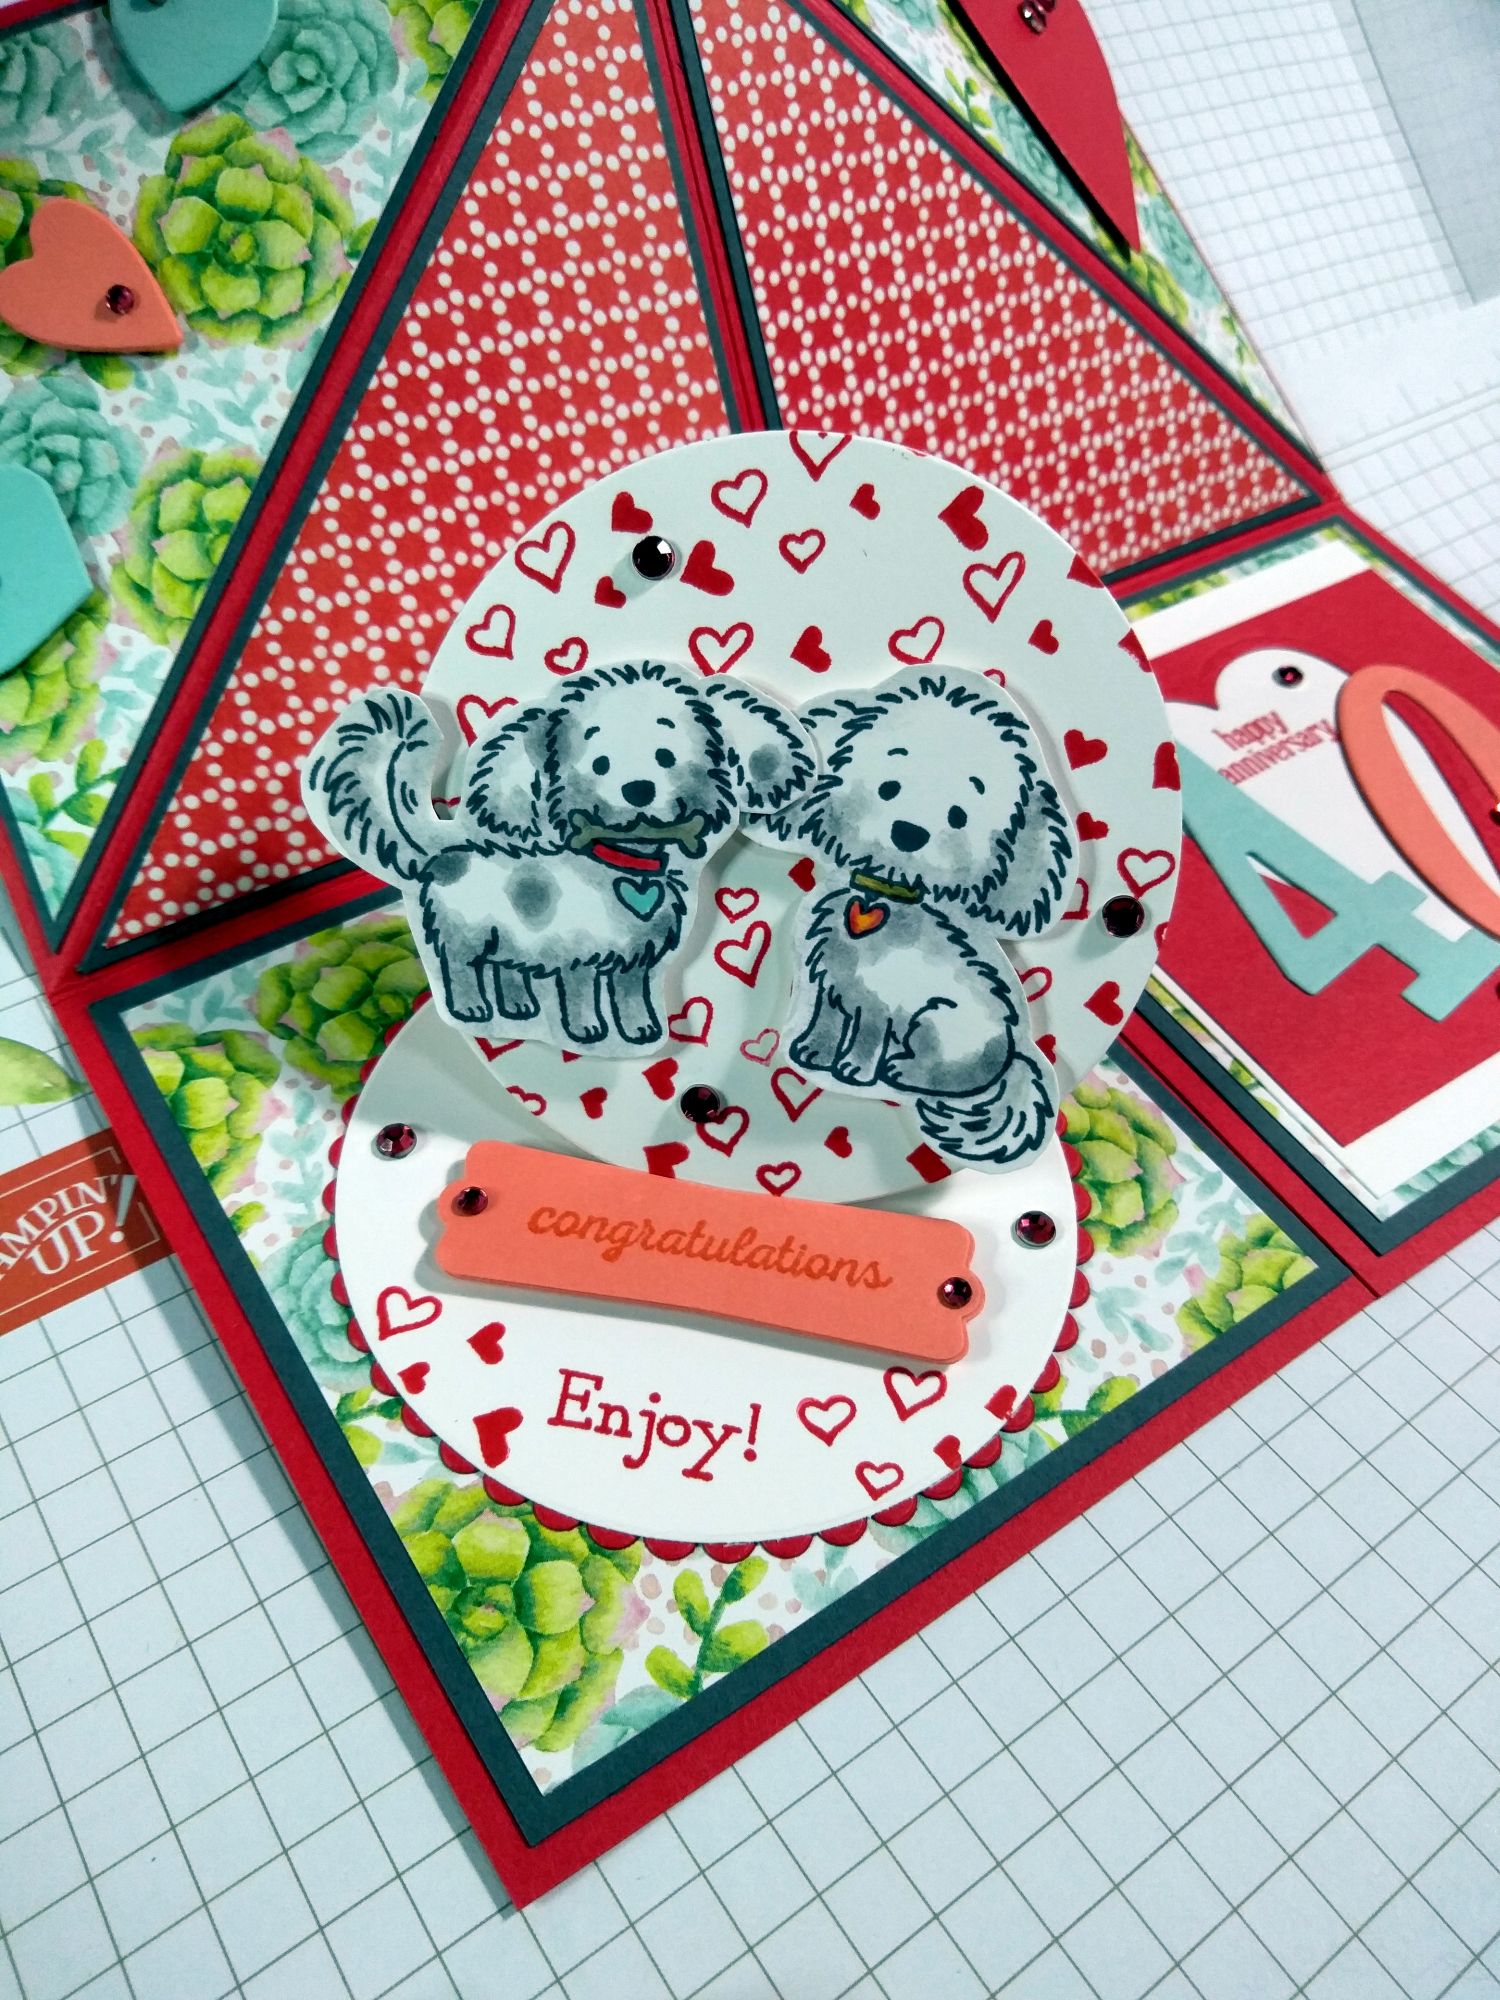
Here I show you how to make an Easel Card with a twist! The twist is, you add a little circle easel to the centre stage!

How to Make your Pop Up Corner or Easel Card.
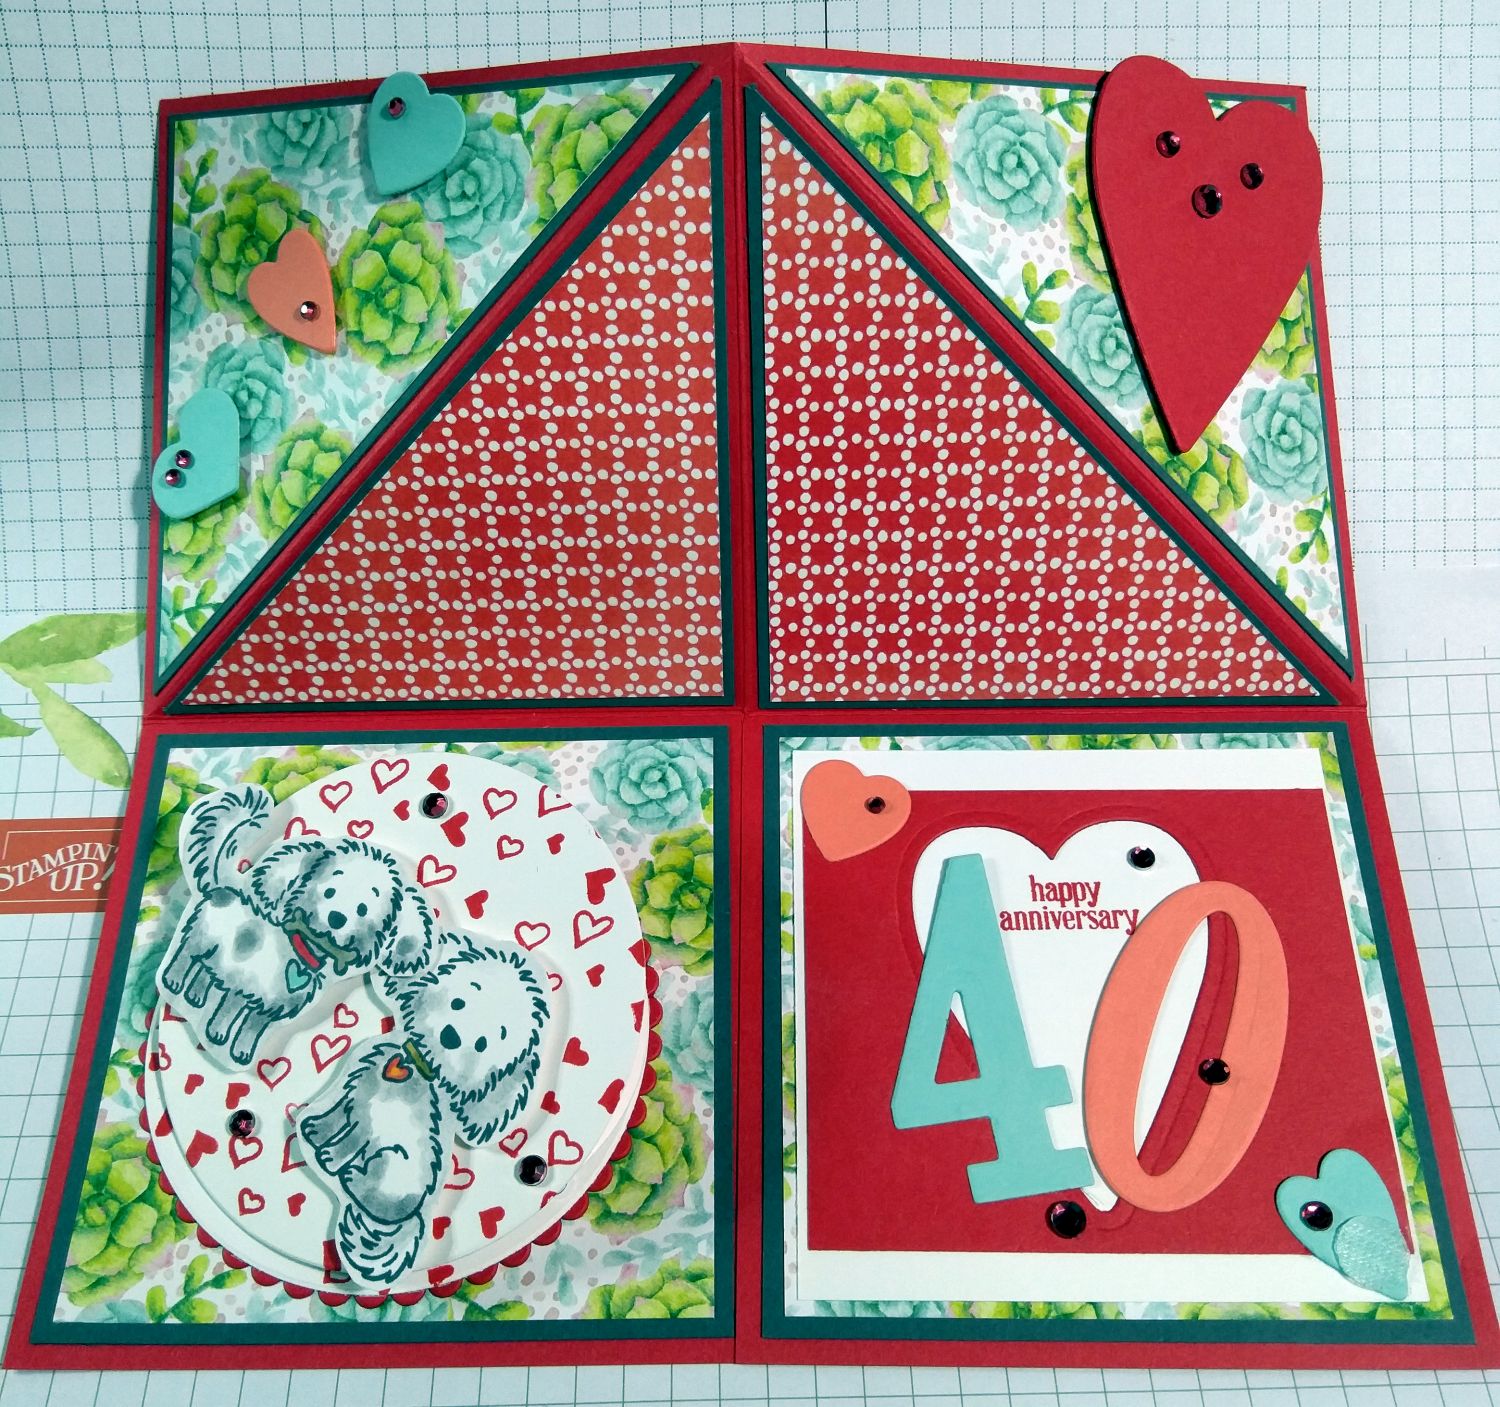
I made a card like this one to help two friends celebrate their anniversary. As it was a special one, they might want to display their cards for awhile.
Hey, even if it isn't a special milestone, I always display any hand made cards I get for at least a month! Who's with me?
The little pop up easel on this corner card was great for an occasion like this.
I gathered the following Stampin' Up! supplies for my project:
- an 8" (202mm) square of cardstock. In this case I chose
Poppy Parade, Basic Grey and Whisper White cardstock, - My Stampin' Paper Trimmer
- Four squares of contrasting card stock (9.5cm or 3.75" square). In this case I chose Basic Grey.
- Four pieces of coordinating designer series paper (9cm or 3.5" square) In this case I chose Painted Seasons designer series paper (retired).
- Stamp sets I used: Bella and Friends stamp set, Nine Lives stamp
set, Itty Bitty Greetings stamp set, all now retired
- Layering Circles dies and my Die Cut and Embossing machine
- Coloured rhinestones
- retired tag
punch plus other dies/punches of choice to decorate
- retired heart dies
- small Velcro dots
Then I followed the steps in the video below. I'll put some text instructions for you after the video.
Step by Step
- Score your 8" square of cardstock in the middle both ways, at the 4" mark.
- Cut one score line up to the middle
- With the cut line facing downwards (closest to you), score the top two 4" panels diagonally and mountain fold along these lines (fold them backward)
- Fold your entire base in half inward, right to left, in a valley fold
- Open your base out flat
- Fold along the middle score line in a mountain fold (backward)
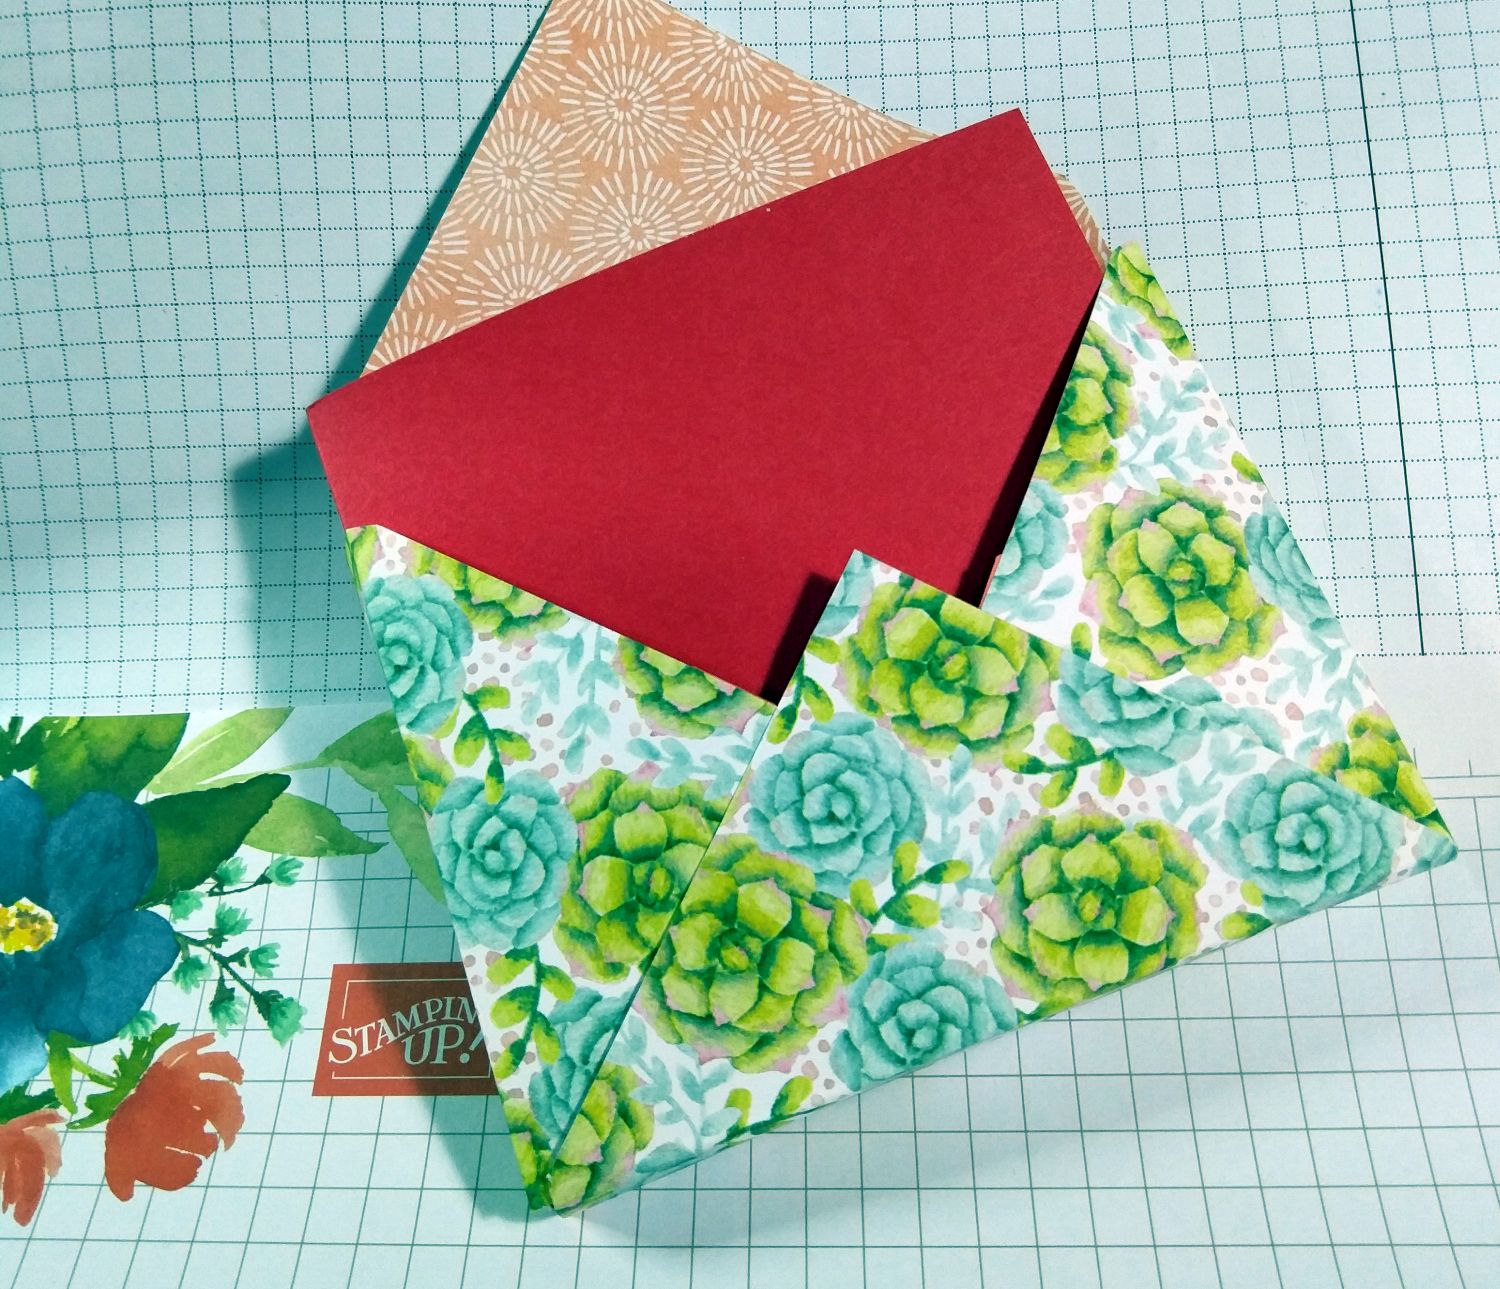
- The card should easily fold into a 4" square when the score lines are folded correctly and fit into your envelope like this.

Now you should have your base all ready to be decorated with the squares.
Be sure to cut two of the 3.75" squares diagonally to fit in the top two panels.
Cut two of your 3.5" designer series paper squares
diagonally as well and mat them to the cardstock triangles. You want the base cardstock to fold back easily.

Now for the Easel Card mechanism:
- Make a card base with some Whisper White, big enough to take the largest Layering Circles die.
- Allow the circle die to lap over the folded edge of the card base so it will form a hinge.
- Cut out the double circle with your Die Cut and Embossing machine. You should now have a circle card with a hinge.
- Score the circle card front in half horizontally. Fold the bottom half of the circle in a mountain fold (inwards).
- Cut out another Basic White circle and decorate it with your main images and greetings.
- Glue the full circle to the bottom half of your scored circle card front.
- Decorate the middle of your easel card.
- Choose the largest scallop circle die and cut a contrasting scallop circle with it.
- Adhere the easel card to the scallop circle
- Adhere the easel card to the bottom left 4" panel (see video for tips on how to get this lined up straight)
- Finish decorating your card
- Assemble your Velcro dot and add it to an inconspicuous place on the bottom right 4" panel
- Make the card stand up by overlapping the two bottom panels, pressing the Velcro dot to the back of the left panel in doing so
- Set up your easel element
- Enjoy your card!

You can also make an envelope from Designer Series Paper with the Envelope Punch Board. (now retired from Stampin' Up! but available in craft stores I believe). I made one for a 4" card and scored parallel lines on two opposite flaps and along the bottom flap at about 1cm (a little less than half an inch). Then the flaps became a box shape.
Or you can make your own envelope without having to use a special tool.
I added a bit of cardstock behind the flap points to allow them to be glued together, but you can also put double-sided tape on the edges to be sealed and just remove the backing paper when you want to seal it.
I hope you enjoyed this tutorial and will make your own Pop Up Corner cards with easel card elements in them. Imagine making a beautiful Mother's Day card or special birthday or even an elegant wedding card with this idea....
Happy crafting.
PaperCraftCentral Susan


New! Comments
Have your say about what you just read! Leave me a comment in the box below.