- Home
- Papercraft Adhesives
- Heat Embossing Techniques
Heat Embossing
Written and Created by PaperCraftCentral Susan
One of the most satisfying and effective paper crafting techniques is heat embossing.
"Embossing is the process of creating a three-dimensional image or design
in paper and other ductile materials. ..."
~Wikipedia
This is one of my favourite card making methods! There's something
amazing about how heat can transform ordinary-looking powder into a
shiny, raised and durable substance.
How to Create with Heat Embossing
This technique does require some thought about safety as you will need to use a heat source (like a heat tool) in order to melt the special powder. The powders come in many forms - clear, black, coloured, metallic, glitters.
The first heat source I used was a toaster! I don't recommend using a toaster as the paper can catch fire too easily. I proved that! Children will need supervision while trying this technique too, no matter what heat source you use.
You will need:
- A stamp to create your image
- Versamark ink
- Cardstock
- Embossing powder (EP) of choice
- A manila folder, folded piece of printer paper or tray to catch excess powder on
- A heat tool
- an Embossing Buddy or Embossing Additions Tool Kit
- Tweezers
- A soft paintbrush and a small one with stiffer bristles
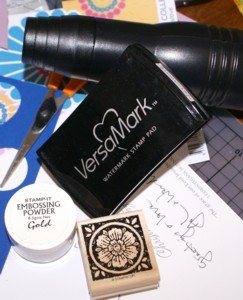
Here's what to do:
- Plug in the heat tool and set it aside so it is ready
- Ink up your stamp with Versamark Ink. Versamark is a sticky ink that takes awhile to dry, so you can catch the dry powder on it very easily. You can use other types of ink as well but they probably won't be quite as sticky so you may need to work faster with them. In fact, the Stampin' Up! inks are definitely sticky enough to allow you too use them instead of Versamark so you get a coloured image under clear embossing powder, but do work quickly with them.
- Open the bottle of embossing powder and set it out ready on your folded piece of extra paper.
- Brush over your cardstock with the Embossing Buddy. It will stop powder from clinging to bits of oil left from finger prints etc.
- Stamp your image onto your cardstock in Versamark or another sticky ink.
- Place your stamped image in the middle of the opened folder, folded paper or in the Powder Pal tray.
- Take the jar of powder and pour it all over the stamped image. The ink will be sticky and catch hold of the powder. Be generous with the powder - you will get most of it back! Be sure to keep your powder on the folded paper so you can easily collect it to return it to the bottle without it being contaminated with bits of fluff and dust.
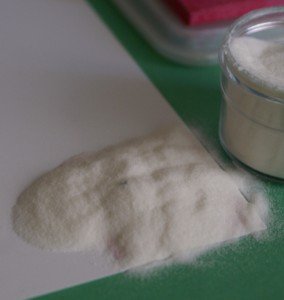
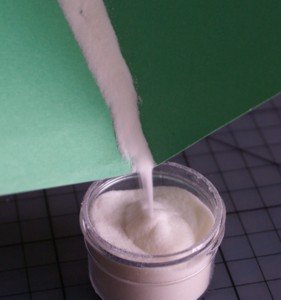
7. Pick up the stamped image with the tweezers and pour the excess powder into the tray or onto the fold.
11. This is the amazing part! Pick up the stamped image with your tweezers or hold it down with say, your bone folder or a wooden meat skewer so it won't get blown away by the heat tool and apply heat to the image with the heat tool. Hold the tool about 5cms (2 1/2") away from the image, or even a bit higher.
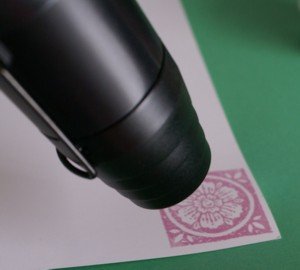
13. Set the image aside to cool. It won't take long.
14. Trim and use your raised image as desired.
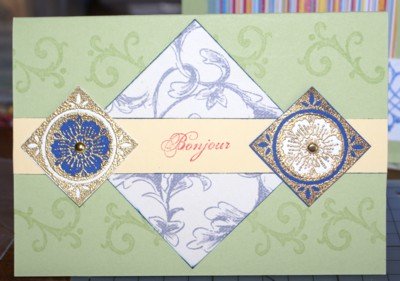
Other things to try:
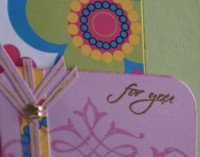
- Stamp your image with a coloured Versamark ink (or other type of ink) and use clear powder over the top. The ink colour will show through and be enhanced. I have done this with the pink image, for example.
- Colour your image after you have heat set the powder using pastels, watercolour pencils, paint, et.
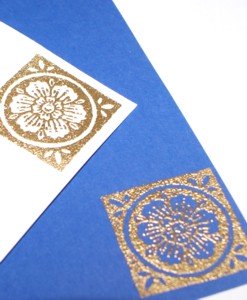
- Use metallic powders on dark cardstock and cut the finished image out to use as an embellishment.
- Try using a solid image or sentiment to make a real statement.
- Emboss the edges of cardstock by dragging the edge in Versamark and applying powder as above. You can make gold edged paper, for example, with this method.
- Try this technique on 3D item.
- Try Dry Embossing either manually or with the Die Cutting and Embossing Tool.
- Try making faux metal.
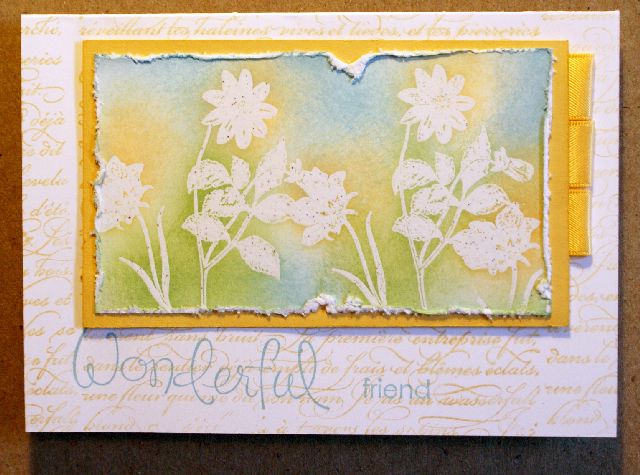
- Try the emboss resist technique by creating your images with melted powder then rolling some ink over the top of them. A soft tissue will remove the ink from your images and they will really pop like these flowers do below.
If you have an example of how you have used heat embossing on your cards, please do share!
Do You Have A Favourite Handmade Card to Share?
Do you make greeting cards? Please do share it with me.
What Other Visitors Have Said
Click below to see contributions from other visitors to this page...
Stamping into Wet Embossing Powder Card Not rated yet
I heated some embossing powder on this card then stamped into it before it cooled to create a more 3-d effect.
Tanyah
***
Hi Tanyah
…


New! Comments
Have your say about what you just read! Leave me a comment in the box below.