- Home
- Papercraft Adhesives
- Pleated Flowers
Fan Fold Flower
Written and Created by PaperCraftCentral Susan
Make a fan fold flower to adorn your next handmade greeting card or gift box.
"Flowers seem intended for the solace of ordinary humanity"
~John Ruskin
A fan fold flower is based on such a simple process. You cut a
strip of designer paper and begin pleating it into an accordion fold,
but wait. Perhaps I should start at the beginning.
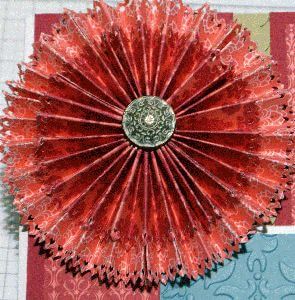
Tools for making Fan Fold Flowers
Here are the papercraft tools and other items I used to hand make my own flowers. You will probably need a few things like this:
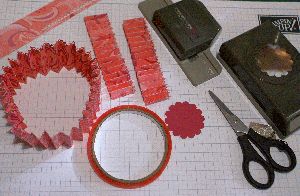
I have a border punch in the picture, along with a scallop circle punch, some strong adhesive and paper snips (scissors).
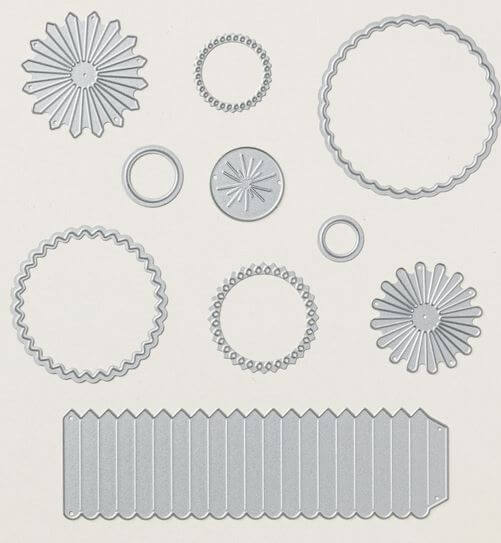
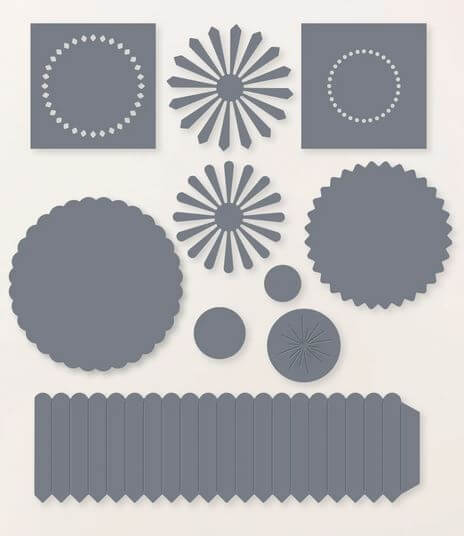
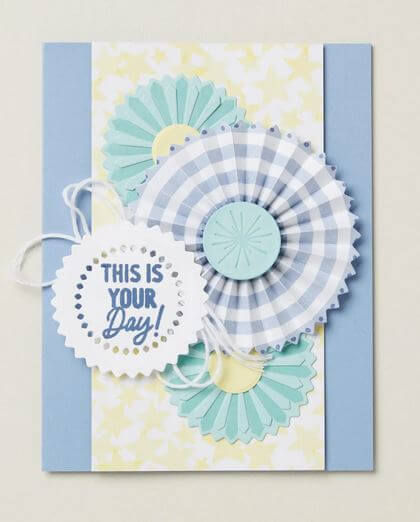
There are currently some lovely dies that will help you make these types of flowers. They are available from my SusanSalutations online store and are called the Round We Go dies. They make accordion fold flowers and embellishments a breeze! And there is a matching stamp set to go with these dies:
How to Make a Fan Fold Flower
I used the following list of tools and supplies to make my flowers form scratch. You will see how the dies above have pieces similar to this project's pieces.
Be sure to cut two of the accordion fold sections and join them together to make a fuller flower:
- Paper trimmer, scissors
- Fine Tipped Glue Pen or Glue Gun, Tear'nTape or other strong adhesive
- Bone folder
- Your choice of designer series paper and coordinating cardstock
- Scallop circle punch
- Decorative border punch
- Large decorative brad or button
- Simply Scored Board (or a ruler and your bone folder, or paper trimmer with scoring tool attached)
Here's what to do:
First, cut two 12"(20cm) x 2"(4cm) strips of designer series paper. Punch one edge of the strips with your decorative border punch.
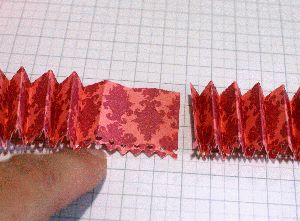
Next, join the other two ends together with strong double sided tape or Tombow Multi Liquid Glue so they form a circle.
I am about to do that in this photo:
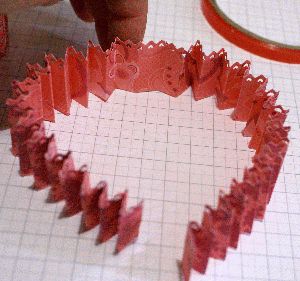
If you like, make a smaller pleated and accordion folded strip to add to the centre of the bloom as a contrast or just to have a layered effect.
Simply stack the smaller, completed, folded and scored circle on top of your original circle. The next step will ensure the two layers stay together.
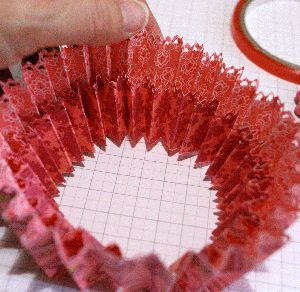
Now flatten the circles out and gather them in to form a tight, flat flower. This can be tricky!
The first few times I tried it, my flower flew across the room! I had to be very deliberate and firm with it, without squashing the pleats:
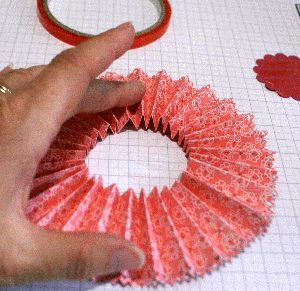
Eventually you will get the folded circle of paper to lie flat and you can then gather it in to form a tight join in the middle like this:
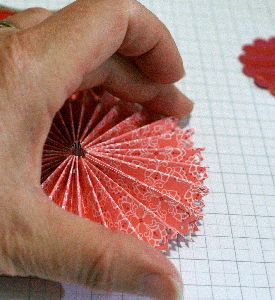
Your rosette might get away from you at this stage and spring out of your hands but you can always gather it back in again. We always have a few giggles in classes when people lose their rosettes!
Quickly adhere your prepared scallop circle to the back of your bloom with lots of Tombow Multi Purpose glue or hot glue and then turn the whole flower over to its right side.
Fill the centre or the rosette with Fine Tipped Pen Glue or hot glue and add the straight shanks of your brad or button to the centre. You will need to have a thread through your button to anchor it in the Fine Tipped Glue pen glue.
Then use a heavy object such as your border punch to weigh it down while the glue cures.
Alternatively, use a Hot Glue Gun to do this part. If you add glue to a silicone mat and press the flower into the glue, the middle adheres almost immediately and stays flexible.
You can then wait for it to dry before easily peeling your flower off the mat.
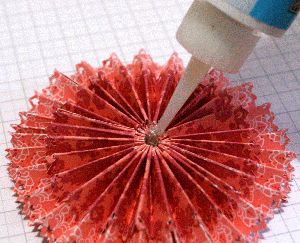
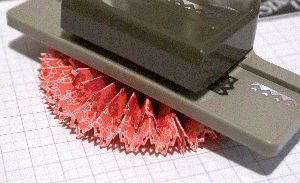
you can Now use your rosette to adorn a card or gift box!
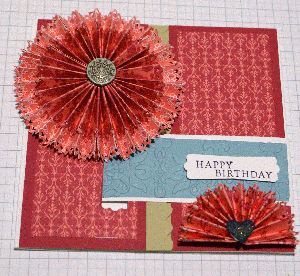
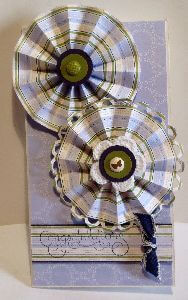
These flowers were made with shorter strips of designer series paper so they look more open and sit a bit flatter when completed. I just udes one strip of accordion pleated paper to make my flowers instead of two.
And here's a card I made using the Round We Go dies. I wanted it to be a big enough card for group signing, so I folded a sheet of A4 Basic White Thick cardstock in half lengthwise and trimmed it to the width I wanted:
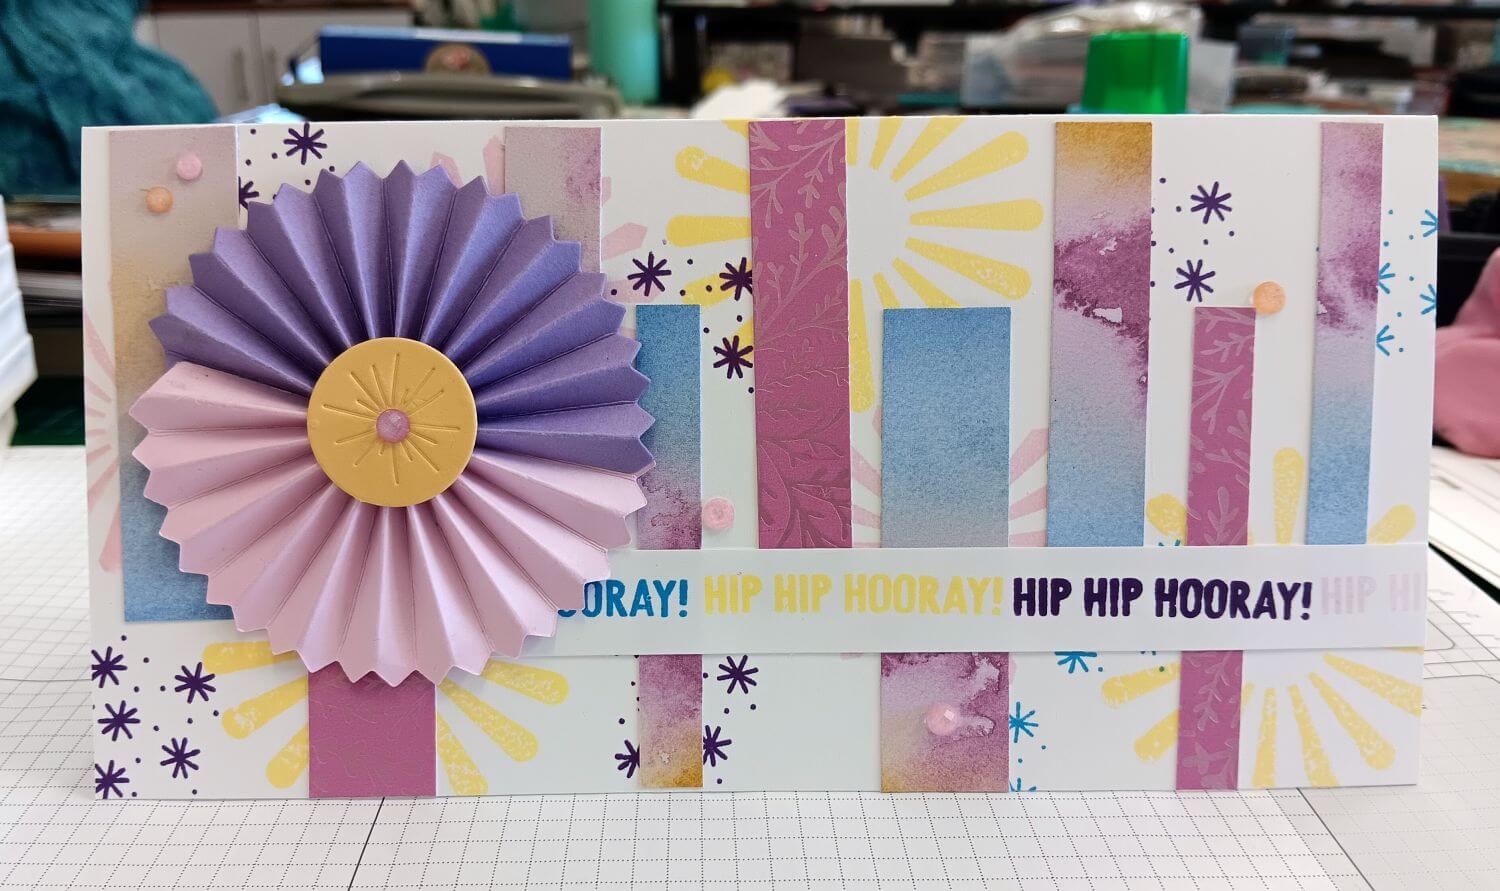
Now you know how to make fan fold flowers, accordion fold flowers, pleated flowers or rosettes! They make great three dimensional embellishments for cards you want to hand deliver, gift wrapping, scrapbook pages and more.
I hope you enjoyed this project. Now you may like to try something else:
- Chocolate Favours
- A Chocolate Candy Bar card
- Making your own flowers in other ways
- Making paper flowers
- More flowers to make
Return from Fan Fold Flower to How to Make Paper Flowers | Return to PaperCraftCentral Home Page


New! Comments
Have your say about what you just read! Leave me a comment in the box below.