- Home
- Papercraft Adhesives
- Flower Embellishments
Flower Embellishments for a Cause!
Written and Created by PaperCraftCentral Susan
Make textured flower embellishments from chipboard!
"When you have only two pennies left in the world,
buy a loaf of bread with one,
and a lily with the other'.
~Chinese Proverb
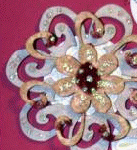
How I Made One Type of Textured Flower Embellishments:
Making textured flower embellishments from chipboard is a lot of fun! And knowing I was making them and benefiting an Alzheimers fundraiser one year made them even better. This time I was to make a textured flower and use it to embellish a handmade card.
That was one of the challenges at the Stampin' Out Alzheimer's fundraiser.
I decided to break out the flocking powder for this one. It gives things such a lovely, soft feel and finish.
If you have not heard of flocking powder, it is often used to put a soft lining in boxes, or to stop wooden items from scratching surfaces. Flocking powder is like powdered suede.
The choice of flower style was entirely 'free' so I picked a chipboard flower shape as my base to add texture to. Here's what it looked like in its raw state:
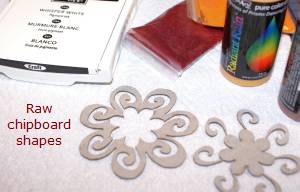
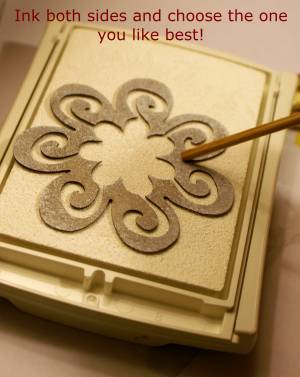
Next I chose some Stampin' Up! white craft ink (item no 101731 at the SusanSalutations web site) and covered the bottom layer of the chipboard shape with it.
I covered both sides of it so I could choose the one I liked the best.
I love it that paper has two sides! Very forgiving of it, wouldn't you say?
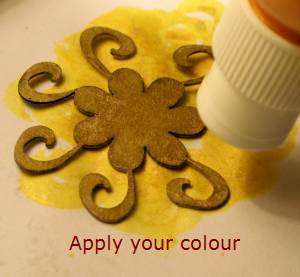
Then I turned my attention to the top layer of the flower and got out my rainbow paint daubers. I chose the yellow rose coloured ink. It has such a nice shimmer to it.
I covered both sides of this layer too.
TIP: Use a heat tool to speed up the drying time of the ink and the paint but be careful not to scorch the chipboard.
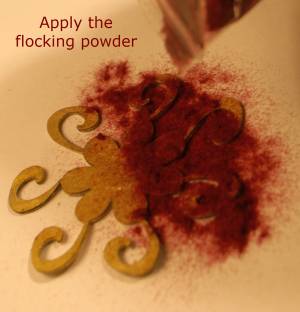
After that I added the flocking powder.
You can use a similar technique to the heat embossing technique. Choose your colour, add some glue (not Versamark ink) to the places on the chipboard that you want to cover in flocking powder, then pour the flock onto the glue.
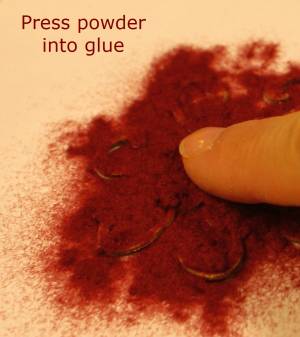
Unlike embossing where you shake excess powder off, with flocking powder you need to lightly press the powder into the glue afterward. Tap off any excess and allow the glue to dry after you have gently pressed it into the glue as much as possible.
Of course, save your excess powder by pouring it back into its packet to be used another time.
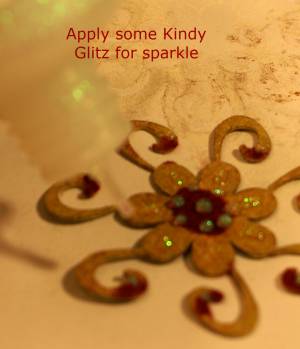
After the glue has dried, add some Stampin' Up! Dazzling Details where you want some glitter and sparkle.
Once that is dried, you can build your textured flower and use it for scrap booking, card making, or embellishing any project you have in mind.
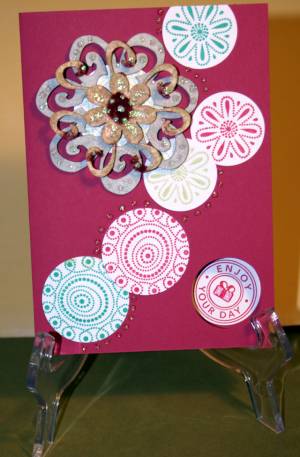
I decided to use my flower embellishment to make a card, of course, as that was the challenge requirement.
I stamped out some more flowers on Whisper White cardstock in three different coloured inks, punched out a circle shape in the lower right hand corner, added a sentiment behind that in the body of the card, and placed them on my card.
I used pop dots (Stampin' Dimensionals) to build my flower.
Then I added a trail of Dazzling Details to tie everything together.
Here's the result:
Here's a close up, sideways view of the finished textured flower:
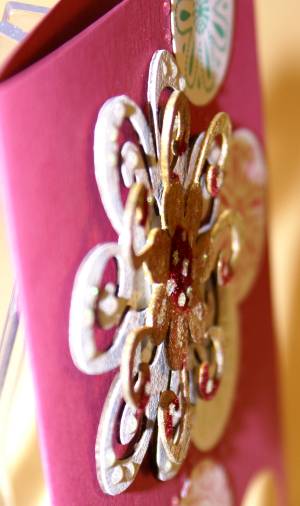
I hope you are feeling inspired to make your own textured flower embellishments now.
Use glitter or thick paint, flower soft, use your piercing tool or even consider sanding and embossing as textural elements, or tell me about another way you have thought of to create texture.
The Stampin' Out Alzheimer's Community was only available till May 31st 2009 but don't let that stop you making your own textured flowers.
Joining in challenges like this is not only helpful to causes close to your own heart, it extends your crafting range when you allow yourself to be challenged.
If you do make your own textured blooms, please do show me your pretty projects by writing to me using the form below.
Hmmm. Tomorrow I'm going to try a button challenge I think.
If you liked this fundraising idea, you may also like to read about how to run a Craft Auction or how to donate Cards for the Troops.
Submit Your Challenge Entry Here
Please do show me your entry for the Challenges, with a picture or two or three, and a few words about how you made your creations.


New! Comments
Have your say about what you just read! Leave me a comment in the box below.