- Home
- Papercraft Adhesives
- Halloween Cards
Halloween Cards and More!
Written and Created by PaperCraftCentral Susan
Do you make Halloween Cards for friends or family? There are certainly some amazing resources from Stampin' Up! to make crafting them a breeze. Find some ideas below for making them at your own craft desk.
Pumpkin Halloween Cards
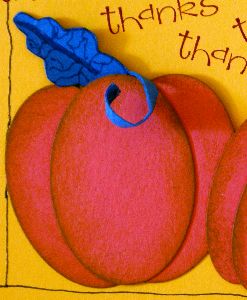
Making elements from punched shapes is one of the quickest way I know to make cards in general. If you want to see how to make a pumpkin card, this Halloween/fall/Thanksgiving project page shows you how. You could make them spooky by adding a cobweb or two, or masking off the pumpkin and having a little face peer from behind it. Don't forget to include a face for your pumpkin by using a stamp or free drawing one with a black Stampin' Write marker!
Of course, if you don't want to use a punch to make your Halloween Cards, you can always find a lovely pumpkin in this stamp set, like this one named Turnover (Item no 154873).
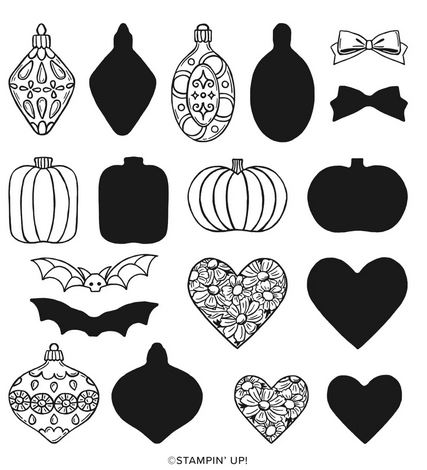
I like the Turnover stamp set as you can use BOTH sides of the stamps. One side will give you a solid shape, and the other side of the stamps have lined images. You can stamp a solid shape in orange, then stamp a black lined image over the top.
And see? There are other images in the set for Christmas, Valentines Day, etc. What a versatile set!
Another stamp set I like is the Banner Year set (Item no 153464). It too is versatile as it includes images for other occasions.
Banner Year Stamp Set
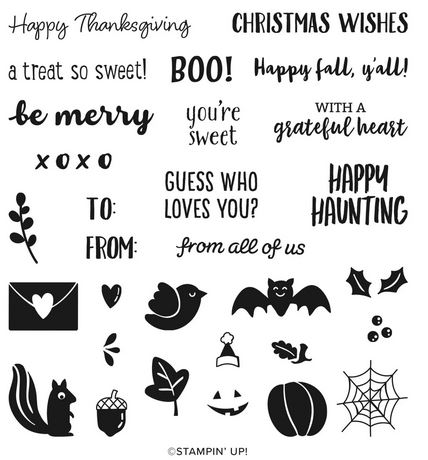
You could grab the spider's web from this one to add to a corner of your punched shape pumpkin card. There's a face for you there too! Add faces to your stamped pumpkins as well and fly a few bats around overhear, with a sentiment floating in the sky or on a tag, and you would certainly have a Halloween card!
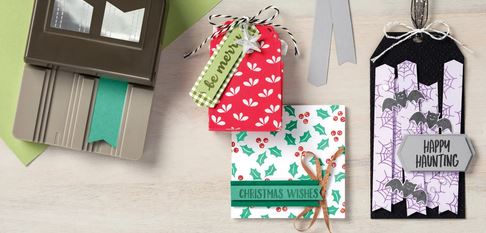
Here are some ideas for how to use the Banner Year stamp set and coordinating tag punch:
Another more classic stamp set for Halloween Cards is the Hallows Night Magic one (Item no 153356). This one is my 2020 favourite.
Hallow's Night Magic Stamps & Dies
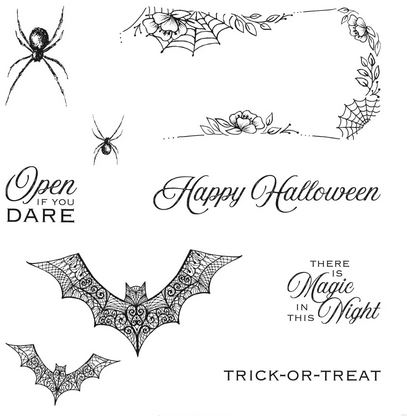
If you ask me, the curvy spider webs and flowers are just begging for a pumpkin to be masked in there.
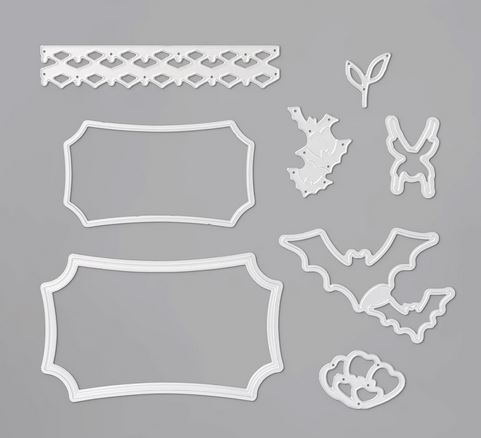
And of course, you can use the curvy images to create a tag with the Hallows Night Magic Dies.
Aussie readers, why not turn that spider into a Redback??
Remember, if you buy the Hallows Night Magic stamps and dies together as a bundle (item no 155188) you save 10% off the regular price of them when they are sold separately.
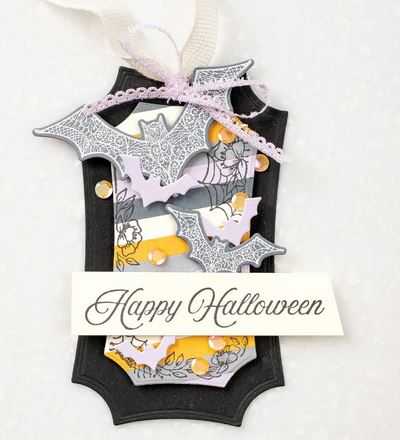
Here's a decorative idea for making a tag with the Hallows Night Magic bundle. You can add it to a special gift, but why not add the tag to a card base and make that your Halloween card?
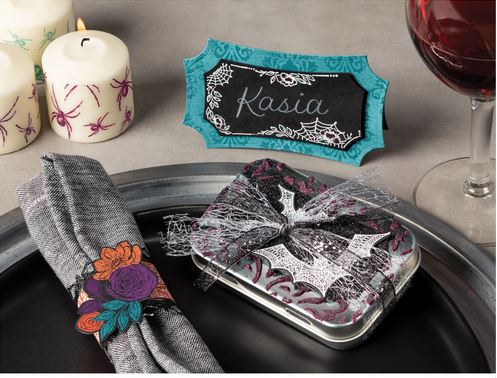
And if you were having friends or family over for a special meal, a party or just because, here's an idea for using the Hallows Night Magic bundle to make place settings for your guests. The rectangular tins are also available for purchase in my SusanSalutations store, while stocks last.
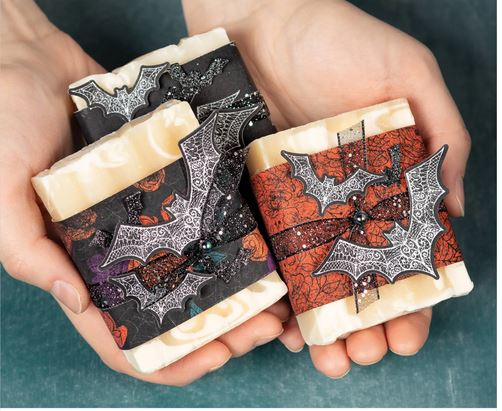
Gift giving becomes a real treat with the Hallows Night Magic bundle. Did you know there is also coordinating Designer Series Paper for this bundle? That's what has been used to wrap up the pretty soaps.
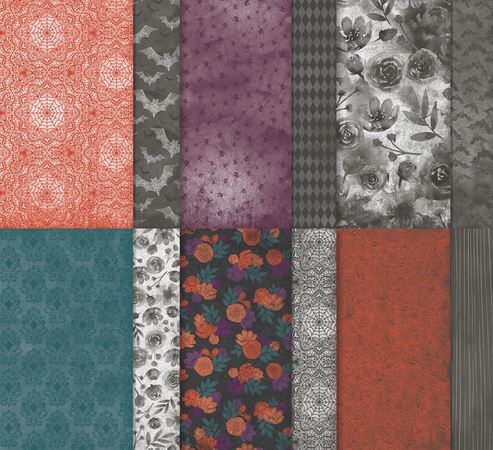
Magic In This Night DSP
See how thee are flowers and shapes not related to Halloween, yet there are plenty of papers you could use for your Halloween Cards and gifts, all the same. If you only make a few Halloween projects, you can still use the remainder of the DSP as elements for cards and scrapbook pages and gifts throughout the year. I think these colours are especially on trend right now.
Spooky Cats
Do you have the cat punch? If so, all you need is some black cardstock and you can have spooky, shadowed cats!
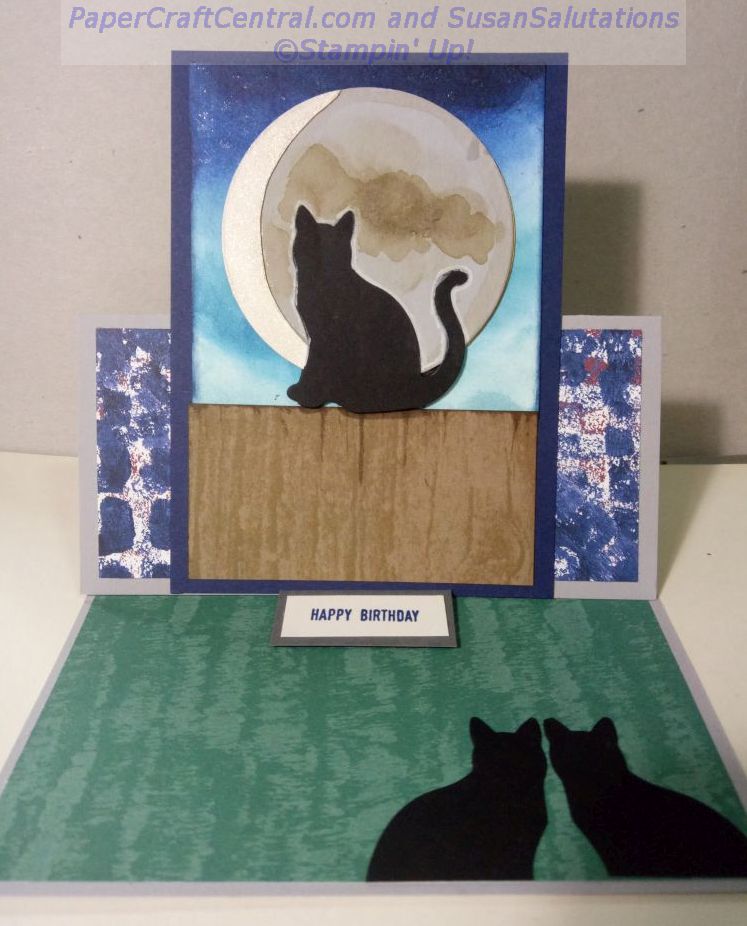
I punched out some kitties for this easel card and highlighted them against a 'moon' made with a circle die.
I looked up some pictures of a real moon and used some ink and a water painter to make blotches in about the right places on my Whisper White moon. I left a wedge of white moon to represent a phase of the moon by masking the white area off with the outline left behind when I cut out the circle shape.
The cats silhouetted below the one on the fence are facing each other. Just flip one of your pinched cat shapes over to get it to face the other one.
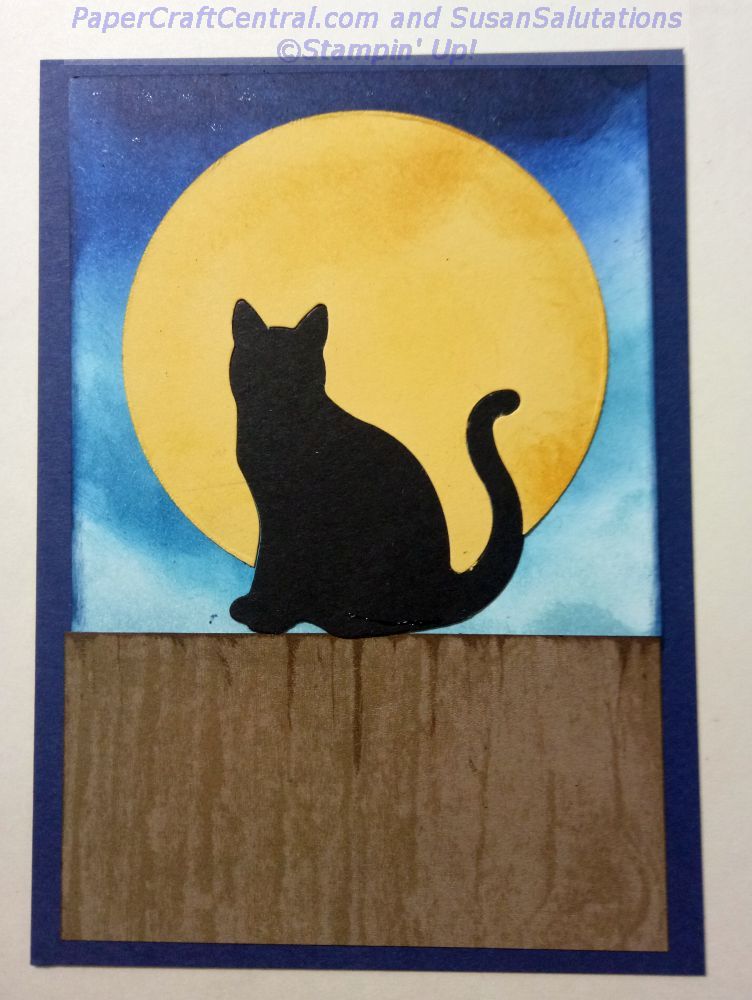
This cat on a fence was made with a full yellow moon behind him. I water coloured the night sky onto Whisper White cardstock with various dark blue inks and sprinkled some stars in the sky with a clear Wink of Stella pen.
You could use the Hardwood stamp to create a fence, or just draw a line across some Crumb Cake cardstock, add some plank lines with a Soft Suede Stampin' Write! marker and a few wood grains with a Crumb Cake marker. Wash it over with some water to smooth out the lines of the wood grain.
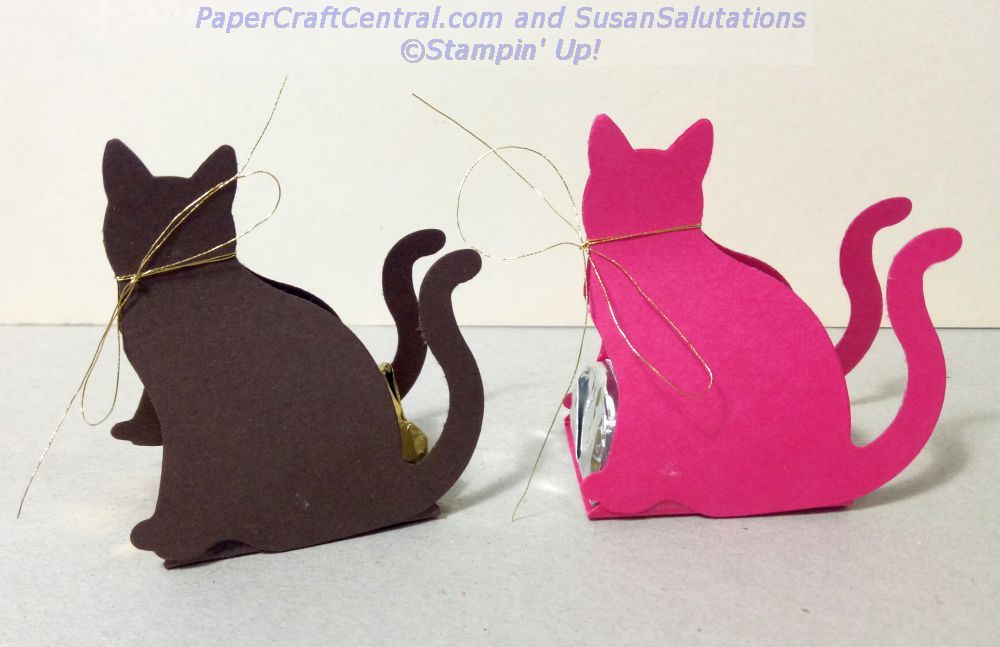
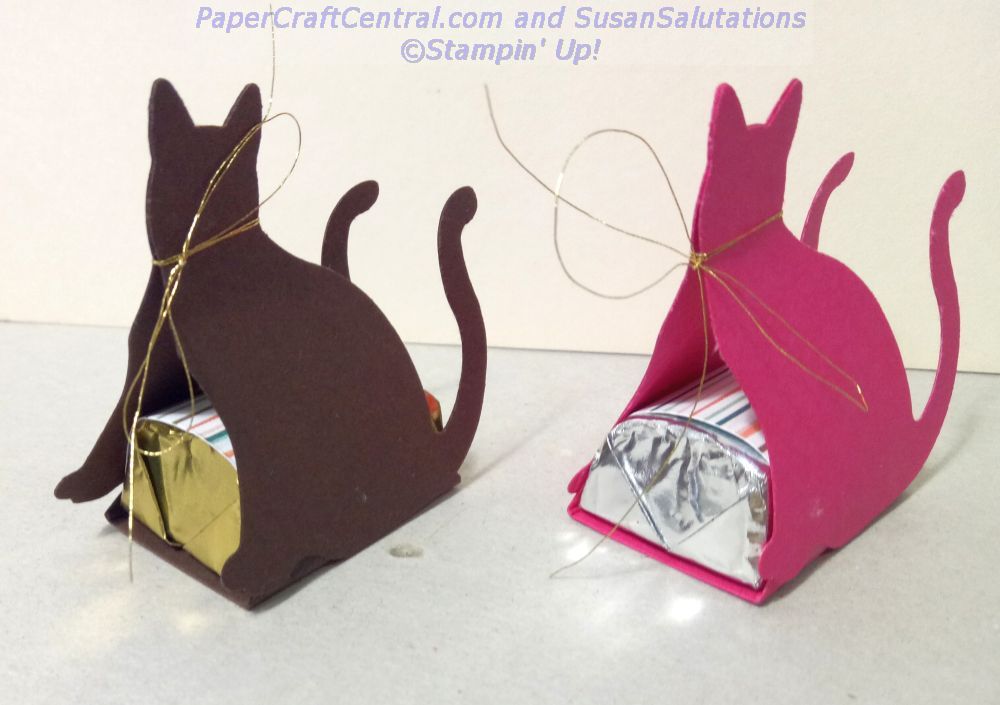
These little cats hold a Hershey Nugget between their paws. I punched out two cats, added a 1" tab to the bottom of each and overlapped them to form the cradle for the chocolate. I glued the ears of the cats together.
Add some thin ribbon tied around their necks or some linen thread or cord, and all you have left to do is wrap the Hershey nuggets in designer series paper and slide them into their cat's cradle.
I adhered the nugget dsp to the cradle so the chocolate wouldn't slip out.
I hope you have some ideas now for how to papercraft your way through Halloween! Making Halloween cards, gifts and home decor is a breeze when you have such beautiful images and papers already available for you to use in so many different ways.
Stay safe out there.


New! Comments
Have your say about what you just read! Leave me a comment in the box below.