- Home
- Papercraft Adhesives
- Inking Techniques
Ink Techniques
Written and Created by PaperCraftCentral Susan
Try some ink techniques with a brayer and your Big Shot embossing folders
"The rose speaks of love silently, in a language known only to the heart".
~Anonymous
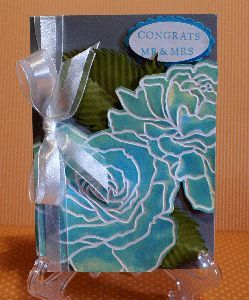
I enjoy discovering new ink techniques which is what I did when I visited a blog called Patty's Stamping Spot. I liked what Patty did so well, I decided to give it a try myself, then tell you how it all turned out.
Blog surfing is a wonderful way to discover new ideas, don't you think?
How to Create with this Brayered Ink Technique:
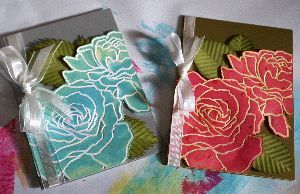
I started with the same Stampin' Up! Big Shot embossing folder mentioned in Patty's tutorial, the Manhattan Rose (now retired). I rolled some Basic White cardstock through my Big Shot with the Manhattan Rose embossing folder.
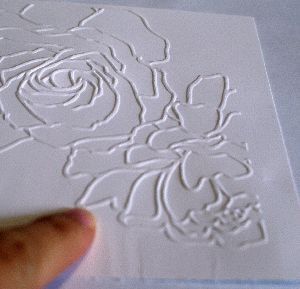
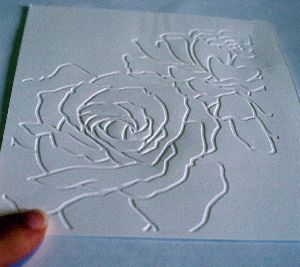
To ink it, in this case, you need to use the side of the embossed cardstock with the indents, or the de-embossed side.
Here's the difference in pictures:
First, the wrong side for this technique:
Then the right side:
You will also need a brayer, two tones of ink (a light colour and a dark), some scrap paper and your paper snips.
Ink up the brayer in the darkest colour first. The original tutorial said to roll some of the ink off on some scratch paper first, but I just used a light touch to apply it unevenly to the roses.
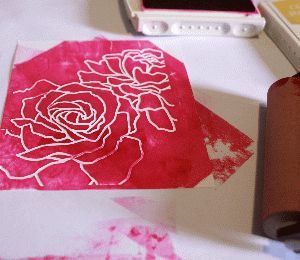
Now clean your brayer and ink up with the lighter colour. Then roll that colour over the lighter areas of your roses, letting the colours blend.
You will also have some areas of pure lighter colour if you have left some white spaces. (This turned out better when I used the blue and yellow inks as I used a lighter touch again with my brayer).
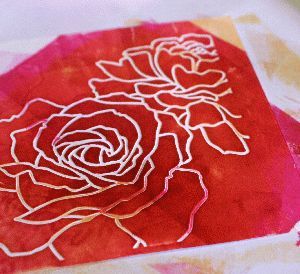
Now just cut out the rose shapes with your paper snips and leave them aside for the moment. You need to make some leaves.
You will need a paper crimper for the leaves, and some Old Olive cardstock. Just fold a longish piece of cardstock in half, then run it through your crimper at an angle like this:
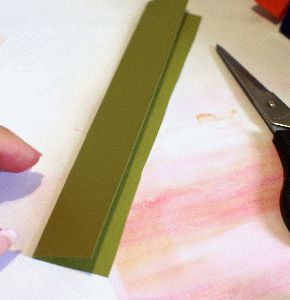
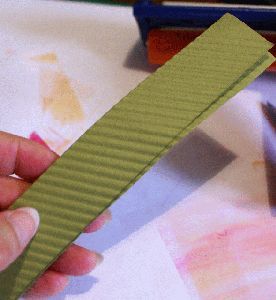
Now cut out some leaf shapes, making sure the crimped lines travel upwards towards the tip of the leaves as they would in nature.
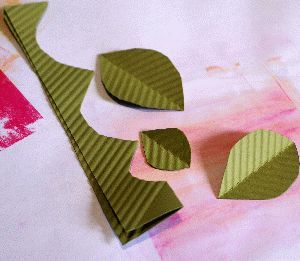
You can notch the leaf edges to make them look more like rose leaves, or leave them smooth to look more like camellia leaves. You can also add some more ink to the leaf edges with a sponge dauber or distress the edges if it suits your project that way. That's one of my favourite ink techniques.
Now mount your leaves to your card base and add the brayered roses to the card with Stampin' Dimensionals, tie a ribbon around the card and add a sentiment.
The only other thing I did was to add some drops of Fine Tipped Glue Pen glue to the rose to look like dew drops. Allow several hours for the dew drops to dry before touching them.
See how pretty you can make images with different ink techniques? I hope you give it a try.
PS: You might also want to use the white Shimmer Paper available from Stampin' Up! for your roses and card base, or try spritzing them with Shimmer Paint diluted in rubbing alcohol. It's a very pretty effect.
Stamping on Embossing Folders
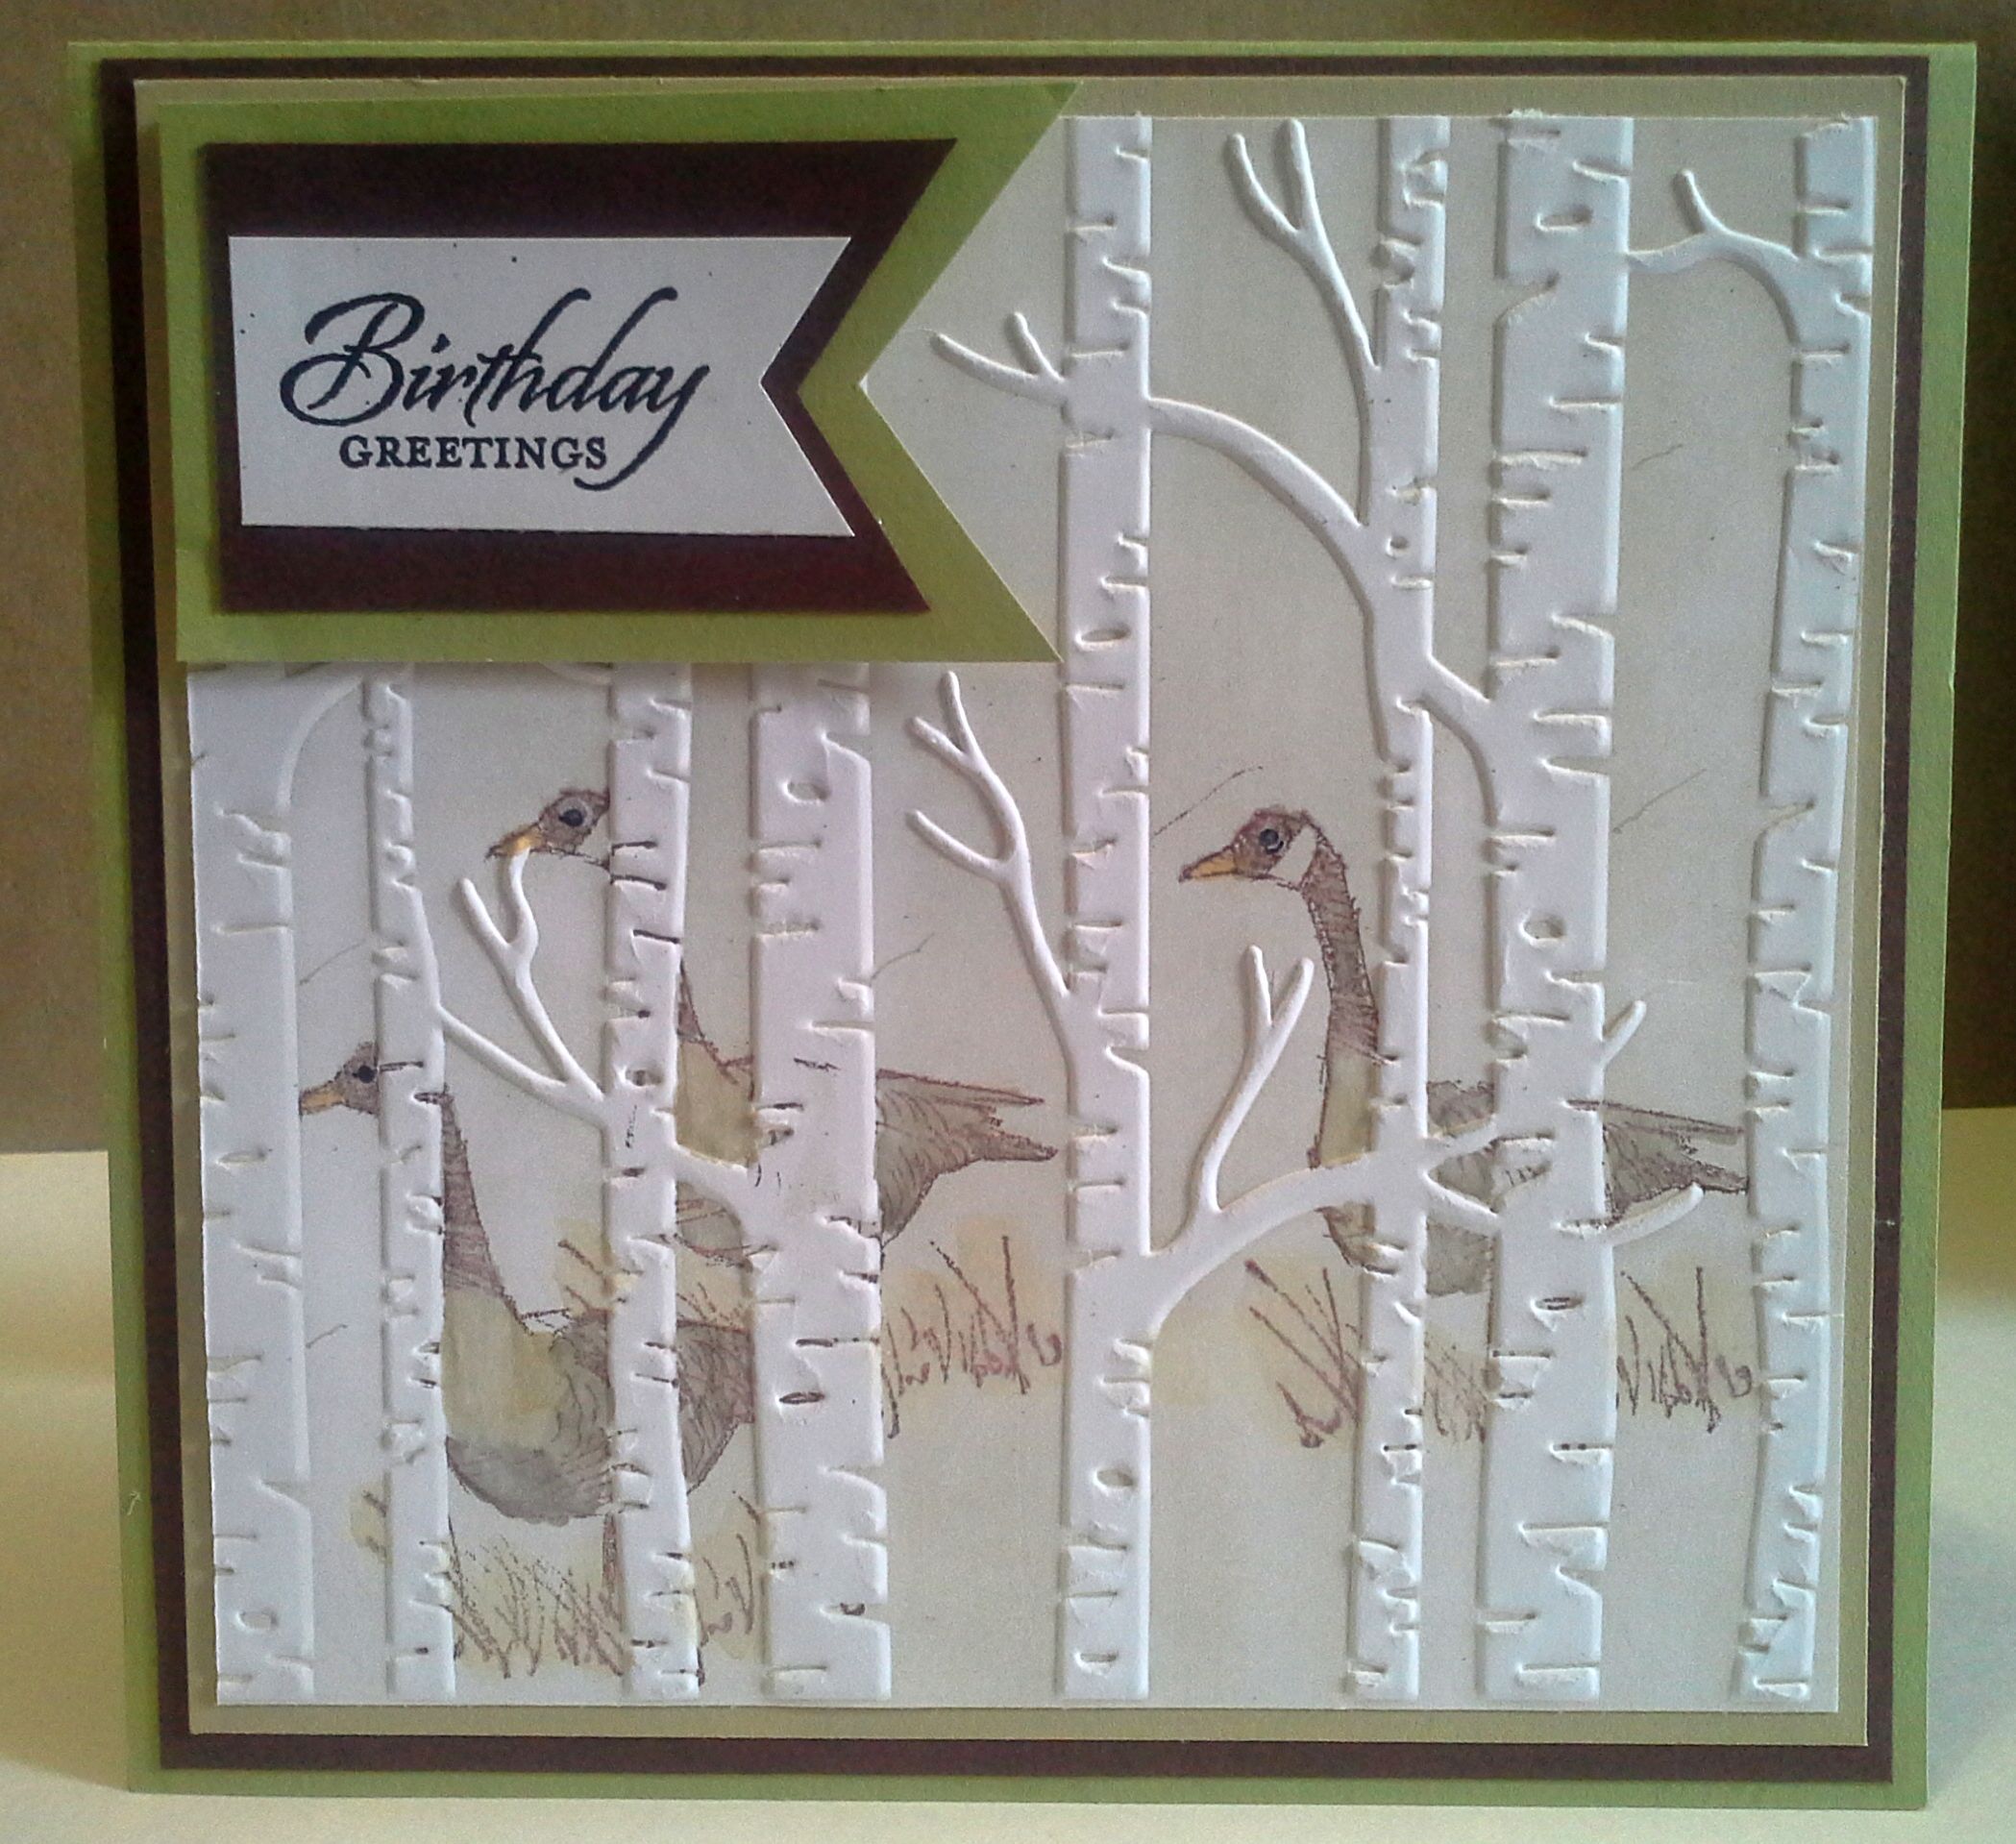
You can stamp on your embossing folders too, as I have done in the above project.
Here's How to Stamp on Embossing Folders:
- I brayered some soft colours all over the flat side of my embossing folder. This means my trees were left as uninked parts of the folder as their pattern was pressed down into the folder on this side.
- Then I took a darker ink and inked up my geese, and stamped them over the brayered area. I took care to make sure the goose heads were going to appear by avoiding placing their heads behind the tree trunks (that is, stamp so your goose heads go on the already inked flat areas you covered with your brayer).
- Then run your project through the Big Shot as usual.
- You can enhance the goose eyes with a black Stampin' Write! marker afterwards, and even add a little more colour where you want it with inks and an aqua painter.
Other Ink Techniques:
There are loads of other ways to use ink in your papercrafting. Some of them are:
- Drop some reinker into a spray bottle with alcohol and use this as a misting spray
- Scribble some ink on a stamping block or drop some reinker into the lid of a stamping pad and pick it up with a water painter, then paint with it
- Use a sponge dauber to pick up some ink and apply it to cardstock to colour the edges of a project piece
- Use a sponge dauber and ink in the masking technique
- Try the crayon resist technique
- Wet some watercolour paper, then drop ink onto the wet surface to create splashes of colour
- Brayer a few colours of ink onto one side of an embossing folder, then stamp in the blank spots with an image to make it look as though the image is behind some of the embossed areas
- use Blending Tools to add colour to cardstock. Just tap the tool onto an open ink pad and use the colour on your cardstock piece
Play with ink and you will discover other ways to use it to enhance your papercraft projects.
Other paper craft techniques you might like:


New! Comments
Have your say about what you just read! Leave me a comment in the box below.