- Home
- Papercraft Adhesives
- This Page
Making Your Own Rub Ons With A Laser Printer
by Mrs Shaan Thompson

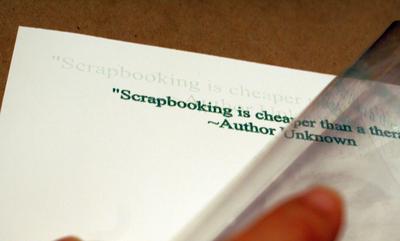
Checking a rub on
Hi,
Thank you for your tutorial on making your own rub on transfers... please could you tell me if you used an inkjet printer or laser printer for this?
Also, what paper can I use as a backing paper to a transfer I haven't used yet and want to store for another day?
I would really appreciate your coming back to me on this.
Kindest regards,
Shaan :)
Hello Shaan 😃
Thank you for asking me about the homemade rub ons I have made. It is fun to make your own and make them say what you want them to say.
In answer to your question about the printer I used, I have used an ink jet printer for my projects so far. I am traveling in a car and caravan for awhile so cannot experiment with my laser printer right now as I did not bring it with me. ☺ I used to make overhead transparencies with a laser printer when I was a teacher, however, and sometimes the ink would come off of those, so it may very well be possible to use a laser printer for this technique. Laser printers use less ink than ink jet printers so perhaps you will have to rub harder or longer to transfer the ink. You may want to try the laser printer with one homemade rub on first before printing out hundreds of them.
I did read somewhere that heating your laser printer transfer with a hair dryer on 'low' might speed the laser transfer along.
To store laser printed rub ons awhile, you can try putting them inside a page protector with a sheet of printer paper behind them. As long as you are careful not to rub them hard, the ink will not come off in a hurry. I had transparencies I stored this way for a few years.
Keeping them perfect over time does depend on how much heat, humidity, and rough handling they receive, so do remember that moisture and handling can 'activate' them.
I hope this information helps and you will come back to me with your results.
Happy crafting
Susan
www.papercraftcentral.com
PS: See more comments and tips on the Rub Ons page, or if you need to know what they are, here's where you can find a definition.
Join in and write your own page! It's easy to do. How? Simply click here to return to Hints & Tips.


