- Home
- Papercraft Adhesives
- Metal Embellishments
Metal Embellishments
Written and Created by PaperCraftCentral Susan
You can really enhance your layouts and cards with metal embellishments like brads and rivets, eyelets and snaps.
You can purchase ready-made papercraft elements but sometimes you may want something special and specific that cannot be bought. In this case, why not alter a metal embellishment to suit your purposes? Here I will explain a few different ways to change plain hardware decorative elements to help you to find that elusive finishing touch. In case you are not sure what a brad is:
"A [brad is a] thin wire nail with
a small head
or a slight side projection instead of a head".
The Free Dictionary
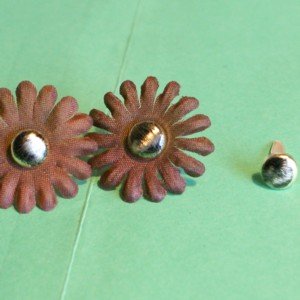
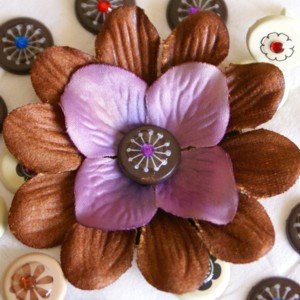
I used some altered gold ones in the centre of these flowers so they would have a more vintage feel. I antiqued them. Find out how below.
How to Alter Metal Embellishments:
Antique Brads
There are many different techniques you can use to alter metal embellishments. What if you have a vintage layout that you would like to enhance and would like to have some aged looking brads to really finish the look off? And the best thing is, you may only need to raid your manicure set for a lovely finish. One of the simplest techniques only takes a permanent ink pad and some fine sandpaper (I used a metal nail file) and you can wind up with a lovely antique finish.
You Will Need:
- Some metal brads
- A permanent inkpad such as Stazon. I used black but you can choose any other coloured ink you like
- Fine sandpaper or an old metal nail file
- Crystal Effects or clear nailpolish
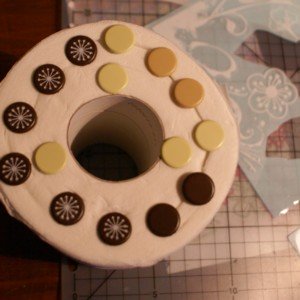
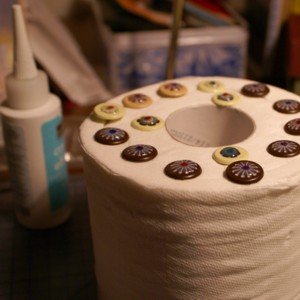
- A roll of toilet paper can act as a stand for your brads while they are drying, but a foam or styrofoam block or a piece of florist's oasis can also be used
Here's What to Do:
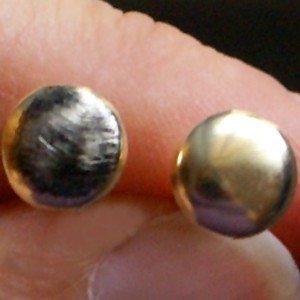
- Step 1: Choose a shiny brad such as the one I used. In this case they are gold but you could choose something else such as silver, brass or copper. In the picture below, the brad on the left has been altered, while the one on the right has not been treated.
You Will Need:
Glittered or Flocked Brads
Did you know you can customise brads to be any colour of glitter or flock you have in your stash? And it is so easy to do.
The original colour of your brad will probably show through the glitter or flock, so choose ones with this thought in mind. You can also paint or alcohol ink your metal embellishments to match or contrast or coordinate with the colour of flock or glitter you are going to use.
You will need:
- Brads to alter
- Glitter or flocking powder
- A strong glue such as Crystal Effects
Here's What to Do:
- Step 1: Coat the brads with a thin but thorough layer of adhesive
- Step 2: Dip the brad in the glitter or flock and ensure it is thoroughly covered
- Step 3: You can leave the brad in the glitter or flock pot if you like. It won't hurt the glitter or flock. Or you can push the prongs of the brads in Styrofoam, foam, or a roll of toilet paper to dry for a minimum of two hours or, better, overnight
Heat Embossed Brads
Heat embossing is an effective way to alter metal embellishments too.
- Step 1: Ink up the brads with Versamark (clear embossing ink) or stamp an image on them in Versamark
- Step 2: Sprinkle embossing powder on the inked brads
- Step 3: To protect yourself from the heat, use a pair of tweezers or something similar to hold the brad while you heat the embossing powder with a heat tool
- Step 4: Allow the embossed brad to cool properly before handling it
Now you have several ways to alter Metal Embellishments to adorn your paper craft projects in your own unique way. Try these techniques on metal buttons, tin sheets, buckles, charms, etc.
Have you made some altered brads or similar metal embellishments? Please do show me your project. I'd love to see it.
Have A Favourite Altered Art Piece?
Do you have a piece of altered art you have created? I'd love to see it.


New! Comments
Have your say about what you just read! Leave me a comment in the box below.