- Home
- Papercraft Adhesives
- Origami Fox Tutorial
Origami Fox Card
Written and Created by PaperCraftCentral Susan
Make an origami fox card with a folded fox to embellish the front of a handmade birthday card.
"I am sometimes a fox and sometimes a lion. The whole secret of government lies in knowing when to be one or the other"
~Napoleon Bonaparte
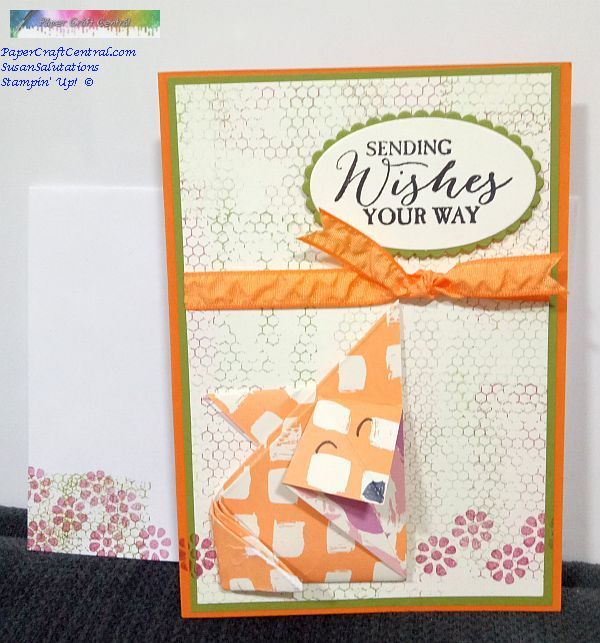
Origami Fox
I am a novice when it comes to origami, but some folds are easier than others and the simpler ones are suitable for card making. So it is with making an origami fox!
I followed the tutorial at The Origami Resource Centre to make my fox out of scrap paper first, using a 3" x 3" square of thin, lined writing paper.
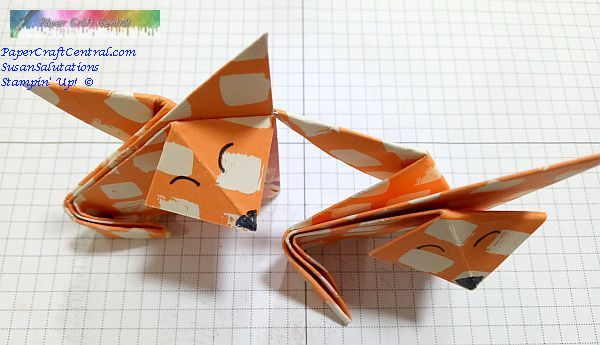
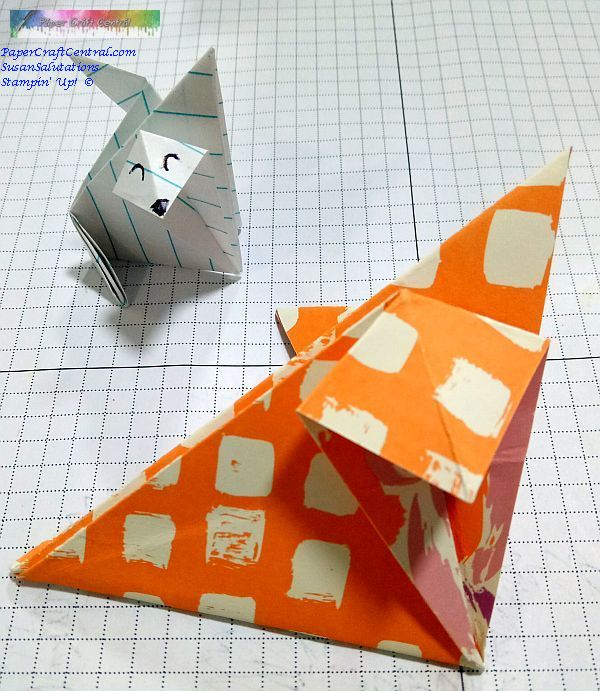
The picture below shows my original animal made out of a 3" square of stationery next to one made with a 4" square of designer series paper (DSP). The DSP is thicker too so you wind up with a thicker embellishment using it.
I decided the 4" square would be a better size for my handmade card idea.
TIP: There is a tip for how to make your DSP a bit flatter below, but it will never be as flat as an embellishment made with thinner paper such as Origami paper made specifically for folding. I found plenty of Origami paper on offer at Amazon.
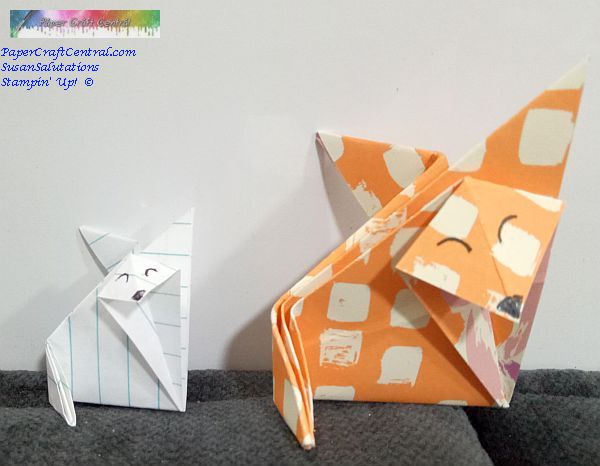
You can use these cute embellishments for a handmade card, a home decor project and for a scrapbook page, too.
Another thing I found was that the larger the square of DSP, the less I liked my fox! They seem to be cuter if you make them the smaller size, but of course this is a personal choice to make.
How I made my Origami Fox Birthday Card
I needed the following to make my folded animal:
- A 4" x 4" square of designer series paper
- A paper trimmer
- A bone folder
- A black Stampin' Write! marking pen to make my fox's facial expression
- Glue Dots
- A handmade card base (21cm x 15cm, folded in half), a layer of designer series paper (9.5cm x 14cm) and a layer of Basic White cardstock (9cm x 13.5cm)
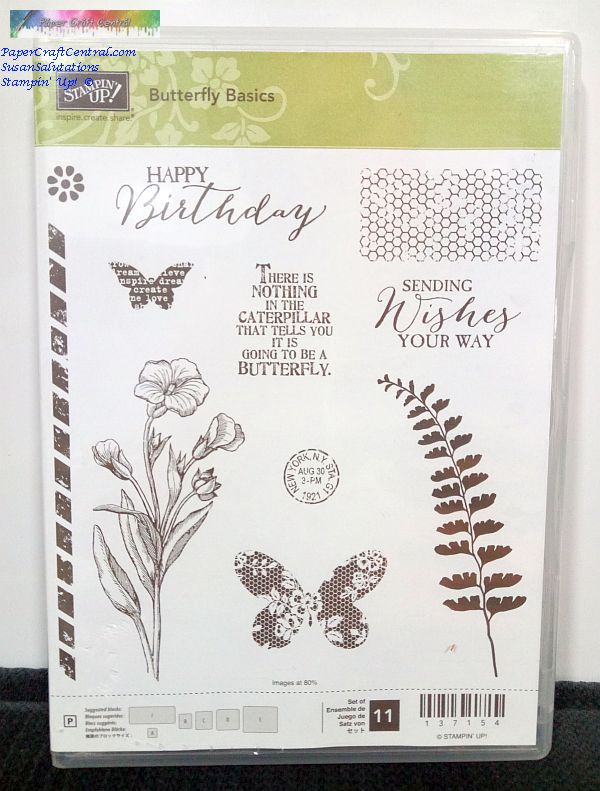
- Stamp sets and inks of choice. I used the Butterfly Basics stamp set.
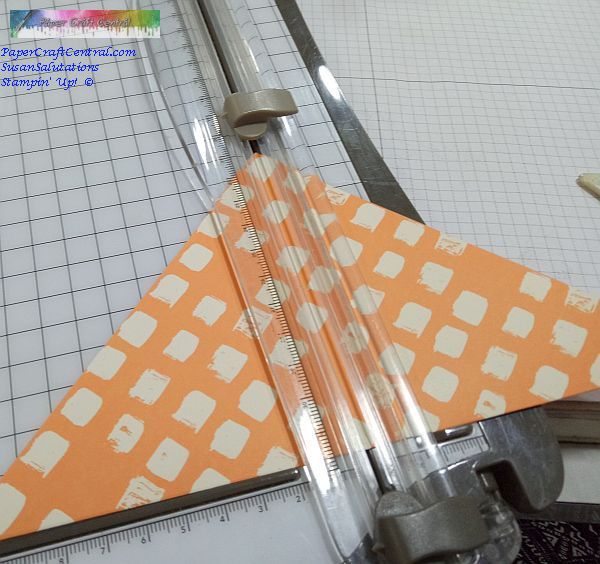
After making a practice fox or two out of 3" x 3" stationery, I took my 4" x 4" square of DSP, decided which side of the design I mainly wanted to feature, and folded it corner to corner with the main colour facing me.
TIP: Here is the first part of the secret to making your folds as crisp and flat as they can be: use your paper trimmer to score the lines first, whenever possible. This works when using several layers of DSP, though you can score on both sides of the fold if you flip your project and place it carefully to match up the score lines exactly.
TIP: The second part of the tip is to use a bone folder to burnish each folded line well.
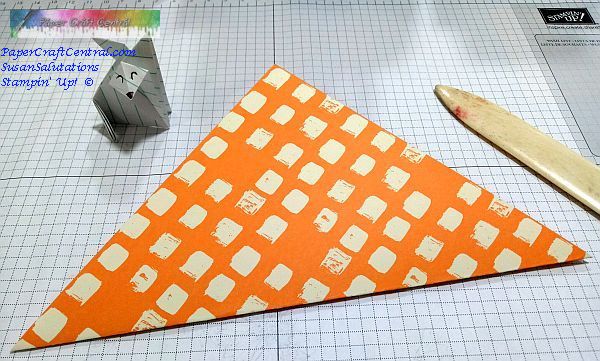
The picture below shows you the difference between using a bone folder and not using one. Can you see how one embellishment is thicker and less defined than the other?
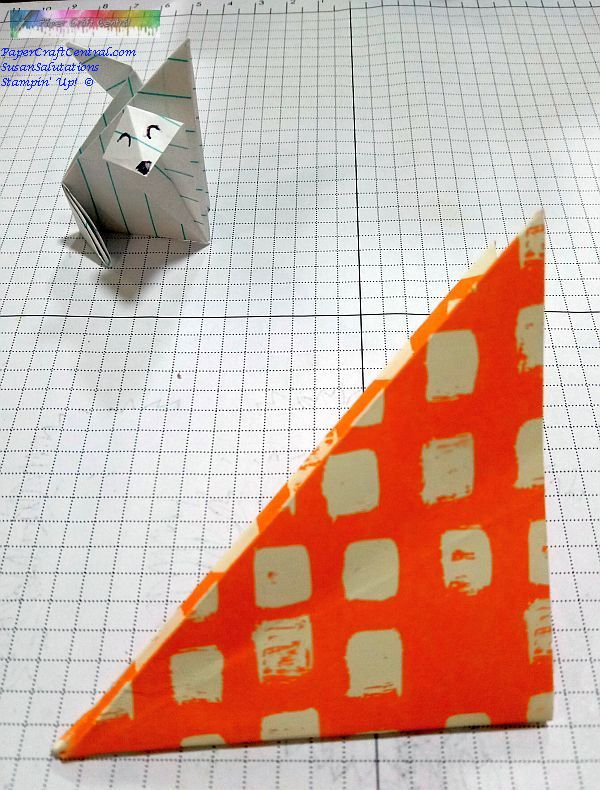
The nest step was to fold the paper in quarters, so I had a triangular shape like this:
Next I formed the face and ears. You need to take both of the openable corners of your triangle and fold them back like this:
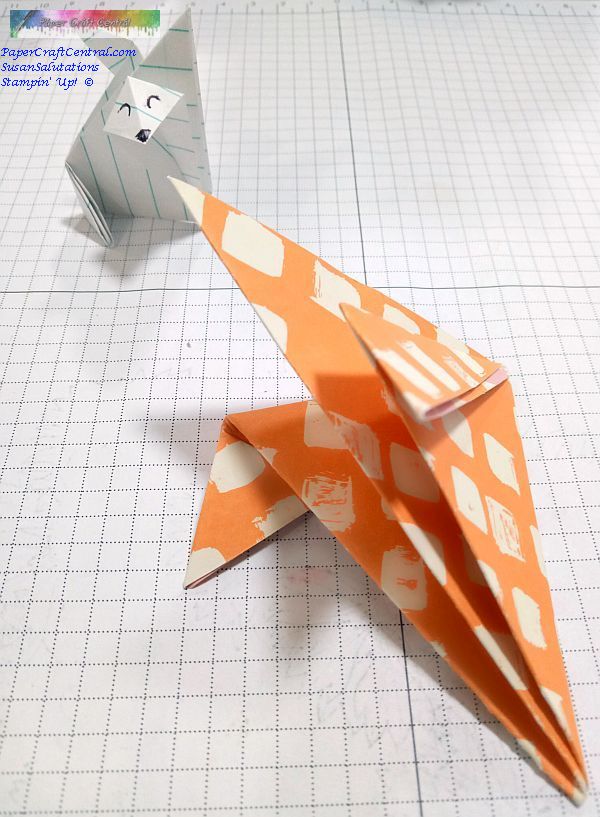
Then fold the front corner out and flatten it to make the face. The back folded piece becomes the back ear.
Leave the centre bit standing up to be the front ear.
Then fold the corner sitting on the table towards you to form a tail.
Again, if you need extra help, go to the Origami Resource Centre page.
Making Your Card
Make a card with the rest of the elements, stamping your Basic White with a background stamp and sentiment so there is plenty of room to place your folded embellishment later.
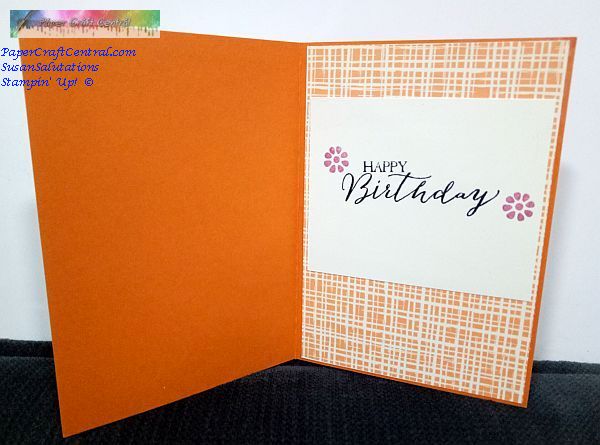
I also finished the centre of my card with extra DSP, Basic White cardstock and stamps.
I like to stamp on cardstock layers first while they are still flat, then add them as layers and glue them down. This gives a better result as you are not stamping over the edges of paper layers.
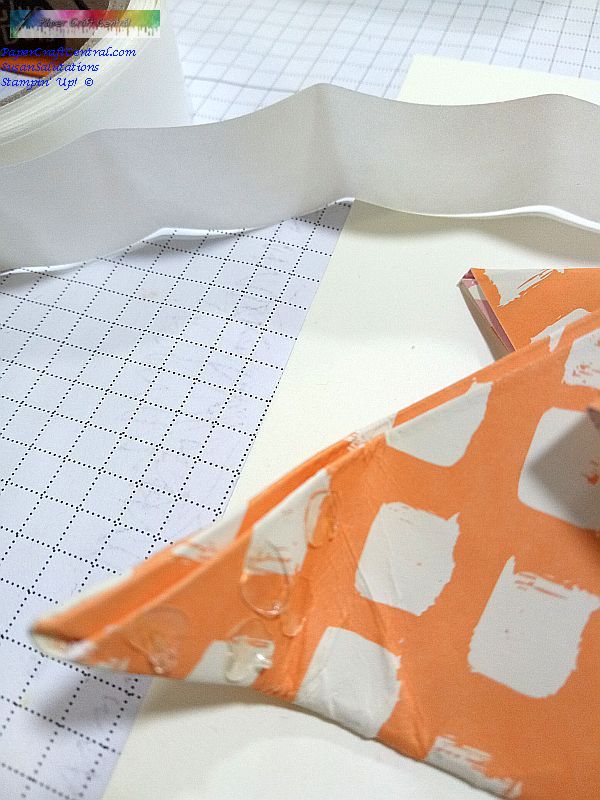
Now fix your origami fox's tail to its body with glue dots.
Finally, attach your folded element to the front of your card. S/he won't be entirely flat, as you can see from this side view of mine:
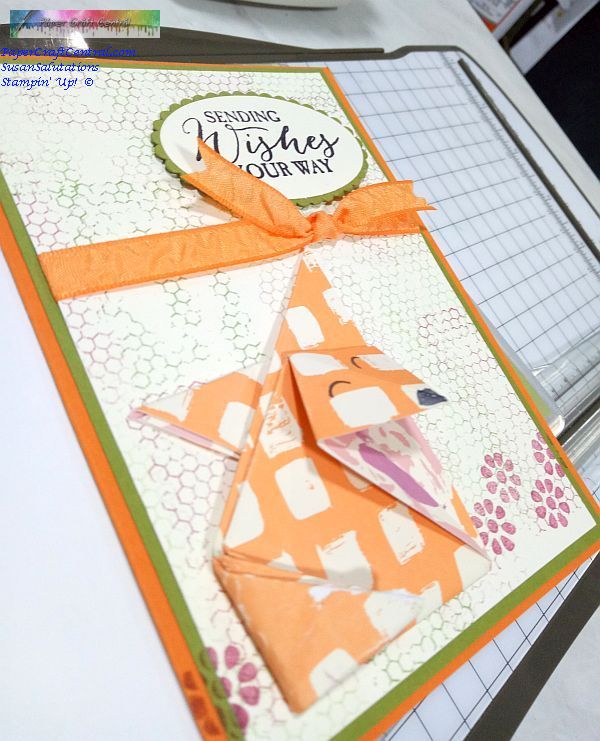
I think this is such a cute idea! I hope you do too and that you will show me how your own origami fox card or scrapbook page turns out.
Do You Have A 3-d PaperCraft Project To Share?
Do you make 3-d PaperCraft items? I'd love to see your work. Please do share below.
Supply List
- Pumpkin Pie, Very Vanilla, and Old Olive cardstock
- Sweet Sugarplum, Old Olive, and Memento Tuxedo Black ink
- Butterfly Basics stamp set (retired)
- Playful Palette dsp (retired)
- Layering Ovals Framelits (retired)
- Peekaboo Peach ruched ribbon (retired)
- Stamparatus (retired)
- Big Shot (retired)
- Bone Folder
- Basic Black Stampin' Write! Marker
- Tombow, Glue Dots, Fast Fuse (retired), Stampin' Dimensional Adhesives


New! Comments
Have your say about what you just read! Leave me a comment in the box below.