- Home
- Papercraft Adhesives
- 3-d Butterflies
Paper Butterfly
Written and Created by PaperCraftCentral Susan
Making a Paper Butterfly is easier than you might think. This little project does not use much paper, so save your scraps to make more later.
There are some great decorating opportunities for these little 3-d papercraft flutterbys. You can string them singly and make a curtain of them, or make a banner out of them, or make a pretty mobile for a baby's cot. Use them to decorate a special gift or the top of a box. Put a magnet on the back and you have a beautiful fridge or metal filing cabinet decoration. Once you start looking, you can find all sorts of places that could be improved by adding a little paper butterfly.
NOTE: There are a few more ways to make a paper butterfly shown below so do scroll down to see all three ways mentioned on this page. The other two have no accordion folds!
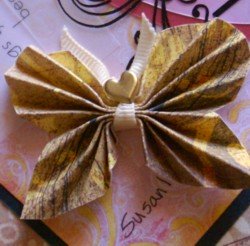
To Make a Paper Butterfly, you will need the following:
- Designer series paper or thin cardstock. The thinner the paper is the easier it is to get lots of little folds and the butterfly looks better, as long as the paper can be folded sharply
- Ruler
- Compass to trace a shape that is basically a square overlapped by a circle, or a circle paper punch/die cut and a square paper punch/die cut of the same size
- The pattern shown below. The smaller you make your pattern, the smaller your finished embellishment will be (and the harder to fold!) and the opposite is true too. The larger your pattern, the bigger your finished butterfly will be.
- Some scissors to cut it out if you are not using punched or die cut shapes
- A bone folder helps to get the creases sharp
- A length of ribbon. Thin ribbon is better, or use wire, Baker's Twine or thread. Gold, silver or copper thread looks wonderful
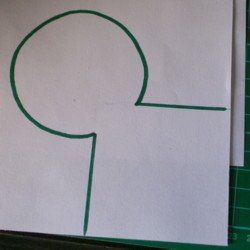
Here's what to do:
- Cut out your pattern, then trace it onto the patterned paper you chose
- Cut out the shape or glue your punched/die cut shapes together to make the shape shown above
- If you are using paper punches, be sure the circle and square overlap and glue them firmly together to make the white shape shown below on the left
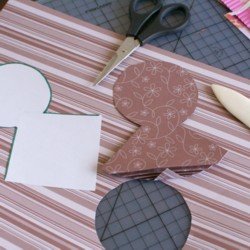
- Starting at the pointed end, pleat the shape up as finely as you can, using the bone folder to make the creases sharp and even. Keep going until the whole paper butterfly shape looks like an accordion. You can see the square accordion is on the left and the circle accordion is on the right in this photo:
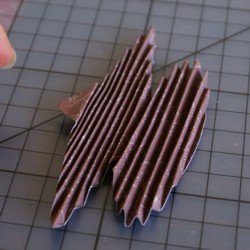
- Now take some ribbon and tie the shape in the middle. The ribbon ends will become the antennae and head. The thicker the ribbon, the harder it is to tie tightly, so you can cut little notches in the middle to help wrap the ribbon around tightly (see picture below)
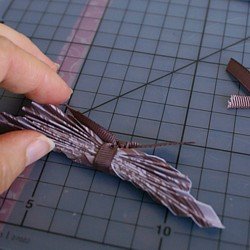
- Next, spread out the folds to make wings. I used my bone folder again to make the wings fold upward and downward the way I wanted them to. Slide the bone folder into the folds to help make them separate a bit
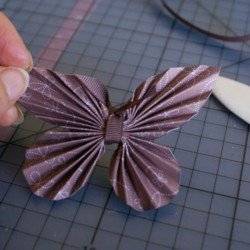
This paper butterfly is complete:
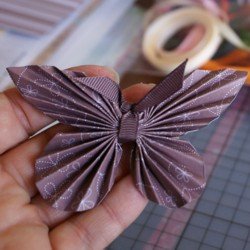
Sometimes I use the scraps on my desk to make these when I have finished another project. I always have a couple in my embellishment bag in case one will look nice on something I make. It also reminds me that I actually do know how to make them, so I can remember to whip one up in the right colours when I am looking for a way to add a little whimsy to a project.
In case the written instructions are a little hard to follow, here's a video I made for you that shows how I make my own embellishments:
Other Ways to Use Your Paper Butterfly:
- They make great additions to scrapbook pages, such as the one I used on my Friendship Scrapbook
- Use them on handmade cards
- Decorate other off-the-page projects with them such as picture frames, bags, boxes or altered tins
- Use florist's wire to attach them to bunches of real flowers, potted plants or to a handmade topiary tree
- Make a whole swarm of them and decorate for a party
- Use them for table decorations, for weddings and other special occasions
- Add them to paper (or fresh) flower bouquets by attaching them to a piece of florist wire
Be sure to let me know if you make one of these little pretties and also how you use them in your papercraft projects. I am sure there are many more ways you could use them and you will be limited only by your own imagination. I hope they bring you and those you create for some happiness.
Remember you can always make paper punch and Die Cut and Embossing Machine butterflies. Stampin' Up! has a great choice of punches and dies to make them in all sorts of sizes.
PS: Here are some examples I found on Pintrest to inspire you some more.
Some Ways to Use Paper Punch Butterflies
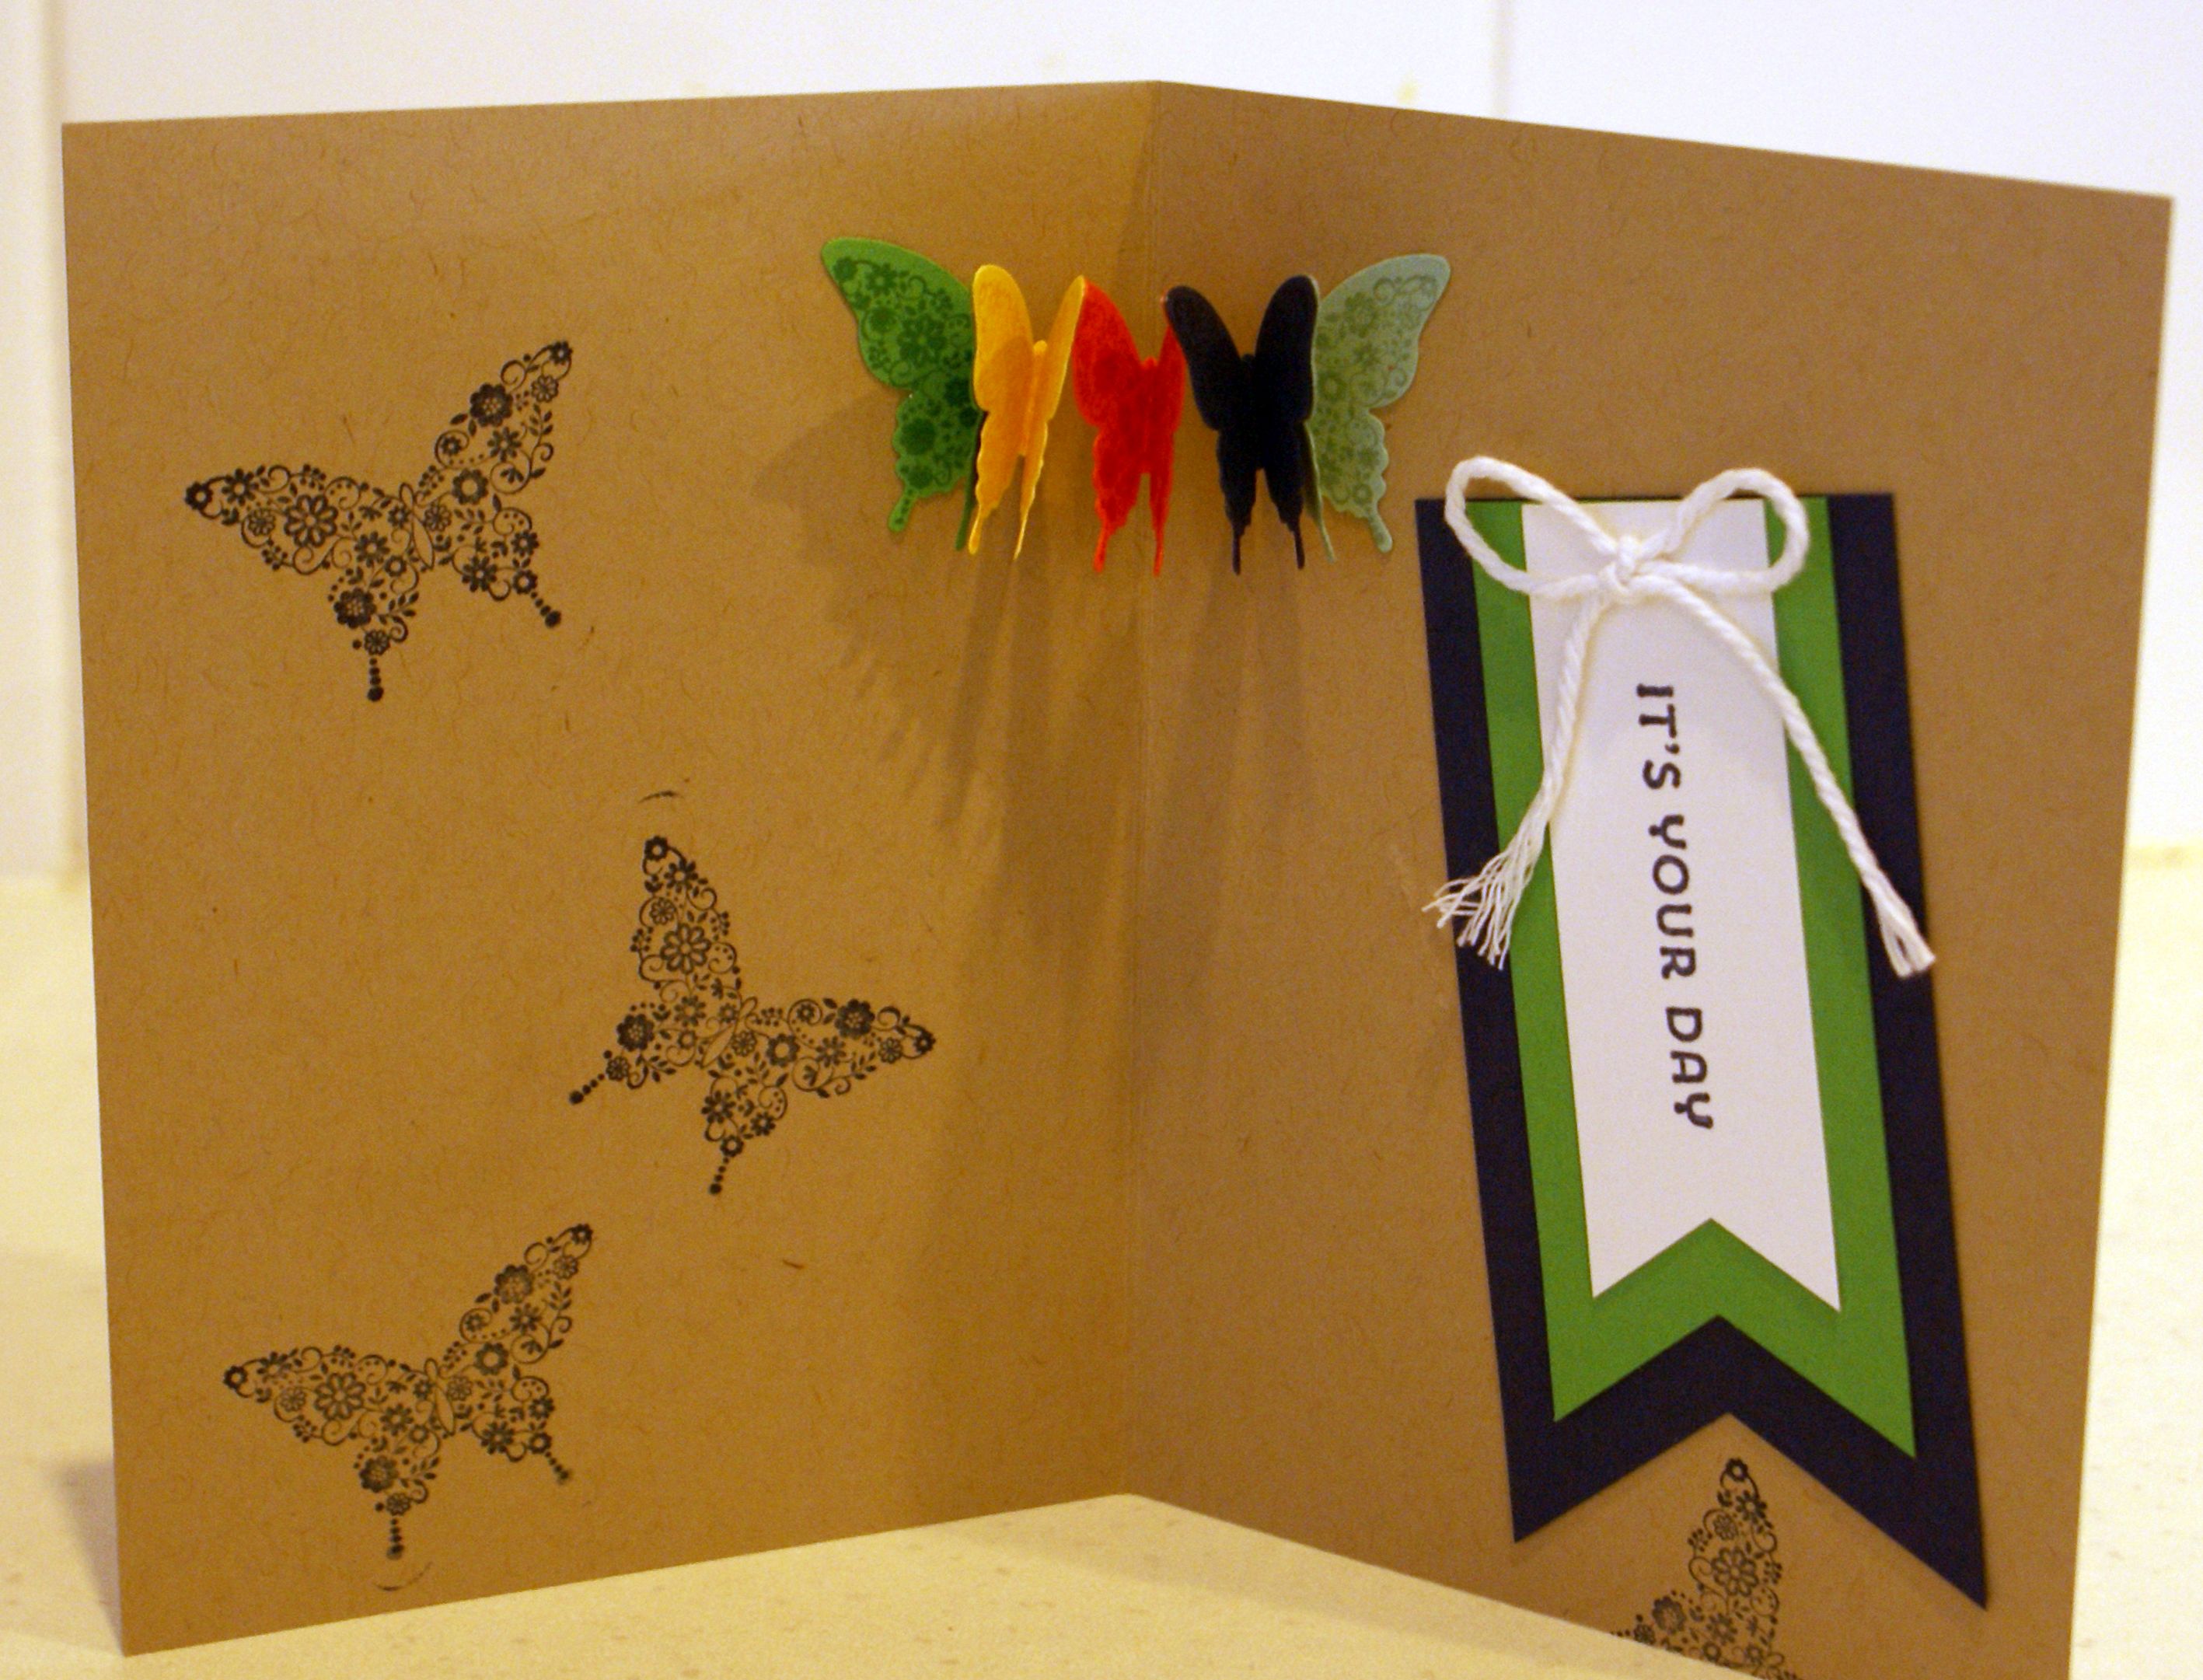
Stampin' Up! used to have two butterfly punches. The larger of the two is called the Elegant Butterfly and the smaller is called the Bitty Butterfly. I used them to layer one on top of the other to make an accordion banner for this card. To make one you need to punch your shapes, fold them in half then glue the wing tips of each one to the wing tips of the next. If you glue the entire wing together you get a very tight banner. Gluing the wing tips only allows your banner to open up more easily.
I glued my shapes together then closed them all up. I glued one end of the banner inside my card, then added adhesive to the wing on the other end. After that I closed my card up to ensure the wing was glued to the right spot and would allow the banner to open evenly.
Then I added some stamped images from Papillon Potpourrie stamp set (retired) and made a tag also with the Triple
Banner punch (also retired).
Just use die cuts of butterflies and tags instead to create the same effect.
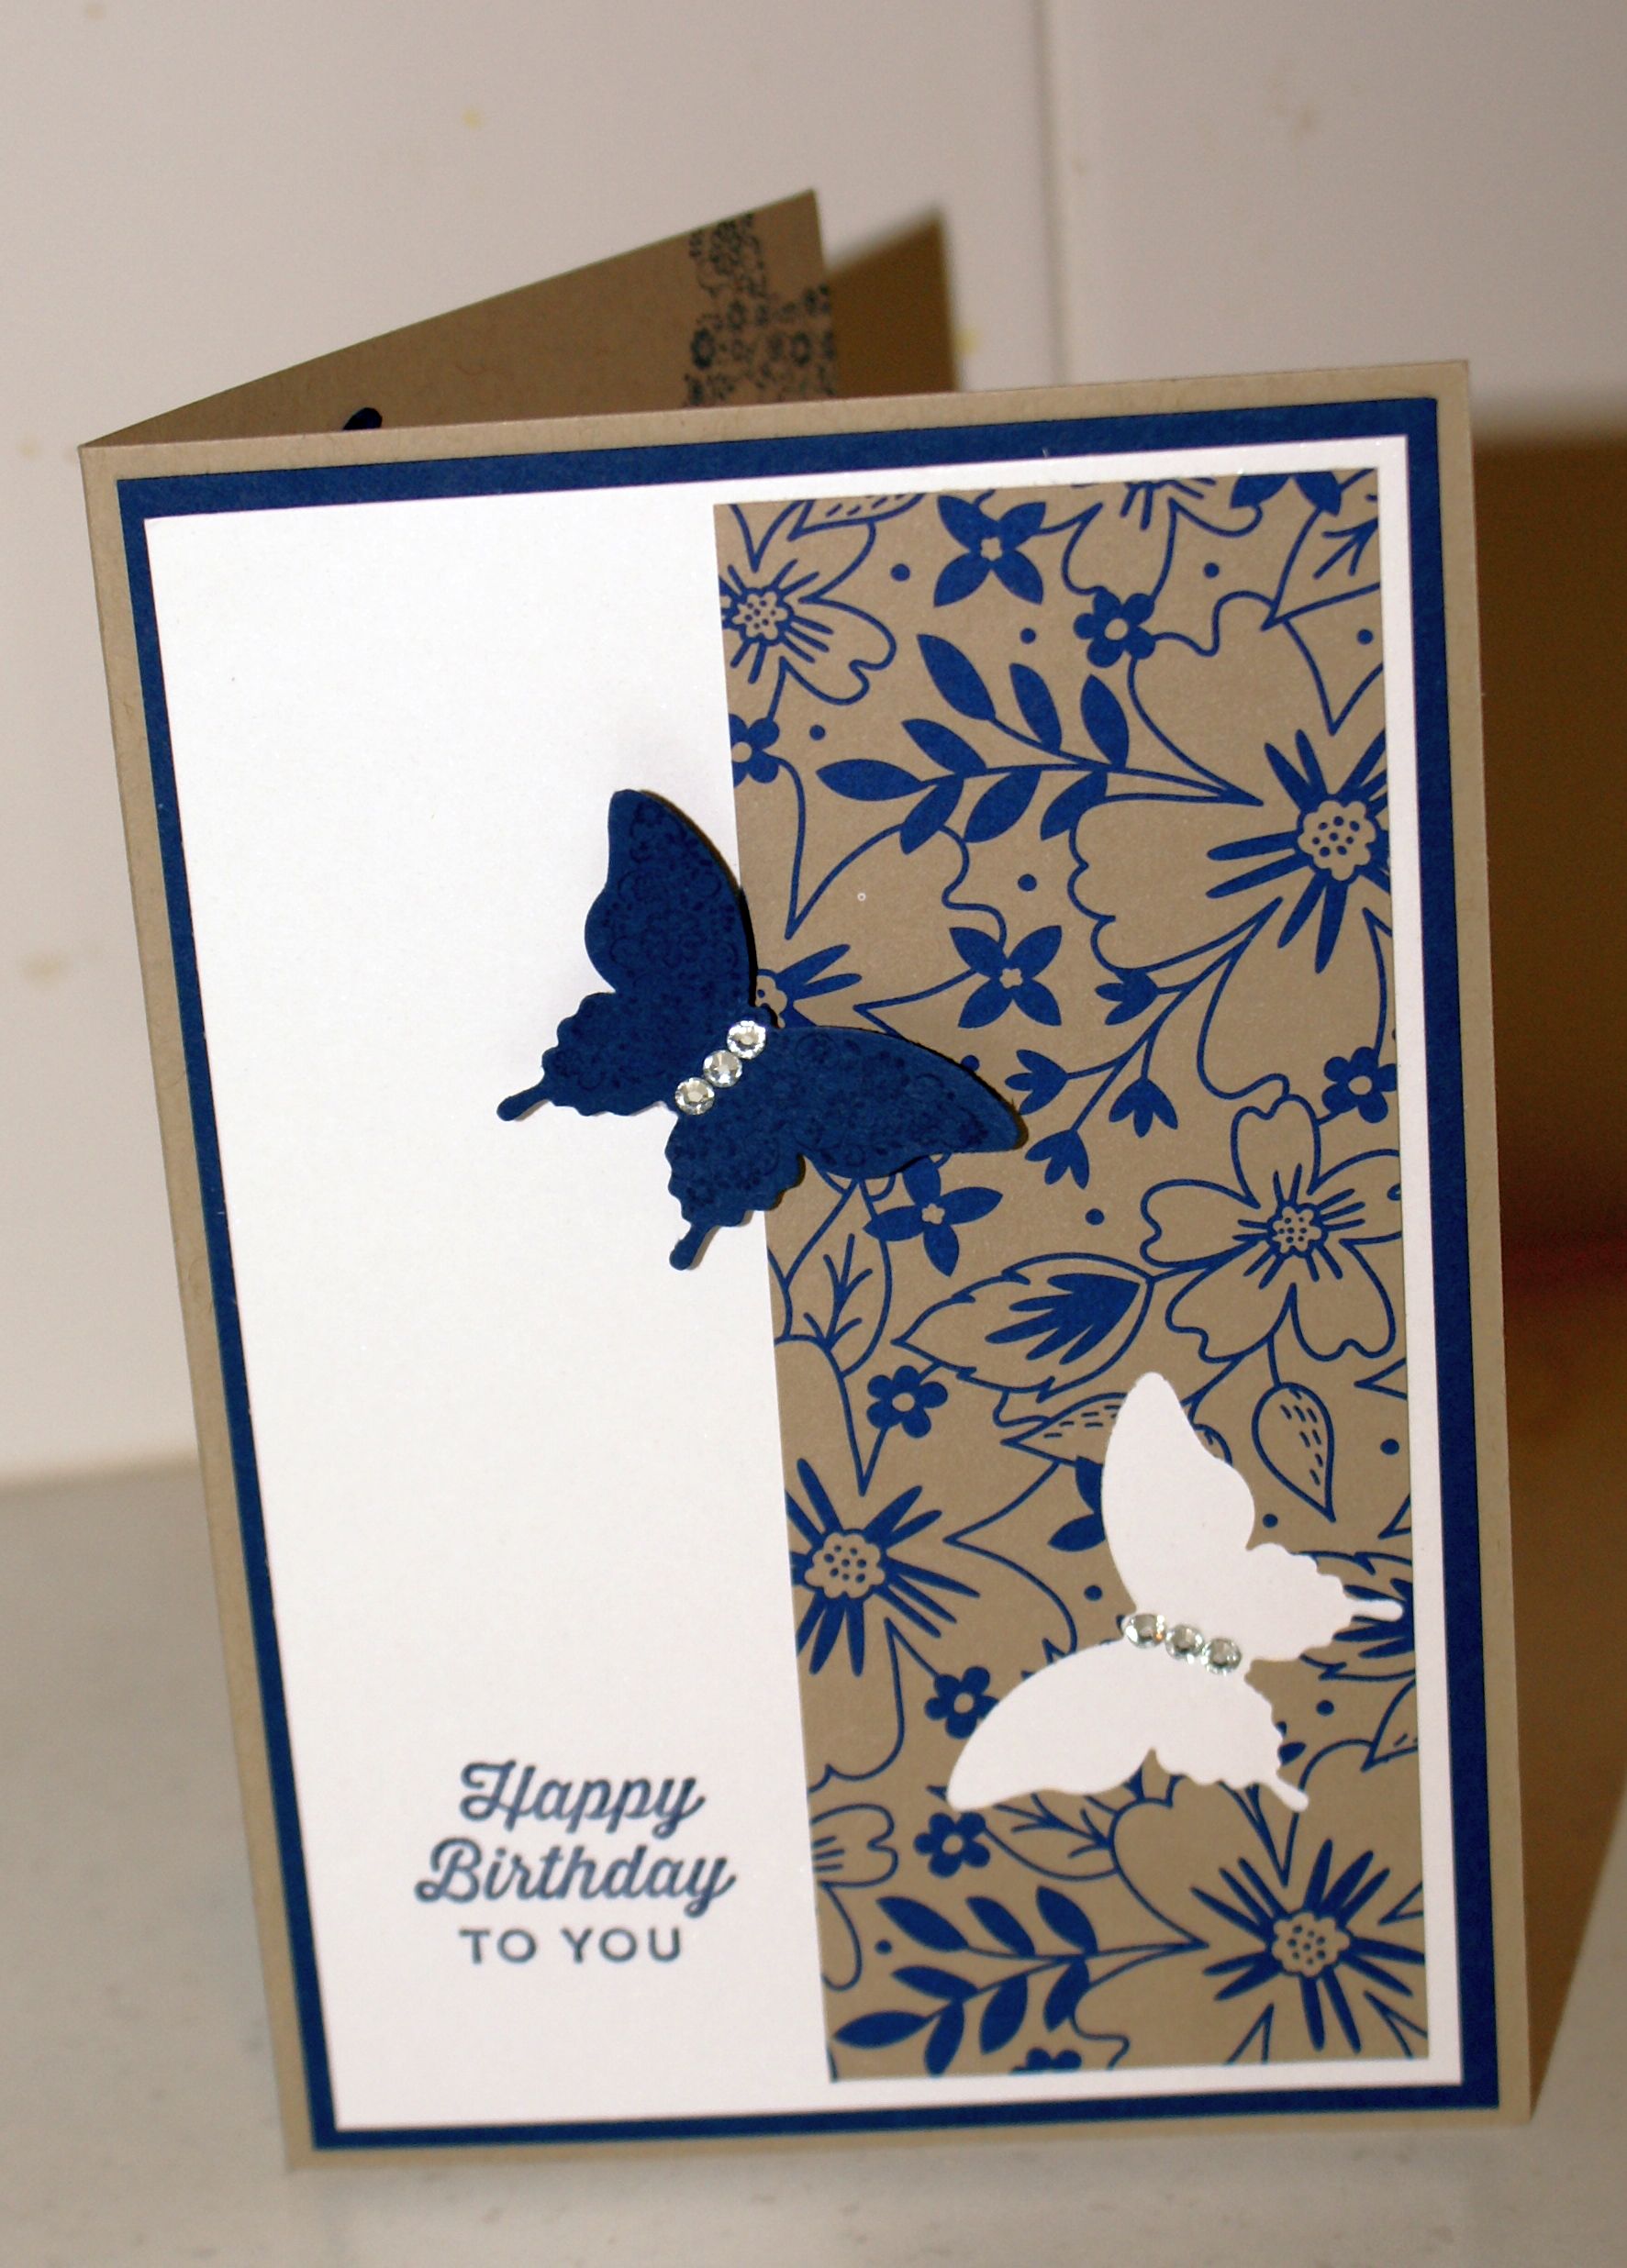
I used my punch to cut out a negative shape on the card front from double-sided designer series paper. Then I flipped the cutout over, folded it in half and applied glue to it's body only and adhered it on the card elsewhere. I used the Affectionately Yours Specialty designer series paper (retired).
Don't you think it looks like the winged one is flying off the card?
Whatever colour your card base is can determine the colour of your cutout.
(retired)
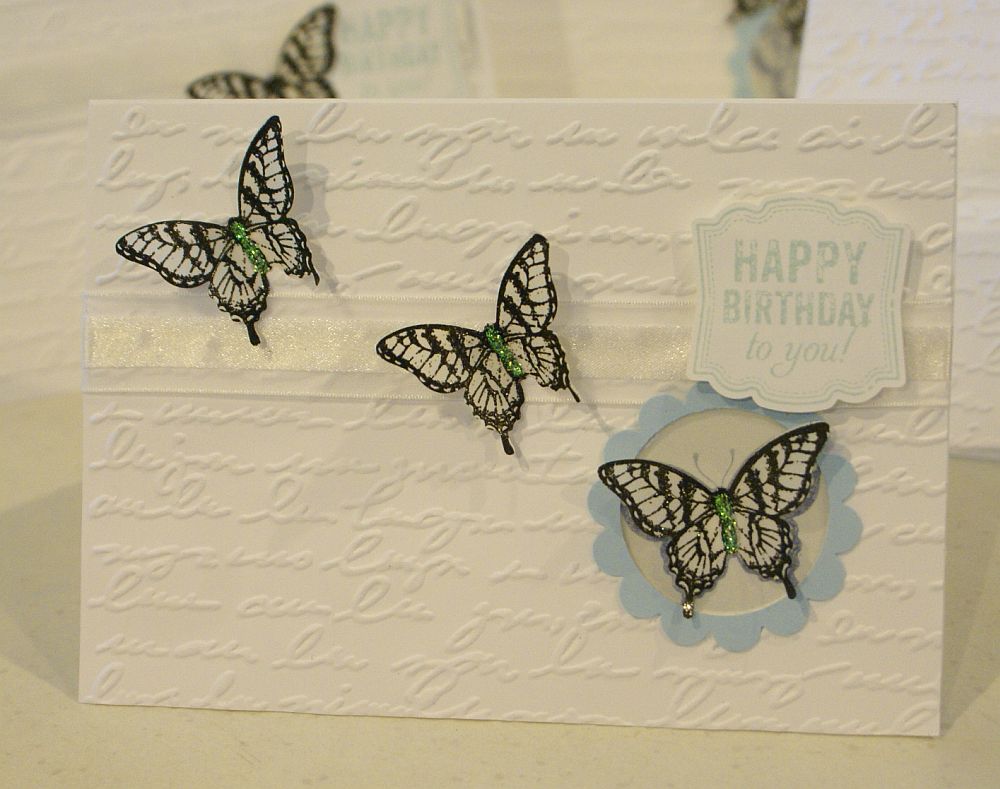
Here I stamped my images on vellum cardstock with Stazon (black) ink before cutting them out with the punch. The stamp set is the Papillon Potpourri one.
Some Ways to Use Bold Butterfly Dies
You can make spectacular shapes with your Die Cut and Embossing Machine and some dies. Here are some ideas for using them to make even more paper butterfly shapes.
Just cutting them out and scattering them across my desk was enough to cheer me up
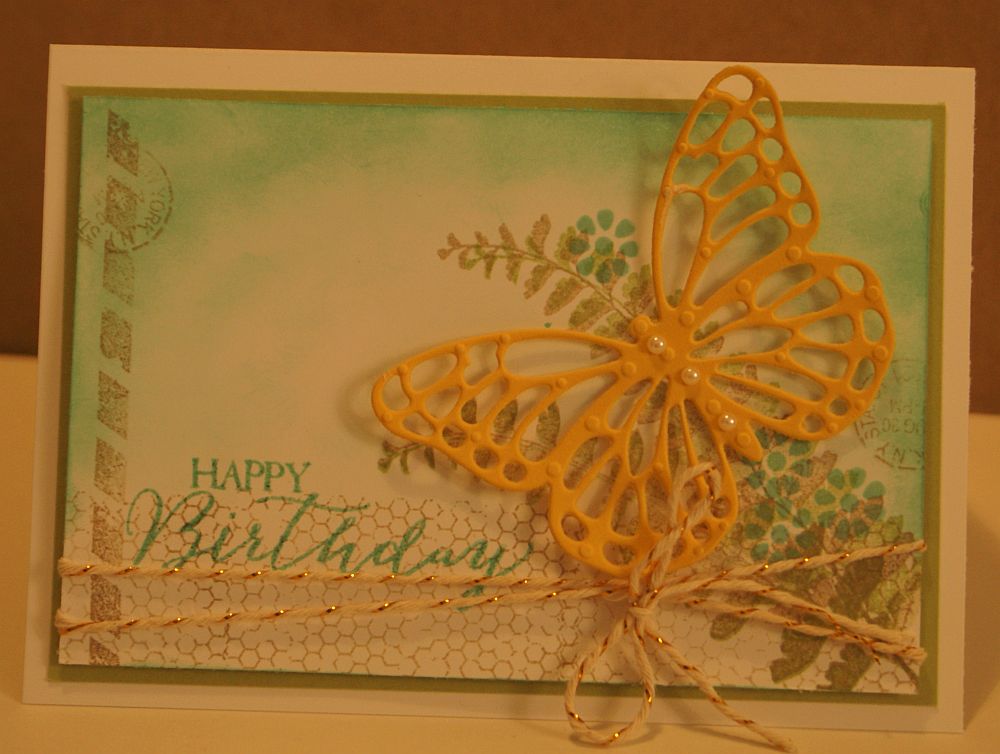
I added one to a card to just show you some of the possibilities. I paired the shape with a stamp set and some gold twined Bakers Twine. There's some ink sponging done on the background too. Adding pearls down the body of the die cut shape complete the look.
Maybe you would like to try making some different types of butterflies that can really fly? You can also make these with children.
Try this project kit:
Beautiful Press-Out Flying Butterflies
A paper butterfly adds beauty wherever you put one. Add some beauty to your life today. ❤
PS: All supplies for these projects are from Stampin' Up! and current ones can be purchased from my SusanSalutations online store if you live anywhere in Australia.
PPS: You can read more about PaperCraftCentral Susan here.
Do You Have A 3-d PaperCraft Project To Share?
Do you make 3-d PaperCraft items? I'd love to see your work. Please do share below.


New! Comments
Have your say about what you just read! Leave me a comment in the box below.