- Home
- Papercraft Adhesives
- Using Punches
Paper Punches
Written and Created by PaperCraftCentral Susan
"Paper Punches: devices or machines for cutting holes or notches
(as in paper or cardboard)"
~Merriam-Webster Dictionary
Using Paper Punches to finish a Bleached Image Card
Do you use paper punches in your crafting? I think I bought some cheap ones at the very start of my crafting life, and did wear a couple out! Now I have Stampin' Up! tools my punch can take a lot more punishment without failing. I still reach for them quite often, like I did to create the next card I am going to tell you about.
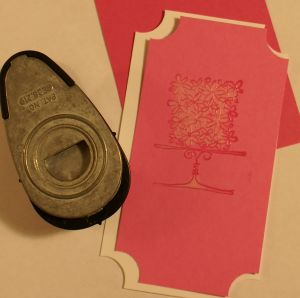
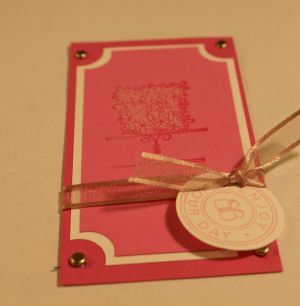
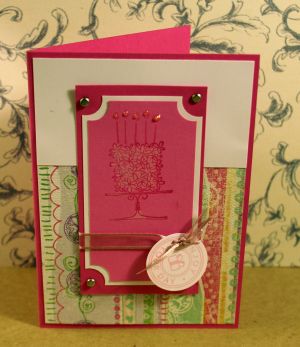
I used paper shaping tools to finish my bleached image card. I thought this finishing effect really added something to my project without taking away from the technique I used for the stamped image. See if you agree.
Here's What To Do:
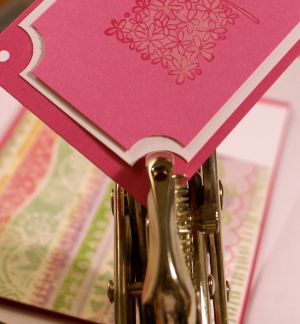
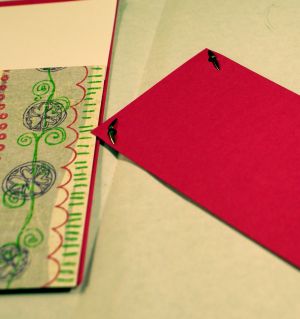
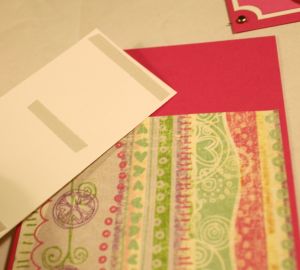
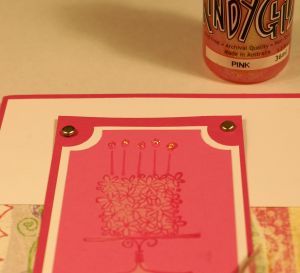
- Use a slit punch (I used to have one of these but Stampin' Up! has retired theirs now and I sold my last one before I realised!! Wish I had kept it) to enhance the corners of your image and the cardstock mat under it. If you don't have a slit punch, you can cut one with a craft knife and a cutting mat.
- You can make your image square or rectangular of course, as long as it has corners to embellish. Maybe consider a star shape for Christmas cards?
- You could also use a circle punch and mark where the centre of the circle is on the tool itself, then insert your cardstock corners up to those marks before pressing down to cut.
TIP: Always turn your punch over as shown in the photos below. That way you can insert the cardstock and see where the paper is going to be cut.
Other Ways to Use Paper Punches
Did you know some punches can create beautiful borders? Stampin' Up! border punches have marks along the edges to help you line up each 'bite' you take with the tool so you can have as long a border as you wish.
The Evergreen Border Punch is an example of this type of punch.
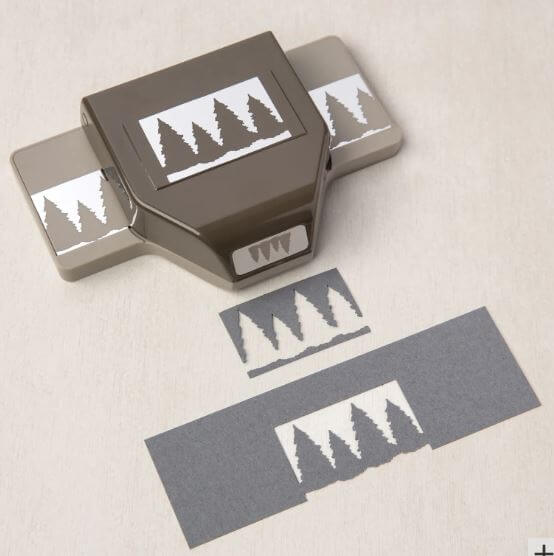
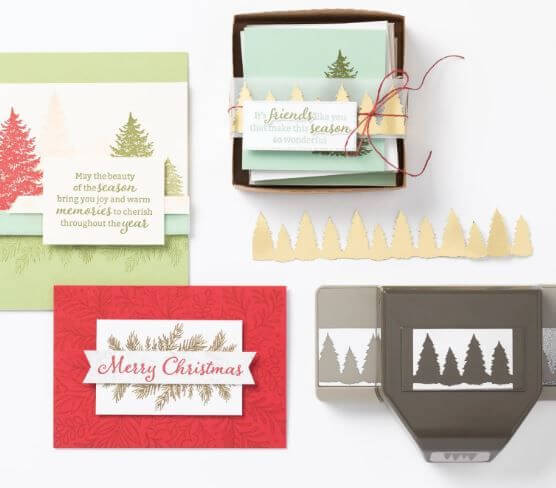
I like that you can also use the negative image (the spaces in the paper left behind when you cut a border) on a card also.
Builder Punches
Some of these clever tools allow you to make specific images, by giving you all the parts and pieces for you to cut out and assemble.
One of the cute ones is called the Trucking Along Builder Punch. It has separate car body and tyre parts for you to punch out and decide what colour to use on them.
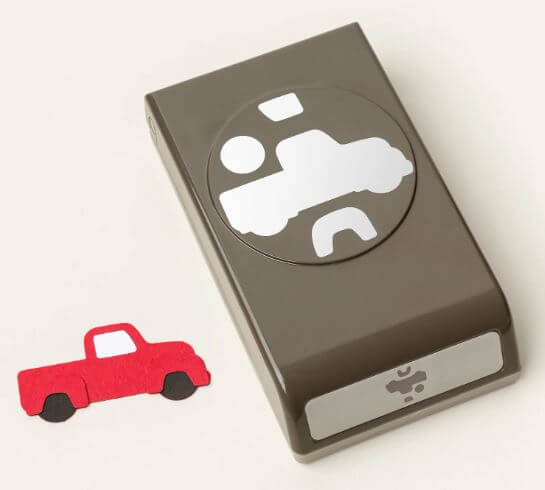
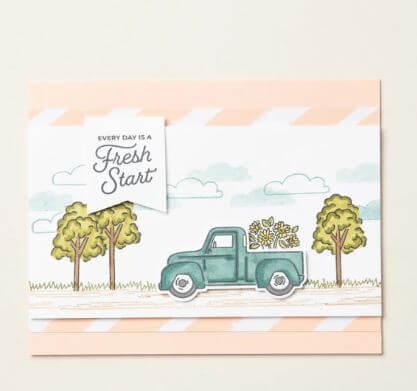
You could punch many cars to run right across your card, all the same or in different colour combinations!
A Few More Ideas
Many punched shapes can be used as something other than what they were intended for, with a little imagination. Some shapes are generic, like circles, triangles and squares. They are the building blocks for many different things. Overlap them to form lines. Build houses with squares for the main part of the house and triangles for roofs.
Punches that create animals can often be turned into a different type of animal. A penguin punch could be made to look like an owl, for instance.
Even looking at the Trucking Along punch above, I can see that the window shape would make a pretty good pot or vase to fill with flowers and leaves,
It's fun to extend the use of your punches by using your imagination!
Learning about and using Stamps Craft Techniques really does add to the enjoyment I get from cardmaking and I do appreciate being able to use my tools and stamps in so many different ways.
I hope you will let me know how you use stamping with bleach or have a novel way of using paper shaping tools to make a card. Do share your project with me and give me more ideas about how to get the most from paper crafting.
Enjoy!
PaperCraftCentral Susan
Do You Have A Favourite Handmade Card to Share?
Do you make greeting cards? Please do share it with me.
Return from Paper Punches to Card Making | Return to PaperCraftCentral Home Page


New! Comments
Have your say about what you just read! Leave me a comment in the box below.