- Home
- Papercraft Adhesives
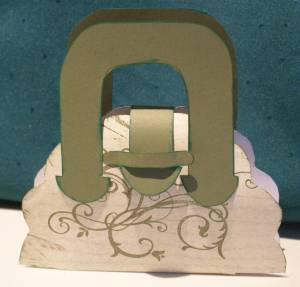
- Paper Purse
Paper Purse
Written and Created by PaperCraftCentral Susan
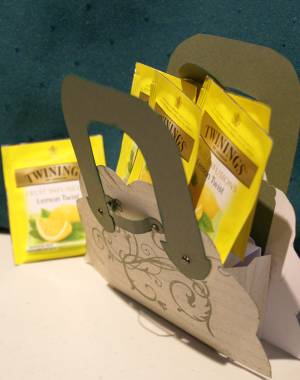
This paper purse can made so that it opens up.
You could use these pretty little containers as party favors, place cards, a jewelry box, decorative elements or a host of other purposes. Add a message to the bag for an extra special card idea. I found some lemon twist tea bags to put in mine, but you could hide some jewelry, some chocolate, some little pencils or sea shells or any small thing that you fancy in yours.
"Ere fancy you consult, consult your purse"
~Benjamin Franklin
How to Make this Paper Purse
Here's What You Will Need:
- Download the scallop purse pattern available on this page just below this materials list
- Select some patterned designer paper (double sided would work extra well) and some solid cardstock in a coordinating colour
- Assemble scissors, ruler, scoring tool, double sided tape, embellishments of choice such as a rubber stamp and coordinating inkpad, brads, etc
Right-click this link to download your free Paper Scallop Purse Pattern.
************************************
PLEASE NOTE: You will need Adobe Reader (the latest version is recommended) installed on your computer in order to open and read this pattern. You can get Adobe Reader here. A new window will open so you can download it without leaving this page.
If you want to open the file in your browser window, just click on the link. However, if you want to download the file to view later, then right-click on the link and choose "Save Target As" or "Save File As." Then select where you want to save the file on your hard drive.
Once you have saved the file, locate where you saved it, and double click to open.
In order to print, open the downloaded file, and select the "Print" option from the ebook menu.
************************************
If you have trouble opening the pattern file, feel free to contact Susan for extra support.
Here's What To Do Next:
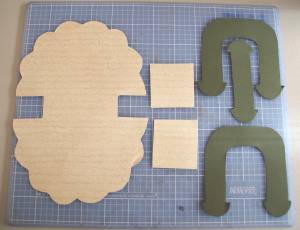
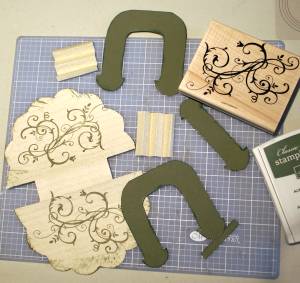
- Print off the pattern and trace it onto your designer series paper and cardstock. Cut out the shapes
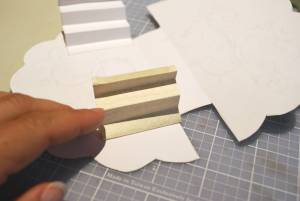
- Score along the lines indicated in the pattern with a ruler and your scoring tool
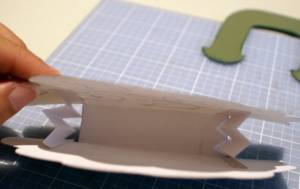
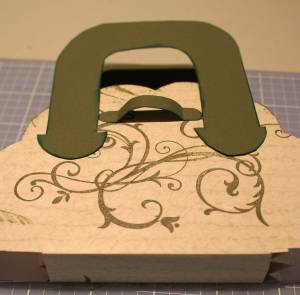
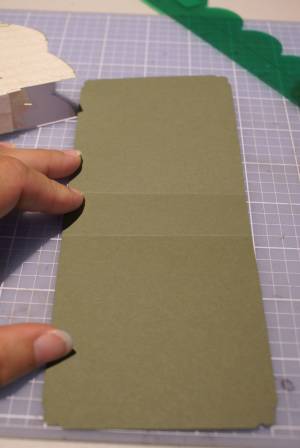
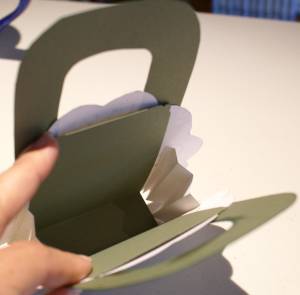
If you make your own paper purse and want to show it off, please do! I would love to see it and so would other readers.
Or if you have a novel idea for how to use these little bags, do tell! For example, I made a paper wallet to hold a wedding Wishing Well gift and placed it in the bag.
Do You Have A 3-d PaperCraft Project To Share?
Do you make 3-d PaperCraft items? I'd love to see your work. Please do share below.


New! Comments
Have your say about what you just read! Leave me a comment in the box below.