- Home
- Papercraft Adhesives
- Repositionable GLue DOts
Removable Glue Dots
Written and Created by PaperCraftCentral Susan
Removable glue dots are great for repositioning elements but they have a few other advantages too. Can you guess what these are? Scroll down further to read more about using this product.
Let me know if I missed out on any tips useful for papercrafters using these so we can all benefit from everything there is to know about them!
"It's the glue that holds everything together"
~Otis Williams

How to Use Removable Glue Dots
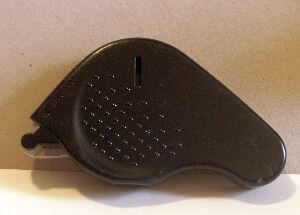
Lots of scrapbookers love to use repositionable glue dots. This temporary adhesive comes in a handy, refillable dispenser (it works like a tape runner) that allows you roll a small (or large!) amount onto a surface. Then your artwork can be pressed on to the dots and it will stay there till you want to remove it but it will not cause the paper or cardstock to tear as stronger glues would. Your art work and photos can therefore be repositioned without causing damage to them, and this glue can be removed easily simply by brushing/rolling it off the paper with your fingertips.
Or you can position images with temporary adhesive on a layout or card and paint or
ink over them, then remove them afterward. The adhered image can act as a
temporary mask, in other words. What a great way to create a unique background!
You know how sometimes small Die Cut and Embossing Machine dies and paper can kind of slip around while you are trying to sandwich them properly in the machine? Another use I have found for this adhesive is to position your dies in the cutting machine so that they stay exactly where you want them while you roll them through. The dots come off the dies very easily afterwards and you have perfectly cut and positioned shapes as well. No more slips!
If you have a Glass Mat, you can also use this adhesive to keep cardstock and designer paper in place while you cut it into circles or other shapes. Simply use some of this product on your glass mat, position the cardstock you wish to cut over it, then cut away without fear that the paper will slip during the process.
Other features of removable glue dots are:
- It usually comes affixed on a paper backing in a roll so is easy to handle
- The dispenser rolls the dots from the paper onto cardstock, pictures or embellishments and is easy to use
- You can remove the dots or any excessive adhesive by rubbing over them gently with your fingers
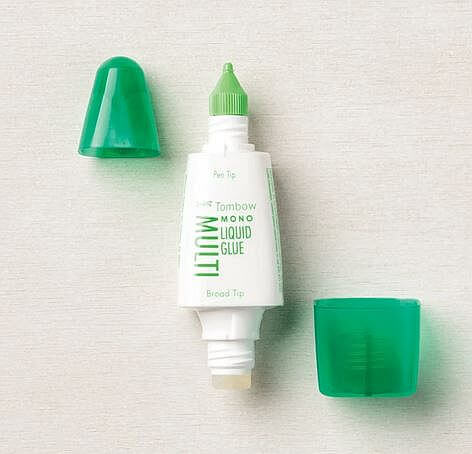
Tombow Multipurpose Liquid Glue

Did you know that Tombow Multipurpose Liquid Glue can also be a temporary adhesive? It's all in how you use it.
Here are some of its features:
- This glue can securely adhere small embellishments to your projects.
- It includes a narrow tip and broad tip.
- It creates a strong bond
- It dries clear.
- It comes in a 0.9 oz. (27 ml) bottle
- It's Acid free so it won't cause your projects to yellow
- It's ideal for cardstock and paper, embellishments, glitter, 3D objects and accents, and detailed die cuts.
It can be made into a temporary glue easily:
- Add a small amount to the element you want to place somewhere temporarily. A little dot will often do.
- Allow it to air dry
- Touch briefly to take a little of the tack away
- Use to temporarily place your elements
What else is good repositionable adhesive?

1. Washi (say WA-She) Tape is a good repositionable tape.
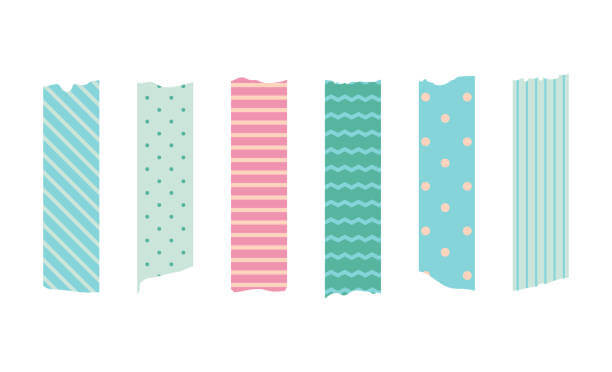
Washi Tape is a slightly transparent, patterned paper tape usually made in Japan. It is meant to be decorative but not to stick hard like regular tape. This quality is called 'low tack'.
You can use it to decorate envelopes, page edges, gifts, and to add to a card front or scrapbook layout. Some people like to edge the cover of a journal with it.
I also like to keep a leftover roll of it next to my Die Cut and Embossing Machine. It can hold metal dies in place so you don't have any shift in your cutting sandwich. I get much more accurate cuts this way. Simply add a piece or two to the back of the die and let it anchor the die down to your cardstock before convering it with your cutting plate and rolling it through your die cutting machine.
I do take a little of the tack off before using it by sticking it to whatever clothing I am wearing before adding it to the cardstock.
Low tack doesn't mean NO tack! Some Washi Tapes are stronger than others and can tear delicate paper instead of coming off cleanly.
You can often find Washi Tape at craft stores, sometimes at newsagencies and stationery stores.
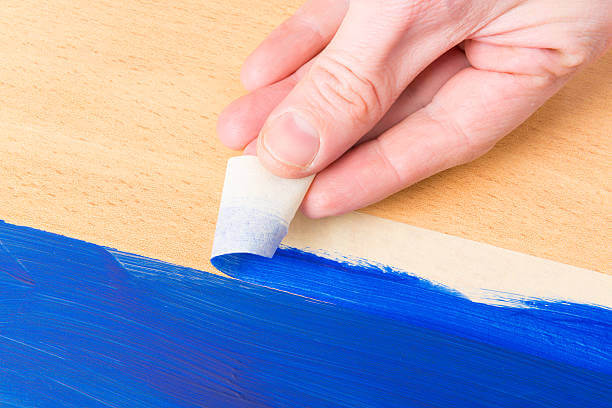
2. Painter's Tape is a good thing to have in your craft room too. It is meant to mask bits of wall or frame off when painting, so you can get straight lines or protect something from being painted. Because it is low tack too, you can use it like Washi Tape (and you might feel less guilty about using it, as well, since it isn't usually pretty patterned tape, but there are exceptions!)
I always take some tack off before using Painter's Tape by sticking it to my clothing a couple of times before adding it to my cardstock and especially when I am using thinner paper like designer series paper in my project.

Over to You!
Have you used a temporary type of adhesive for a project of your own? If you have I would love to see the result.Also give us any tips or techniques you might use with repositionable tapes or glue dots.
Show me here. Thanks in advance!
Do You Have A Favourite Handmade Card to Share?
Do you make greeting cards? Please do share it with me.


New! Comments
Have your say about what you just read! Leave me a comment in the box below.