- Home
- Papercraft Adhesives
- Rubber Stamps
Rubber Stamps Care
Written and Created by PaperCraftCentral Susan
Using Rubber Stamps for cardmaking is a lot of fun and can be very rewarding. You can produce such lovely effects with them.
Caring for your rubber stamps is also important. See my tips for doing so below.
"Definition: handstamp:
a stamp (usually made of rubber)
for imprinting a mark or design by hand
~Wordnet"
Are you new to stamping? You may wonder what to do with stamps that come to you unattached (unmounted) to their blocks, and you may also wonder how to get all the ink off them once you have used them.
Stampin' Up! stamps usually arrive unmounted though they are die-cut.
All you need to do is to remove them from their sheet, unpeel the sticky on the back and press them onto a wooden block provided.
I always take all of the wooden blocks in a set and match up the stamps to their sized block before sticking them down.
After you have applied your stamps to their blocks, add the clear graphic of that stamp to the other side of the block. Make sure you put it on the right way up or you will forever be stamping upside down by mistake! (ask me how I know that).
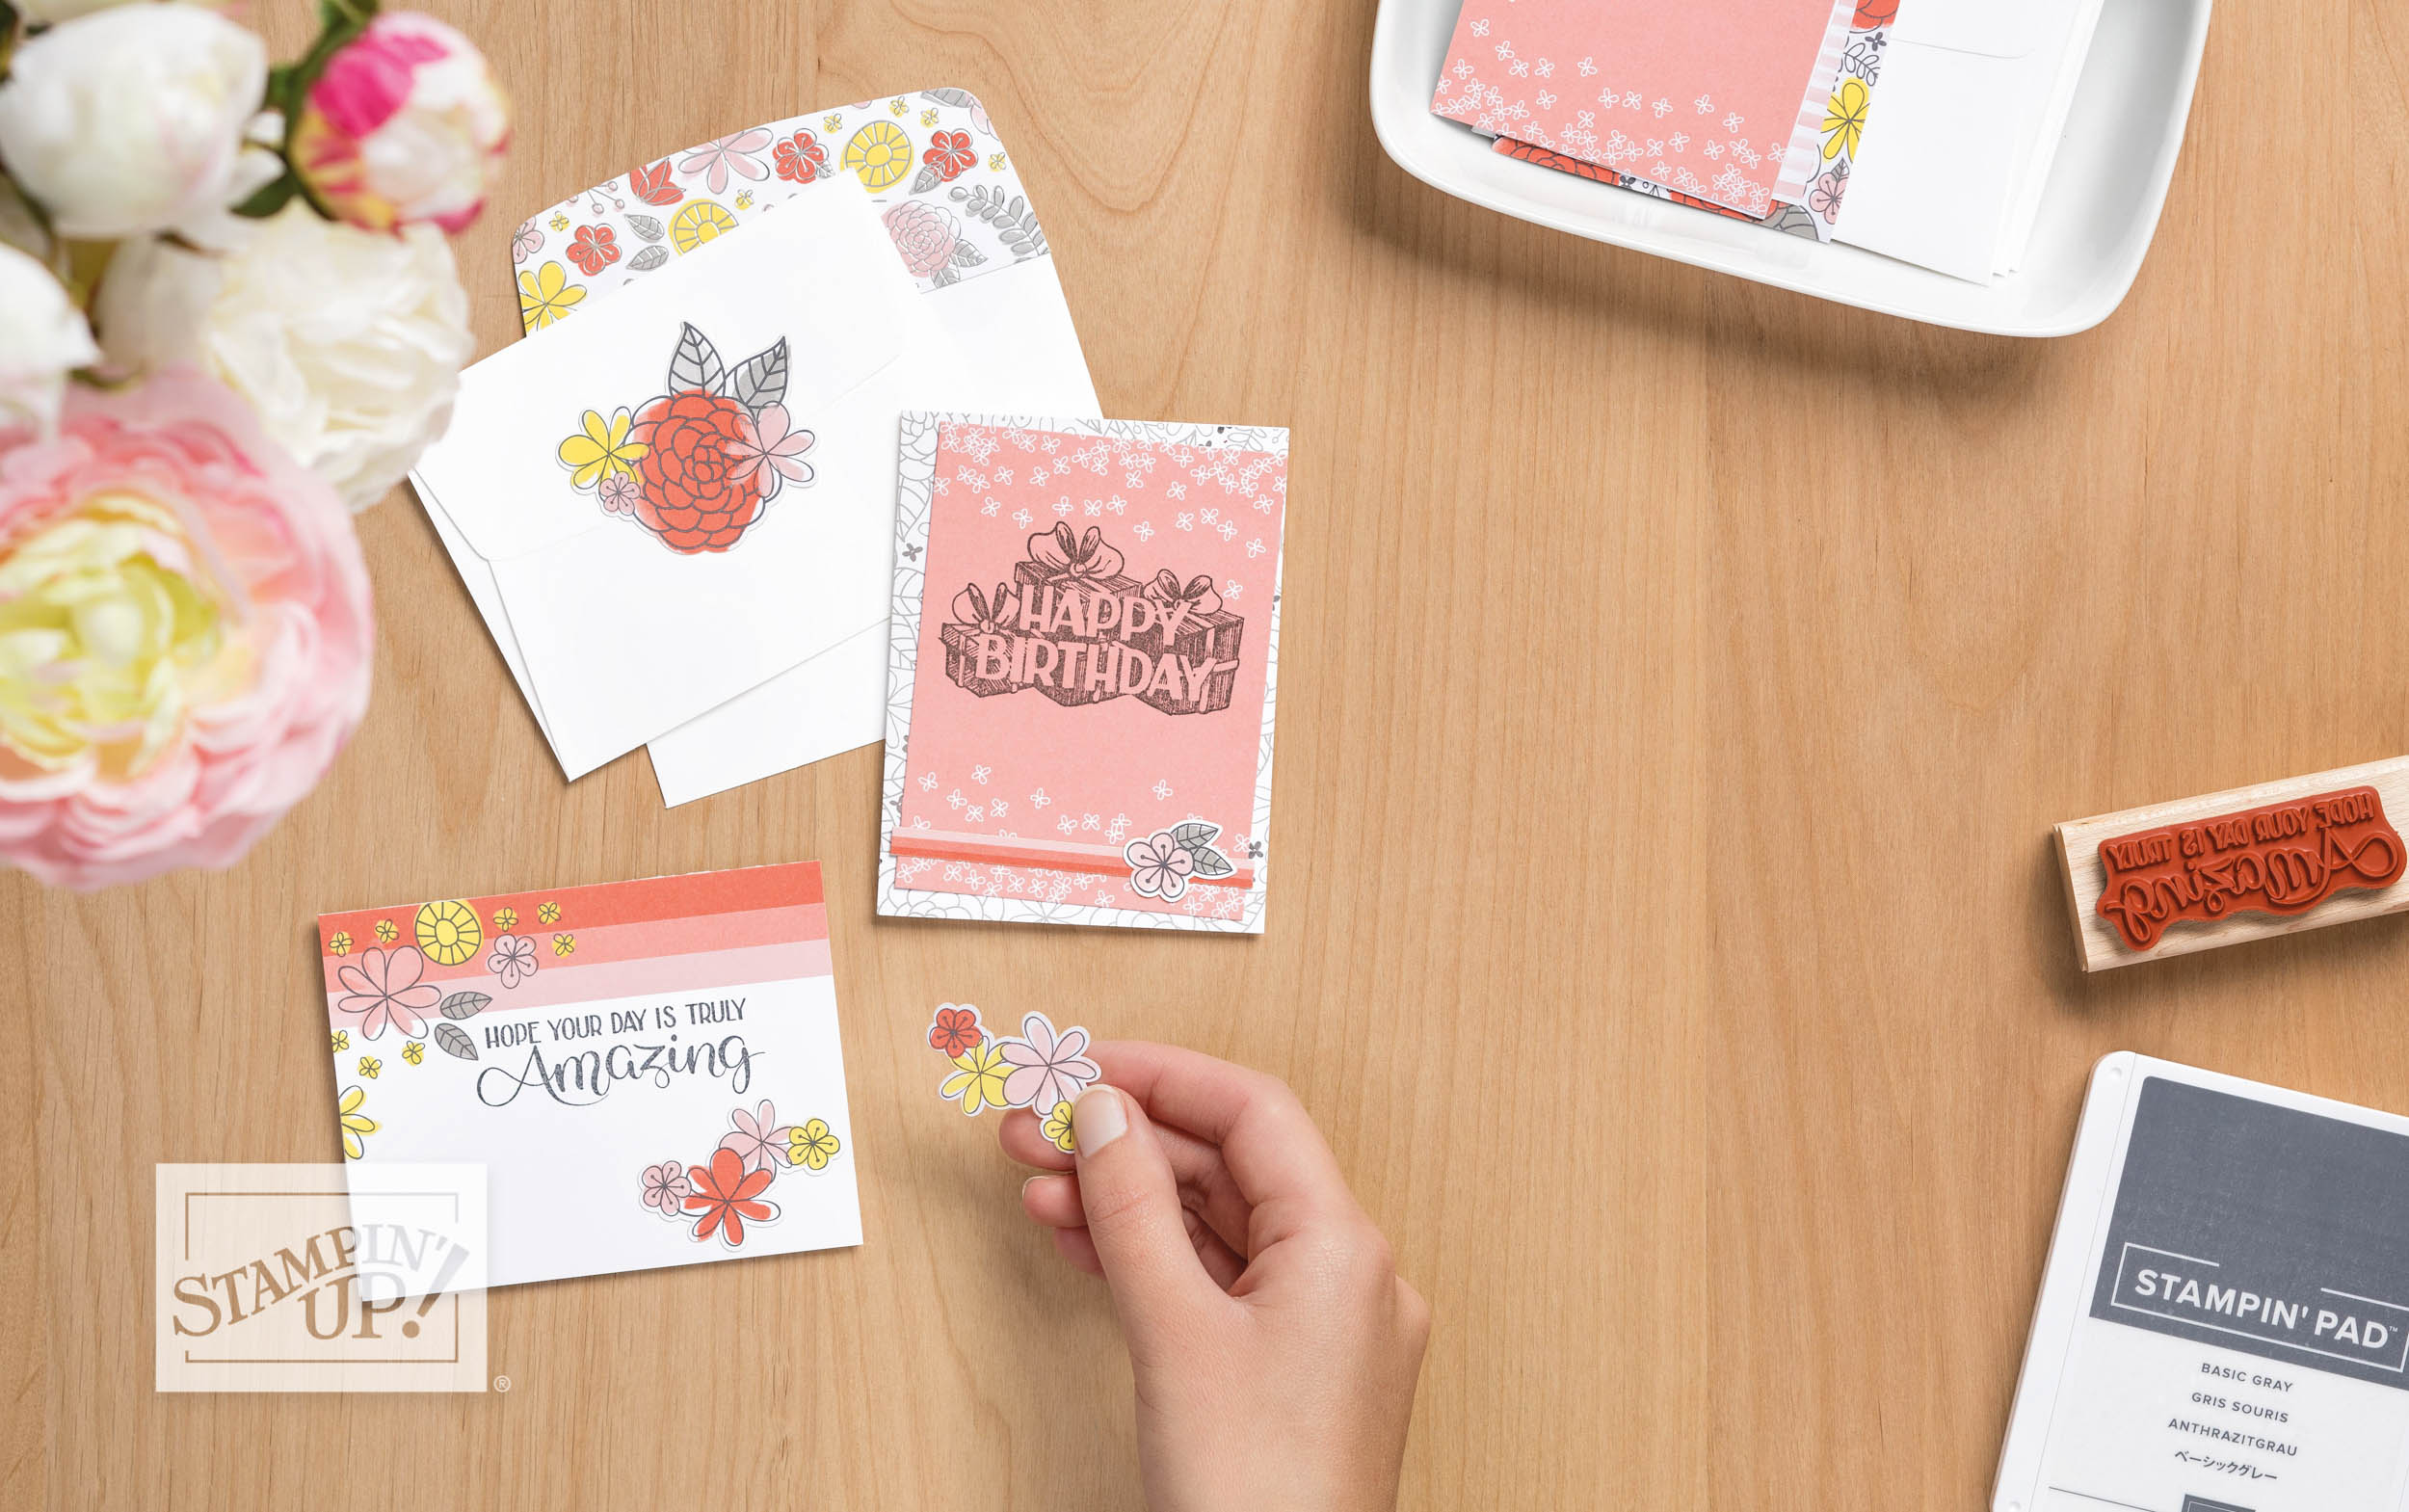
You can buy loads of pretty stamps, either mounted on wood, clear mount or photopolymer, from my Stampin' Up! store if you live in Australia, or from a demonstrator near you if you live in USA, Canada, New Zealand, Germany, Austria, France, The Netherlands, the UK and Japan.
If you order your stamps through other online stores or craft shops, they may arrive unmounted and not die cut. By this I mean they need to be cut out from a single rubber sheet and placed on wooden or clear acrylic blocks. Here are some tips for how to do that.
Wooden Blocks and Rubber Stamps for Cardmaking - how to mount uncut stamps and keep those wooden blocks clean
First consider your wooden blocks. Many people like to seal them before they mount their stamps because a sealant such as varnish makes it easier to wipe ink stains off the wooden blocks. Stains sometimes happen when you share your tools with others who are just learning how to stamp, for example.
I have been known to cause ink stains on my own stamps because I was distracted doing something else! Stains on the wooden blocks don't really worry me too much, though.
Here's how to remove ink stains if you happen to say, put your elbow in an ink pad.
If stains on your wooden blocks will worry you, I recommend you seal those blocks first. Use a clear varnish to do this and make sure it is completely dry before mounting your stamps.
Many people use one or two (or more - even up to four!) coats of varnish to seal their blocks.
If you still get stained wooden blocks after sealing them, you can always lightly sand your blocks and reseal them for a fresh new look.
How do I mount my stamps?
Care Tips in Mounting Wooden Block Stamps
If you need to cut out your rubber stamps, use sharp scissors (preferably special rubber cutting scissors) to cut straight lines near the image.
You will want to stay close to the image but not cut into it.
Straight cutting lines work better than curved ones. Straight lines around your images don't pick up as much unwanted ink as curved ones seem to.
You are aiming to trim away enough of the rubber so it will not mar your paper by putting ink where you don't want it to show.
I sometimes even trim die cut stamps (ones that have been punched out by machine) if I think the edges left are too wide.
It's a matter of personal preference how close you trim, as long as you don't take away so much rubber that the image is compromised. By that I mean it cannot make good contact with your wooden or acrylic stamping block, or that it slips and bends when you put pressure on it for stamping..
Most unmounted rubber stamps have their own clear image sticker with adhesive on the back. Position this on the other side of your wooden block so you will always know which image is attached opposite.
Here's what to do to mount your stamps:
- Choose a wooden block that is similar in size to your unmounted image. Your block should never be smaller than your stamp.
- Unpeel the adhesive backing sheet from your stamp, and, keeping
the image as level with the block as possible, press it firmly onto one
flat side of the wooden block. I tend to place them right in the middle
of the block. That way there is less tendency to rock the image when
you stamp, resulting in clearer, less blurred and wrongly ink marked
images.
- Unpeel the clear image and, checking to be sure it is the right way up for the rubber image, press it firmly to the other side of the wooden block.
You should now be done with mounting your wooden stamp and can ink it up and use it.
Mounting Polypropylene Stamps
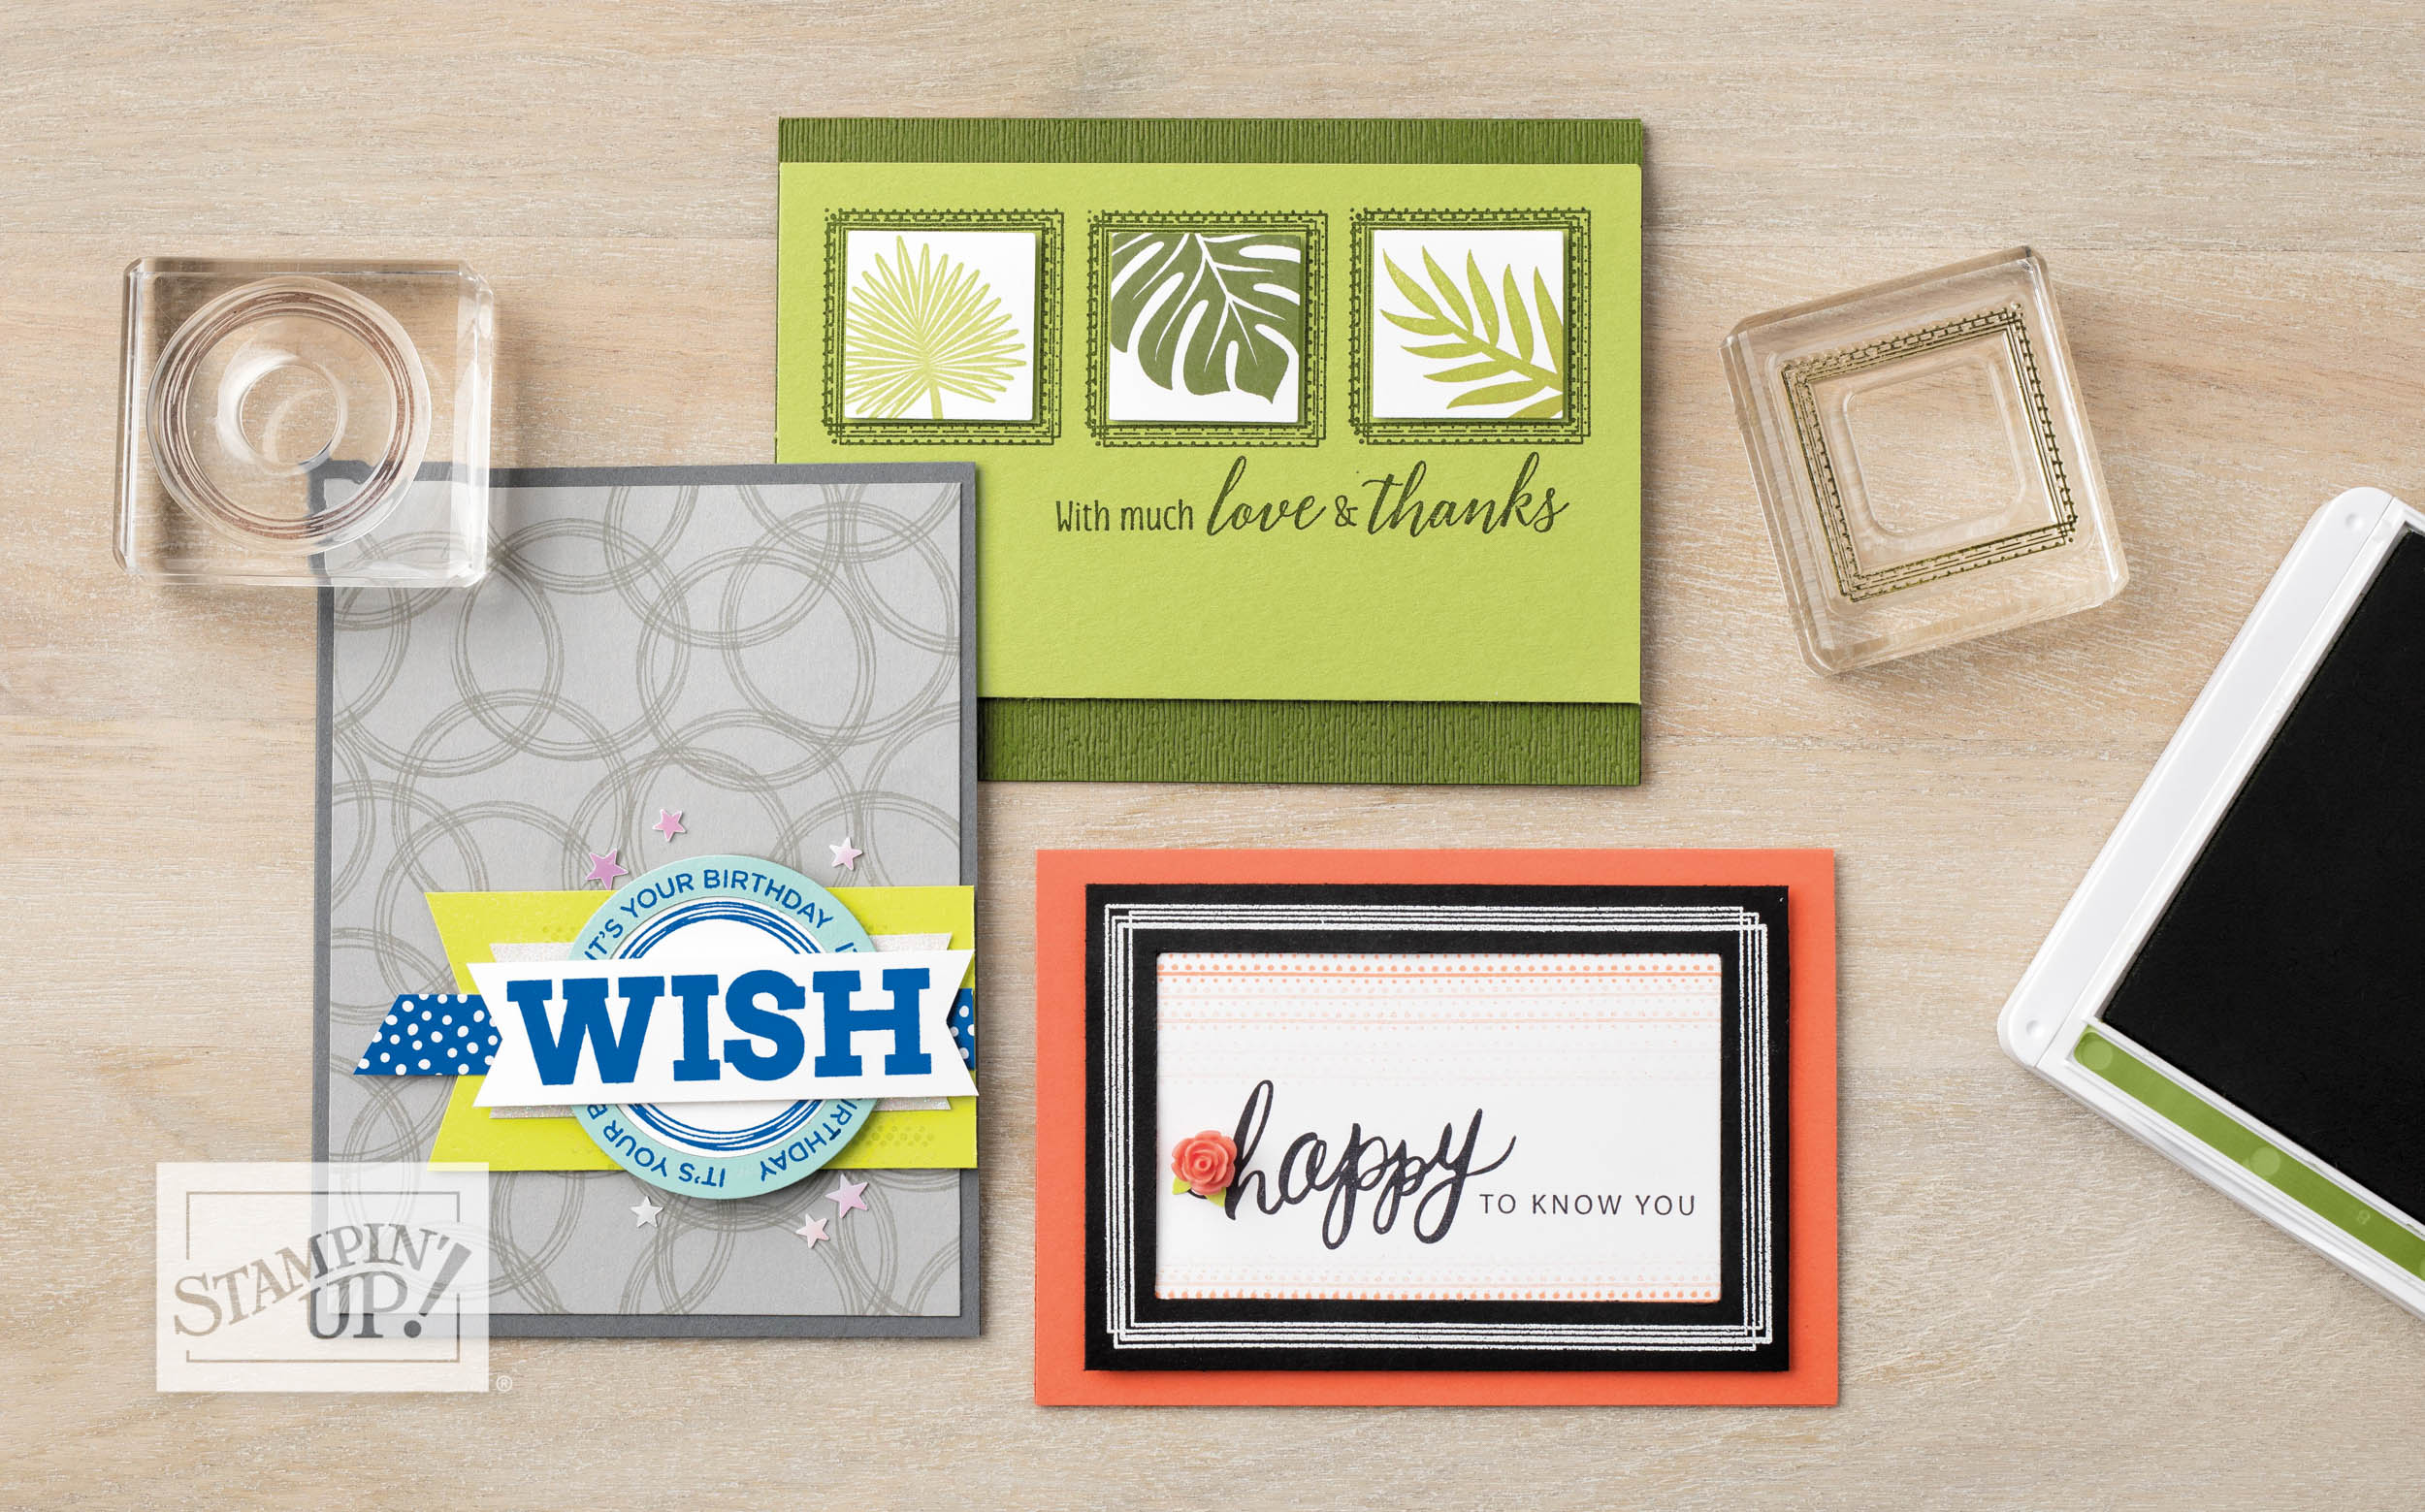
Polypropylene stamps usually come to you on a sheet of clear plastic or polypropylene.
You may need to purchase some acrylic (clear) blocks in addition to your images.
All I do is choose an acrylic block that is close in size to my image, peel that image off the backing sheet and place it on my acrylic block. The image should adhere to the block all by itself. They have no need of image stickers as they are see though.
After you have finished stamping, you can clean the image before peeling it off the acrylic block and replace it on the sheet it came to you on.
Mounting Clear Mount Stamps
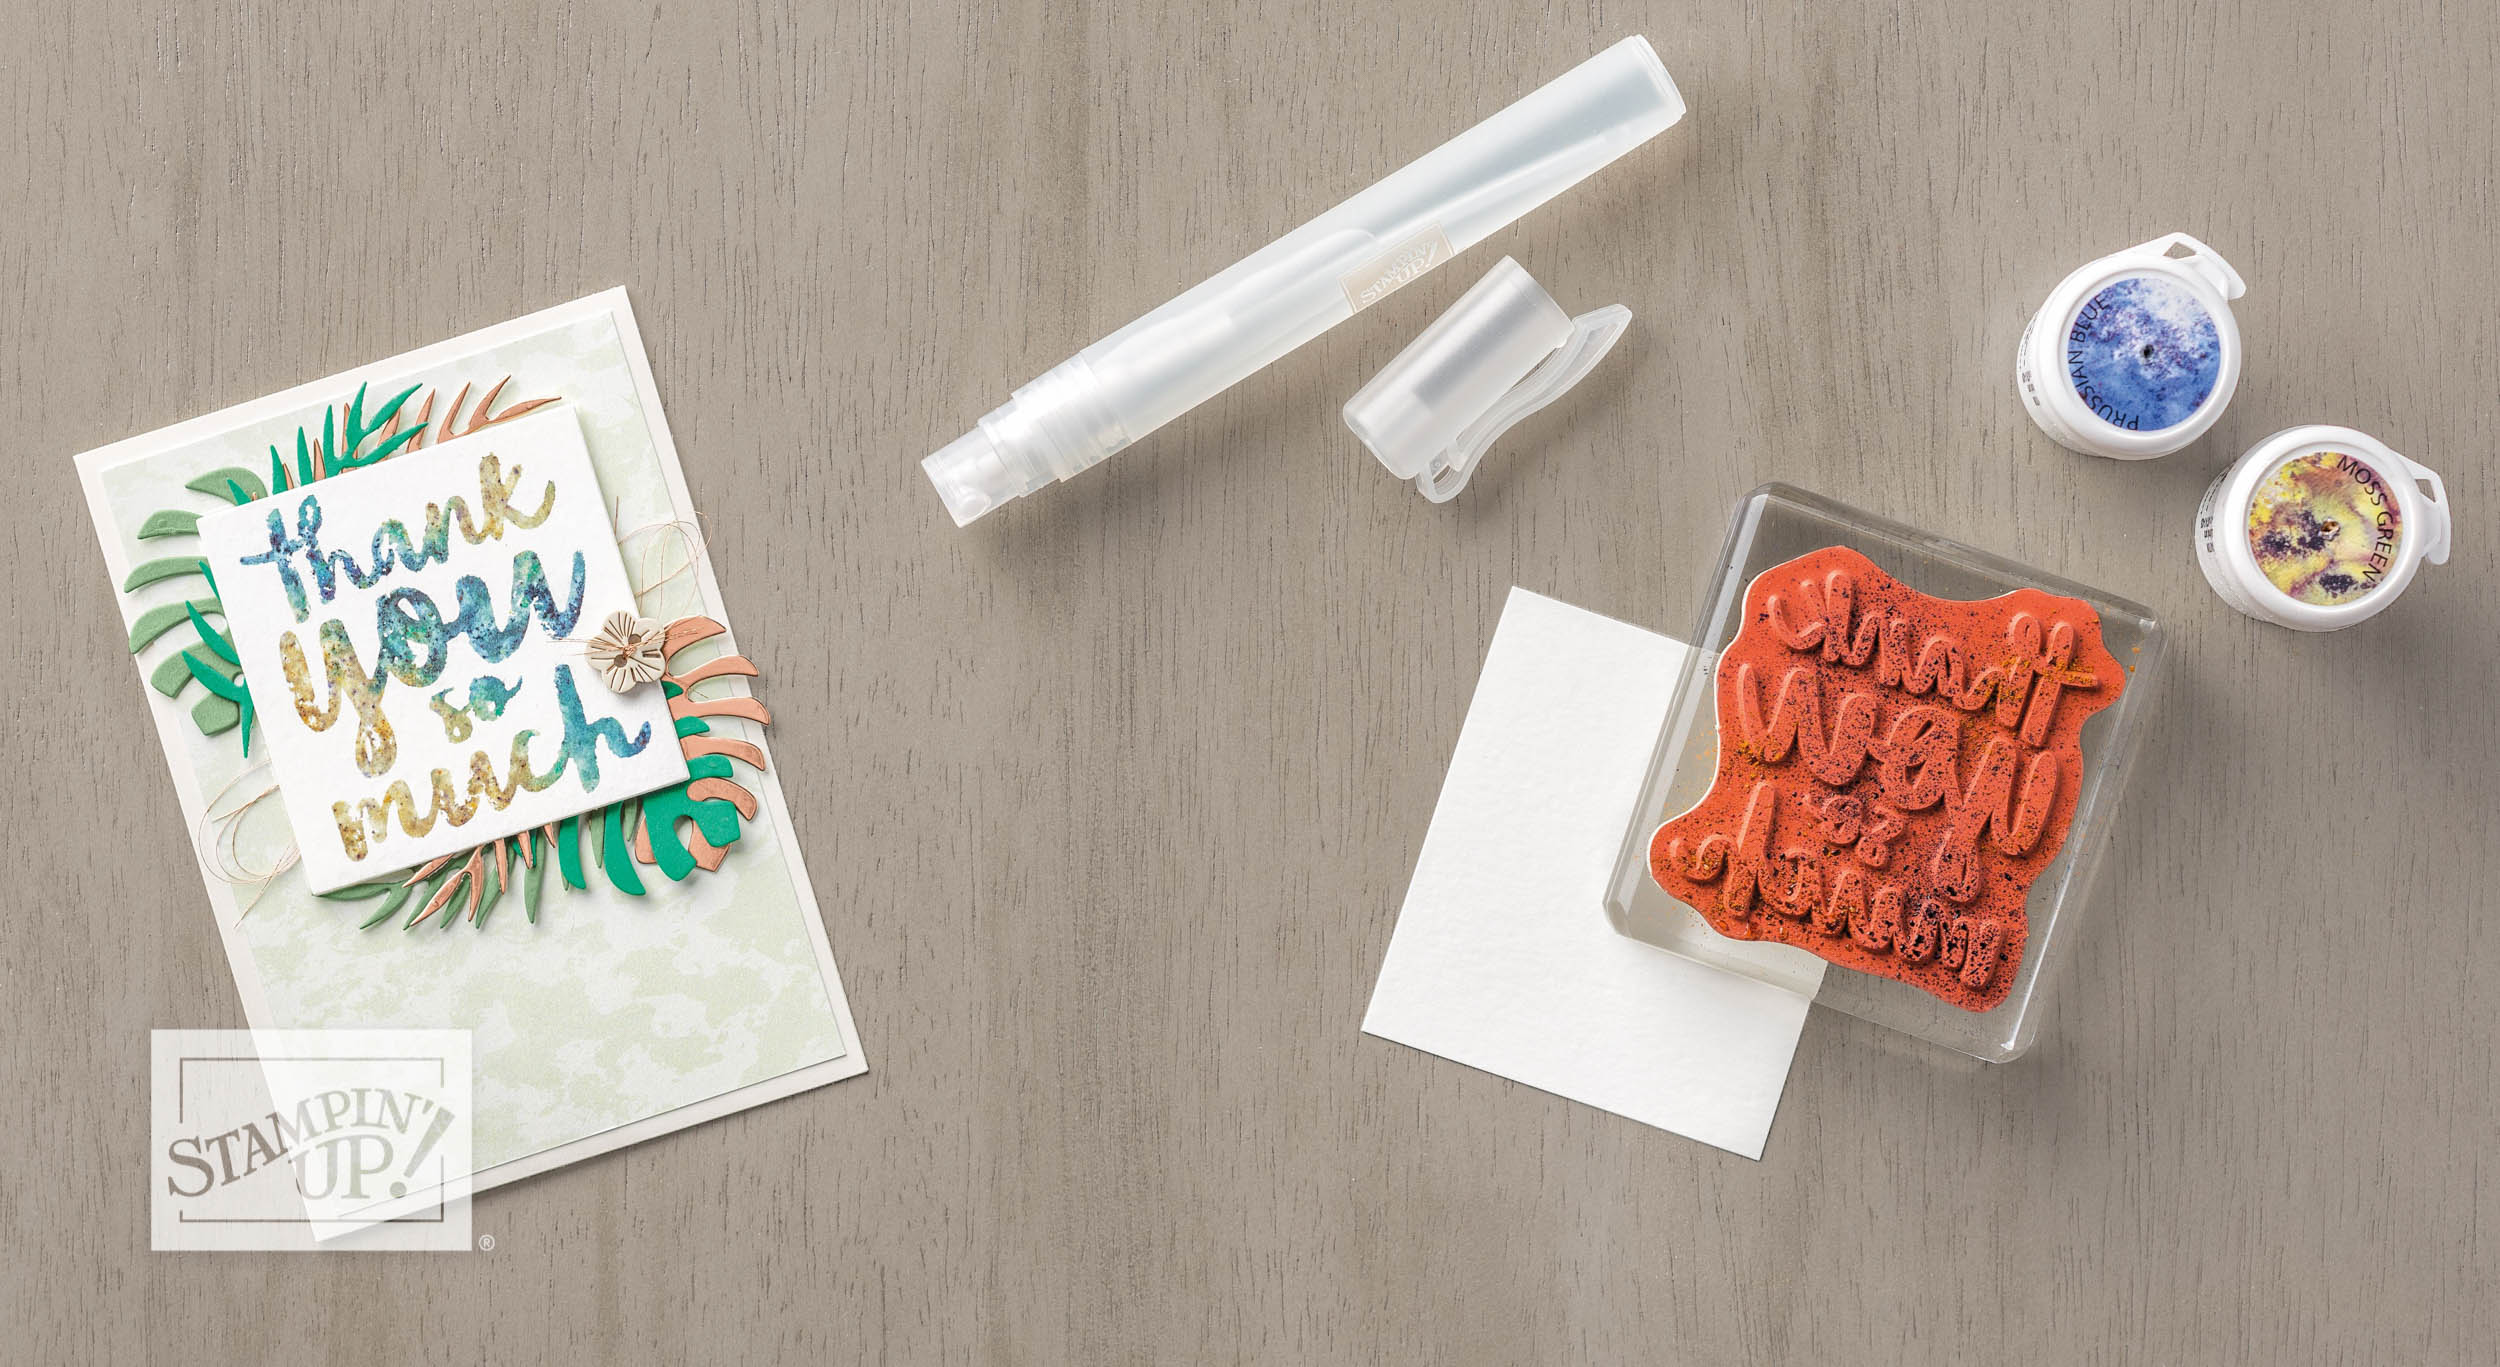
Clear mount stamps come in a red rubber sheet, from Stampin' Up!
You need to remove them from the sheet and mount them according the the instructions I made for you on video.
Stamp Cleaning
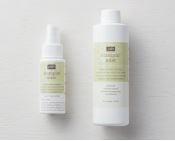
If you want to keep your rubber, clear mount or polypropylene stamps in top condition, be sure to clean them properly every time you use them.
Dried ink in the creases and ridges of your stamps can blur the image and cut down on the detail you can achieve.
The stamps can also grow hard and crack unless they are properly conditioned when they are cleaned.
All types of stamps can be cleaned by using a stamp cleaner and a cleaning pad. There are special acrylic cleaning solutions but I just use the Stampin' Up! rubber stamp cleaner solution (Stampin' Mist) when using pigment or craft inks. Stampin' Mist has the advantage of haiving a rubber conditioner included in the formula.
I do use permanent ink cleaner if I am using rubber stamps to stamp with indelible ink like Stazon or Memento inks.
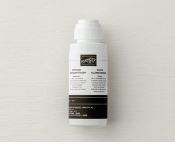
Polypropylene stamps will stain though, no matter how you clean them. You are likely to pick up less staining if you clean them right away after you stamp with them, but mostly they will stain.
This does not mean they create bad images. Stains don't affect the image at all. In fact, some crafters never clean their rubber at all! I am not sure if the old ink ever smudges their images though.
A Friendly Warning:
Some people use baby wipes or hand wipes to clean their rubber stamps.
If you do use these, make sure the items are alcohol and lanolin free.
These substances can dry out the rubber over time and cause it to harden
and crack. Stampin' Mist has a conditioner in it to help keep your
rubber, polypropylene etc in good condition.
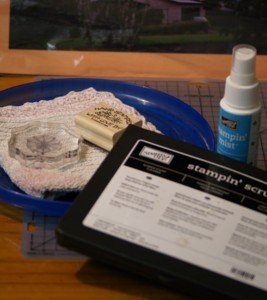
When I first started out with my papercrafting hobbies, I used a flat plastic dish to which I added an old face washer that I had wrung out with plain water. When I finished making my image, I spritzed the image on the block with water and then placed it face down on the washer and rubbed till I got most of the ink off. These days, I do use a special rubber stamp cleaning solution and a stamp scrubbing pad instead and find it works MUCH better.
How to Use a Stampin' Scrub from Stampin' Up!
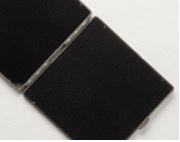
To use a Stampin' Up! stamp cleaning pad (Stampin' Scrub), decide which of the two scrubbers will be wet and which one you will leave dry.
Remove one of the scrubbers from the case and wet it down under running water. Damp dry it with an old towel and replace it in the Stampin' Scrub holder.
You can then spritz some Stampin' Mist on the damp scrubber and use it to clean your stamps.
Once you have cleaned the stamp, rub it dry on the dry scrubber.
Of course, the wet washer technique works well only with water-based inks, not with permanent inks like Stazon. A commercially made rubber cleaner (Stampin' Up! sells one) is best to use when removing Stazon ink.
Just spritz the cleaner onto your inked rubber stamp and scrub it off as you would for water based inks.
You may still be left with some faint stains on the rubber but you will not be left with caked ink on your images and none of the stains should subsequently come off on your stamping projects.
Don't worry if there is a bit of a stain from Stazon ink left on your rubber stamp after you have cleaned it.
If you are concerned that unwanted ink will still rub off on your project, clean your stamp a second time.
One way to tell if it is clean enough and get peace of mind about using it is to stamp the freshly cleaned rubber or polypropylene onto scratch paper.
If it still leaves a faint image, clean it again. If there is no image left on the paper, it is clean enough.
How to Use a Simply Shammy from Stampin' Up!
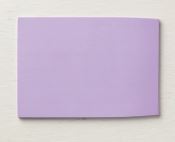
Stampin' Up! released a 12.7cm x 17.8cm Simply Shammy reusable stamp cleaning mat in 2018 that makes stamp cleaning effortless.
Just add water, then wipe any type of inked stamp on the shammy.
It is durable, thick and easily cleans ink from narrow grooves.
It is lint and chemical free. Ink will stain the shammy but won't transfer to your fingers or to other stamps.
It fits neatly into a stamp case, too, so is easy to keep track of and take with you wherever you want to stamp. Stamp cases come in several sizes at Stampin' Up!
Use Special Care with Wood Mount Stamp Cleaning
If you have wooden mounted rubber stamps, be sure to avoid saturating the wood with water or other liquids as you clean them because the wood will swell and/or warp and the adhesive holding the image in place may lift.
You won't get clear stamped images under these circumstances.
How to Order Stamps and Cleaners
If you are living in Australia, you can order Stampin' Up! products mentioned on this page from me at SusanSalutations.
If you live in USA, Canada, New Zealand, Germany, Austria, France, The Netherlands, the UK and Japan, you can search for a Stampin' Up! Demonstrator near you and selecting the site relevant to your country in the drop-down menu at the upper left.
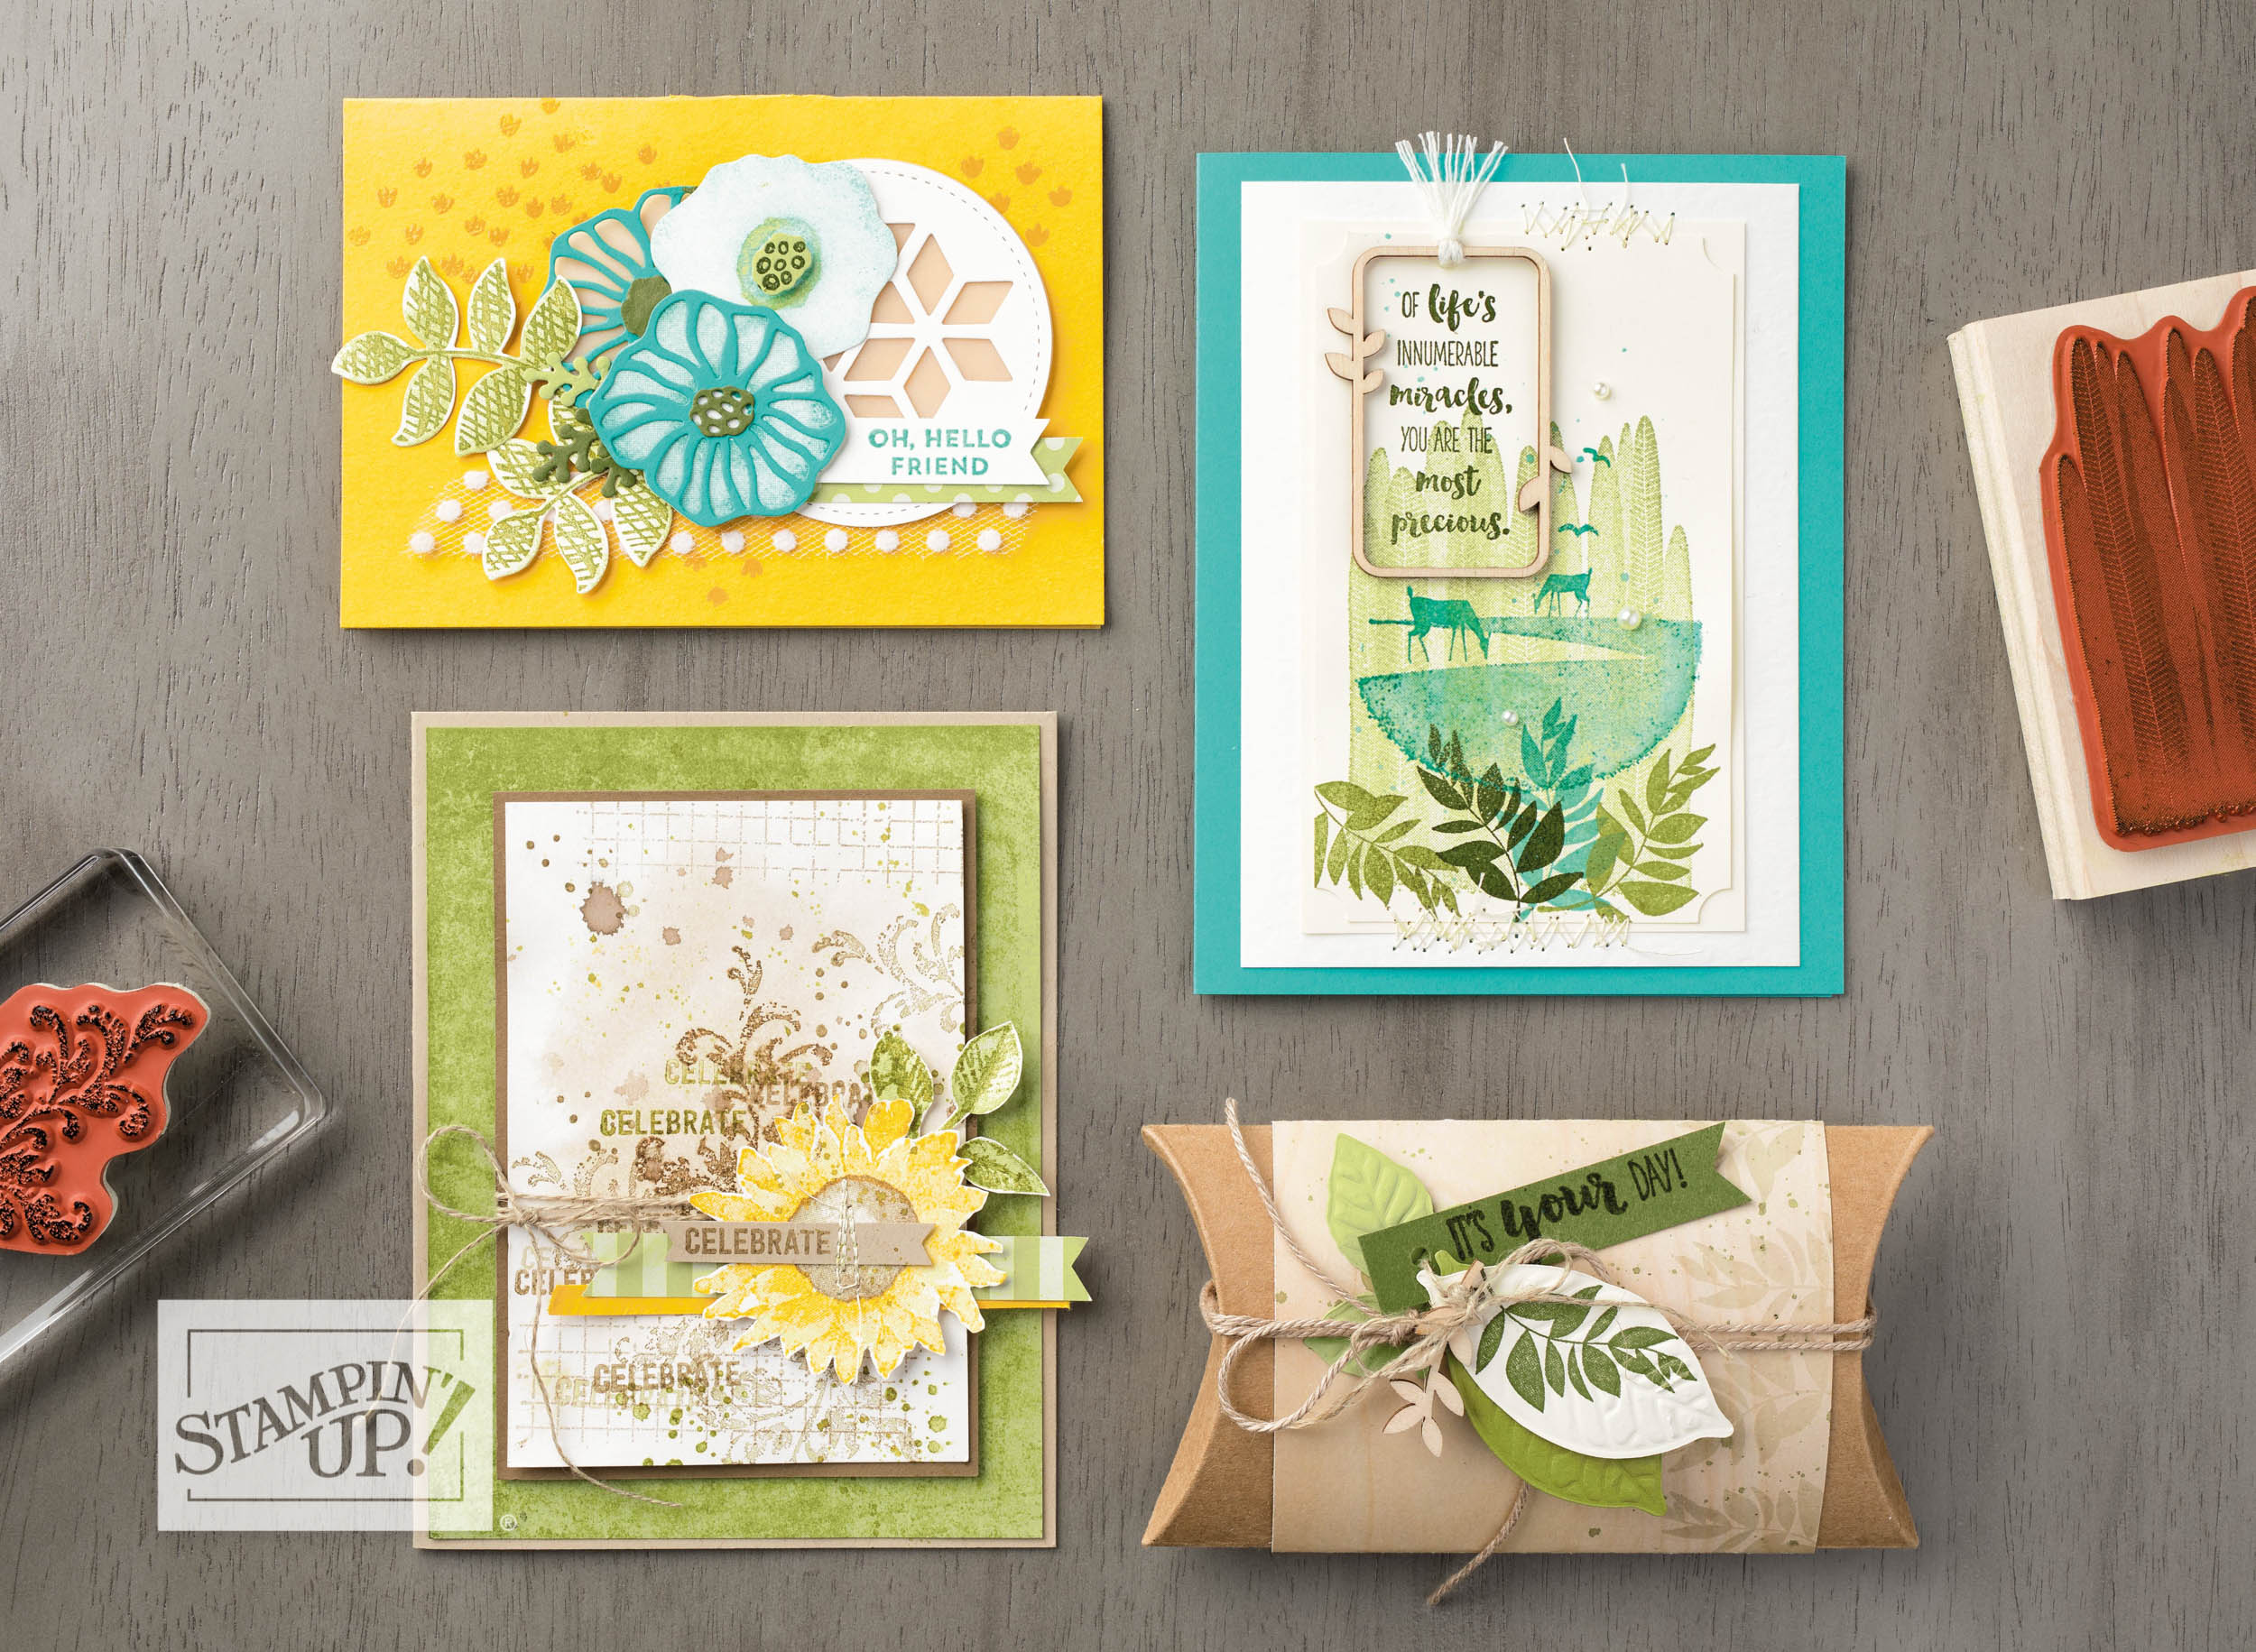
Stampin' Up! also has heaps of beautiful, fine rubber stamps for cardmaking, plus clear mount and photopolymer ones and all of them can be used well beyond making handmade greetings too, so do browse the Ideas Book and Catalogue in the right hand column to choose some for yourself.


New! Comments
Have your say about what you just read! Leave me a comment in the box below.