- Home
- Papercraft Adhesives
- Sewn Atcs
Sewn ATCs
Written and Created by PaperCraftCentral Susan
Sewn ATCs have an extra dimensional element all their own.
Sewn ATCs sure do look special. I was in a swap where the instructions were to make Artist Trading Cards using any theme, as long as there was sewing on each one.
I just happened to have watched a friend sewing on her scrapbooking layouts a few weeks before so I knew it could easily be done. I broke out my trusty paints, stamps and also my sewing machine this time, and got busy making my swaps.
How I Made Sewn ATCs
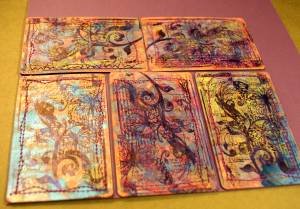
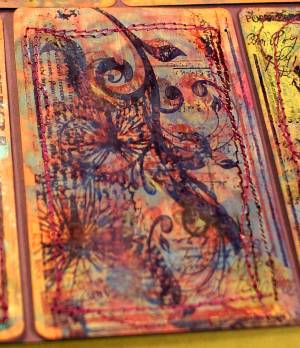
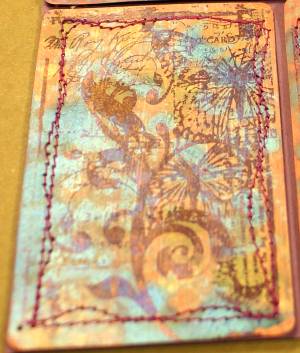
To make this project, first I started with a painted background, similar to what I did for the Paris ATCs only this time I used my Radiant Rain Daubers more. I love the shimmer effect of those daubers.
Money Saving Tip: You
could make your own shimmer spray with shimmer
paints mixed with isopropyl alcohol in a spritzer bottle.
Custom Colour your shimmer paint spray by adding drops of reinker to the
mix.
Then when the paint and shimmer medium was dry, I took one of these beautiful foliage stamps and some rich purple Stazon ink, and placed images on each little card.
Next I threaded my sewing machine up and stitched a couple of rows of various coloured thread in random lines around the edges of my cards.
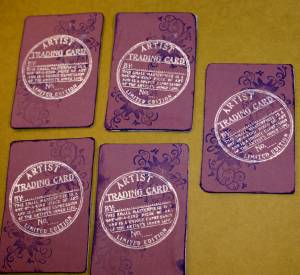
After that I finished the backs of them with plum coloured cardstock, more stamped foliage images in deep purple Stazon and a signature stamp in white craft ink, before adhering the fronts and backs together. That way, my stamping looked more layered and the back of my stitching was hidden in between the layers of cardstock.
If you want the stitches to show front and back, do your sewing after you adhere the two layers of cardstock together.
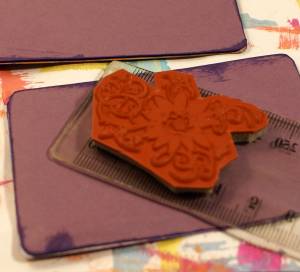
TIP: I used the end of a ruler as a stamping block as the foliage stamp was a smaller one and it just meant I had more control of the stamp with a smaller stamping block surface.
Now I have small acrylic stamping blocks from Stampin' Up! and can use one of the tiniest ones for this purpose instead of using my clear ruler.
The finishing touches were some little rhinestone crystals in opposite corners, but I forgot to take photos of my ATCs after I added the crystals! Sorry about that.
These ATCs were in the mail before I noticed I had not taken a photo of them with rhinestones.
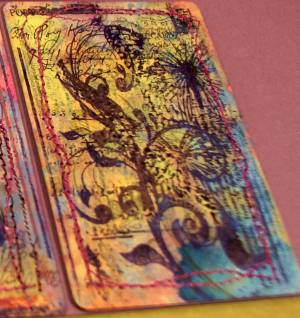
I hope I have encouraged you to break out your own sewing machine and try some stitching in your paper crafting.It's a great Mixed Media technique to add to your repertoire.
Another TIP: Just be sure to change your sewing needle after sewing on paper, and marking it in some way for that exclusive use. Sewing on fabric with a needle that has been used for sewing on cardstock is not a good idea as it will catch the fabric layers and quite possibly cause jams or pulls.
This is the same reason I use separate pairs of scissors to cut my paper and ribbon, so each pair of scissors does its job perfectly.
Submit Your Challenge Entry Here
Please do show me your entry for the Challenges, with a picture or two or three, and a few words about how you made your creations.


New! Comments
Have your say about what you just read! Leave me a comment in the box below.