- Home
- Papercraft Adhesives
- Shadow Box Idea
Illuminated Shadow Box Idea
Written and Created by PaperCraftCentral Susan
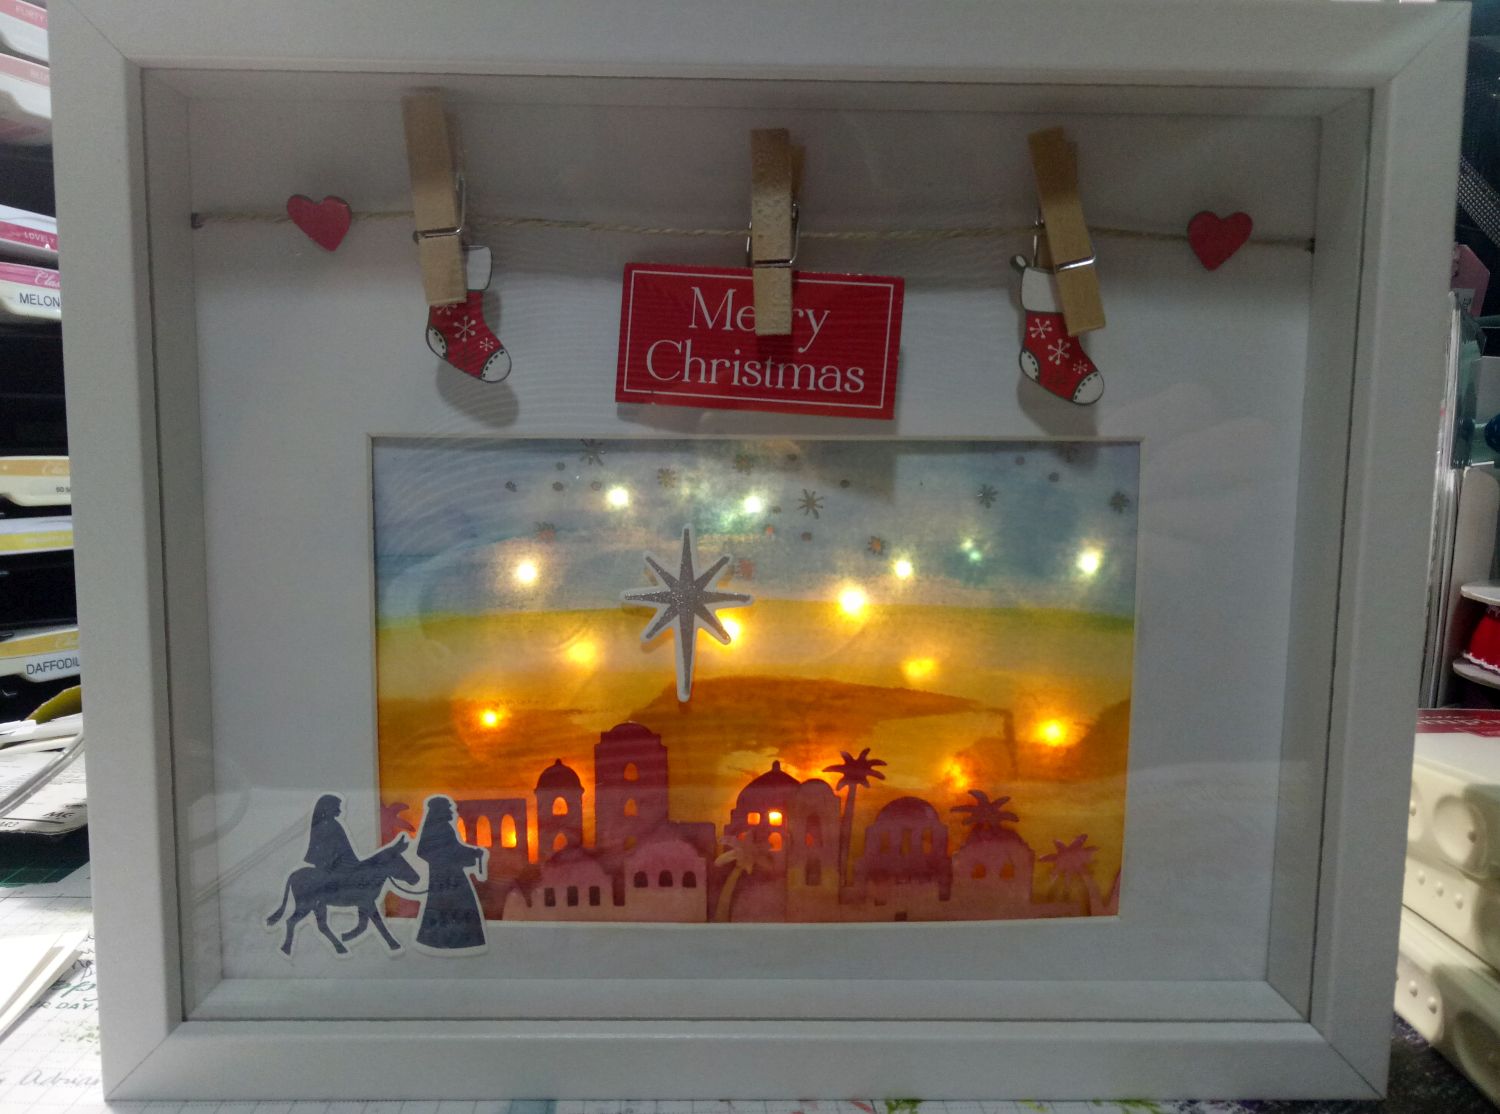
Do you need a Shadow Box Idea? Want a 'Wow!' project? I have an idea for you that you can create with your paper craft supplies and an empty shadow box frame. You can even illuminate your scene with little lights. It sure looks special then!
My project is a Christmas themed one but of course you can use this shadow box idea to make your own scene for any occasion.
Many thanks to my crafting friend Brenda Rennie of Crafty Storage for showing me the basics of creating shadow box scenes including how to add little bud lights to them. If you need crafty storage solutions, why not talk to Brenda? Be sure to tell her I sent you
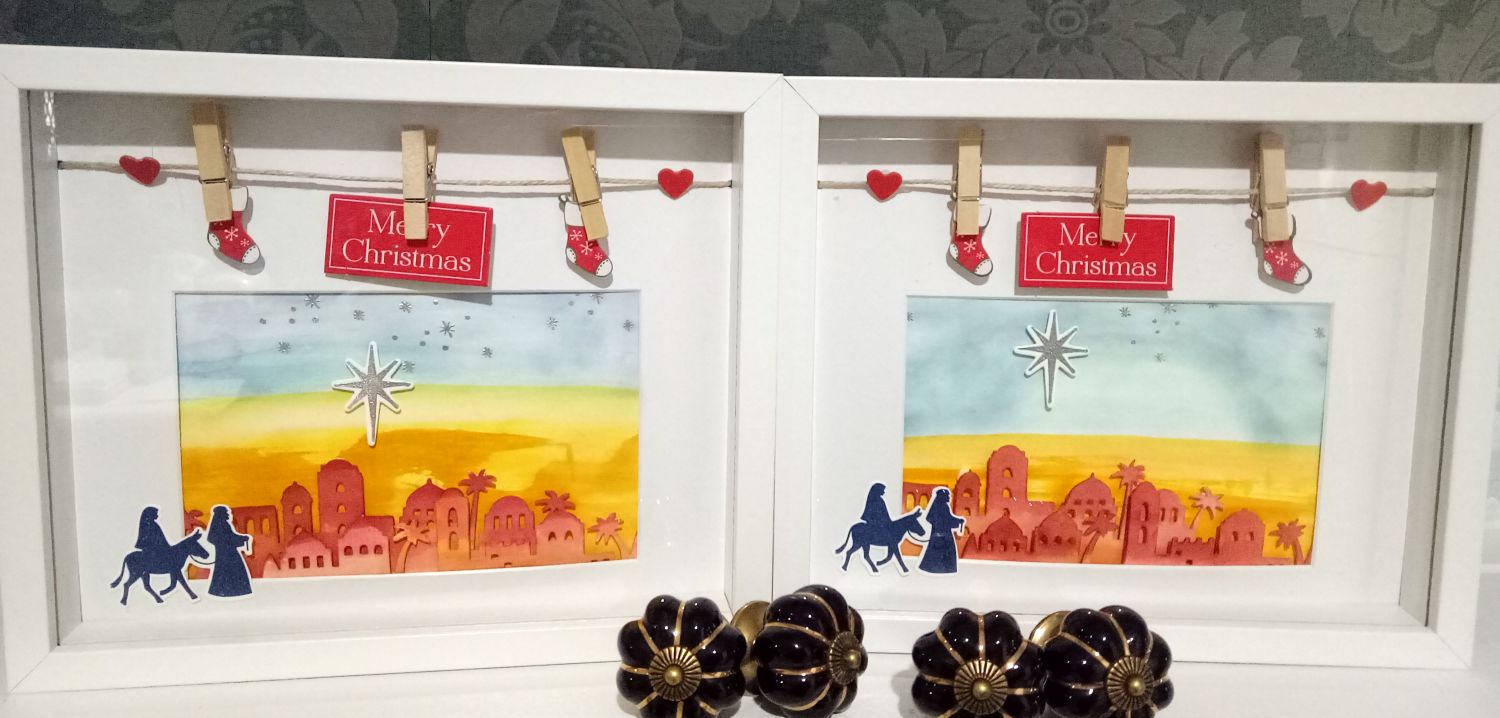
Shadow Box Idea – Step By Step
First collect your supplies for your shadow box idea.
I went to
Bunnings, a hardware store in Australia and bought a ready-made shadow
box and then to Spotlight, a craft store in Australia, to buy my little
string of 20 bud lights.You can choose the frame and lights that suit you but the bud lights are nice and flattish. They fit well between the shadow box layers. My shadow box frame had a picture aperture that measured 10 x 15cm, or 4" x 6".
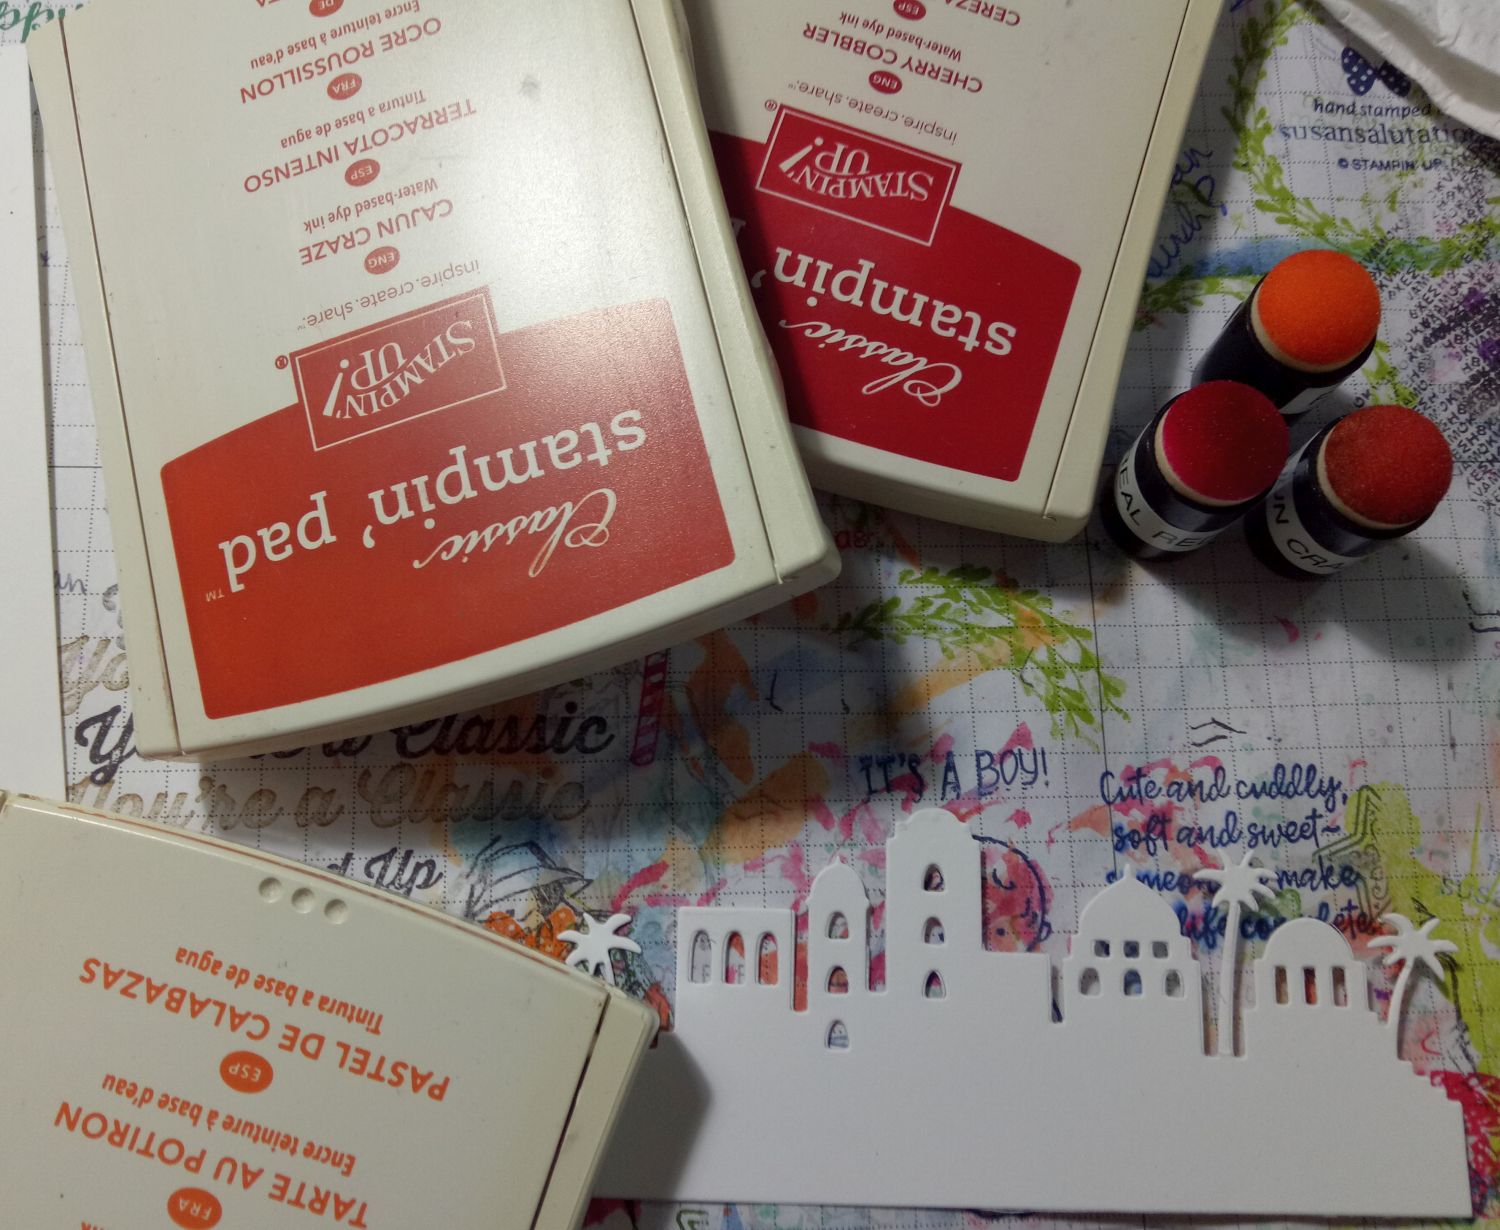
Once I was home I collected these supplies, all from Stampin’ Up!
- Thick Whisper White cardstock
- Big Shot and dies – I chose the Bethlehem Edgelit dies
- Stamp set(s) of choice – I chose Night in Bethlehem
- Inks of choice – I chose Balmy Blue, Crushed Curry, Night of Navy, Pumpkin Pie, Cajun Craze and Cherry Cobbler
- Embossing powder and Versamark ink if desired – I chose silver embossing powder
- Heat tool
- Aqua painter and/or sponge daubers
- A pencil and eraser
- A Tissue (Kleenex)
- Tear ‘n Tape, Tombow Multi liquid glue, Stampin’ Dimensionals and Mini Stampin’ Dimensionals
How to Make Your Shadow Box Idea Work
Here’s what I did with my shadow box idea. You can adjust these steps to suit your own project. Don’t be afraid to experiment and play!
First
take apart the Shadow Box so you can measure up what you need for a
background piece. Untie the string of Christmas decorations if they are
on the frame.
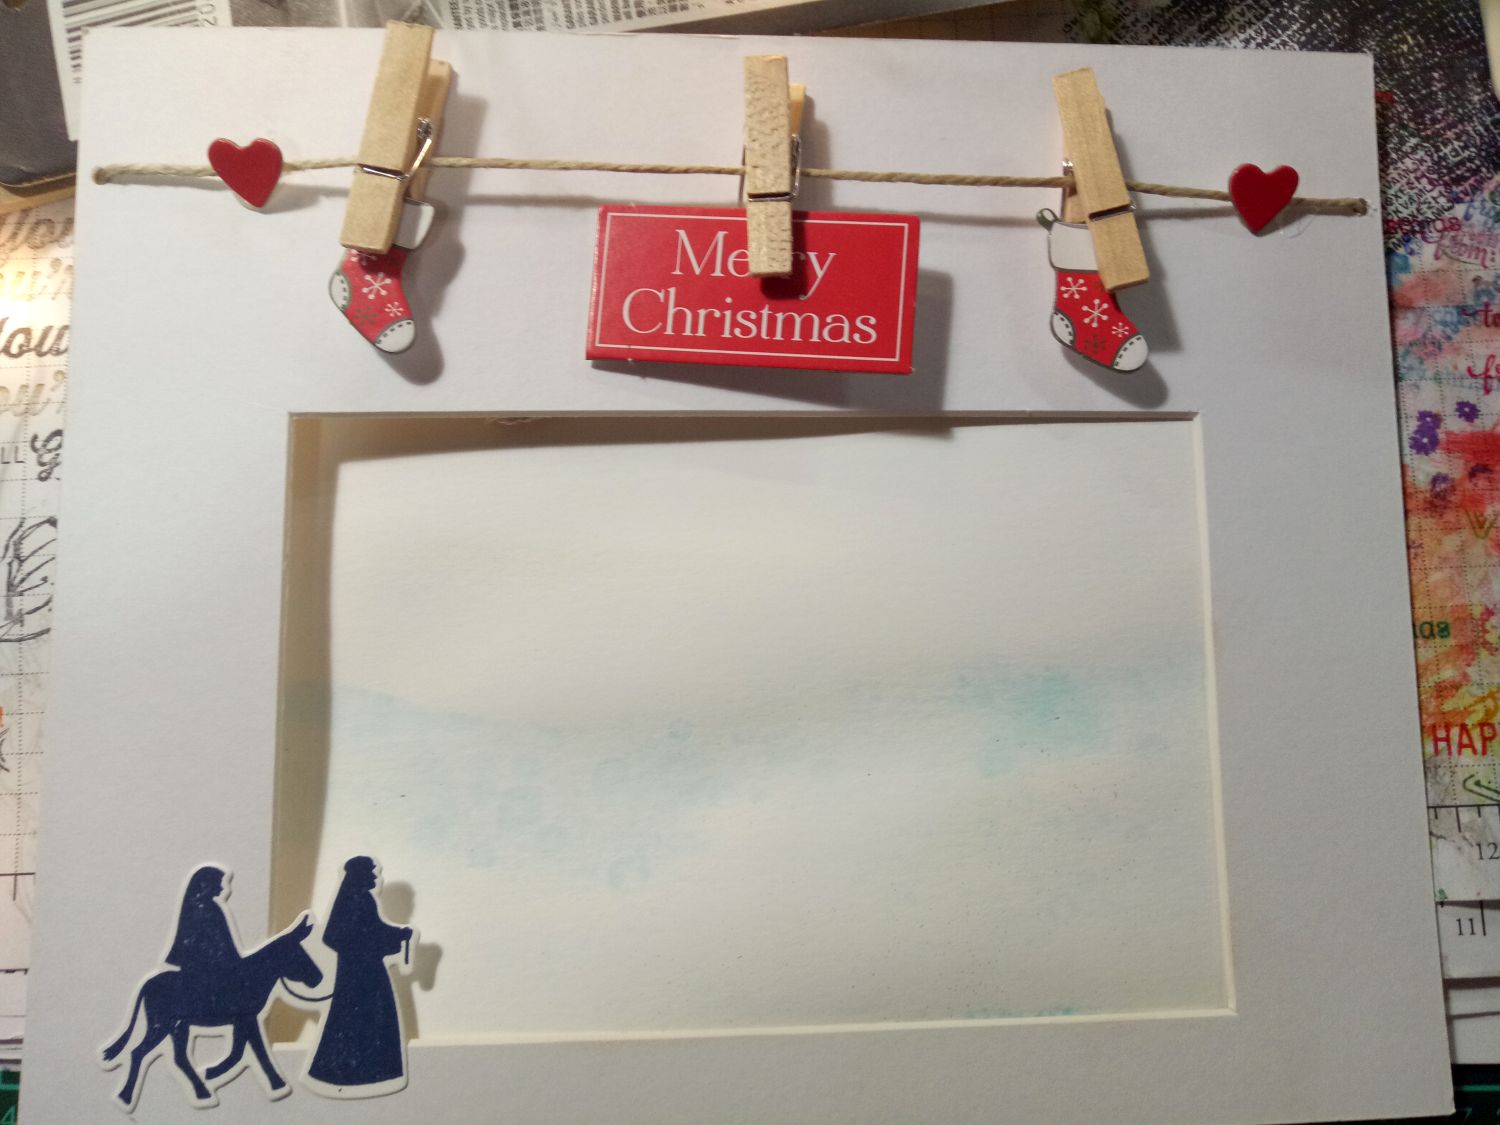
I cut my background from thick Whisper White cardstock as large as the box frame so it would fit neatly into the entire frame. The opening where my scene would appear was much smaller but I still made the background to take up the whole space inside the frame. This gives your piece more stability.
I stamped stars in
Versamark where I wanted the sky to be, then heat embossed them in
silver. I made a separate evening star out of thick Whisper White
cardstock and embossed it in silver.
I stamped Mary, Joseph and their
donkey on thick Whisper White cardstock. I glued this to my shadow box
mat opening on the bottom left hand corner.
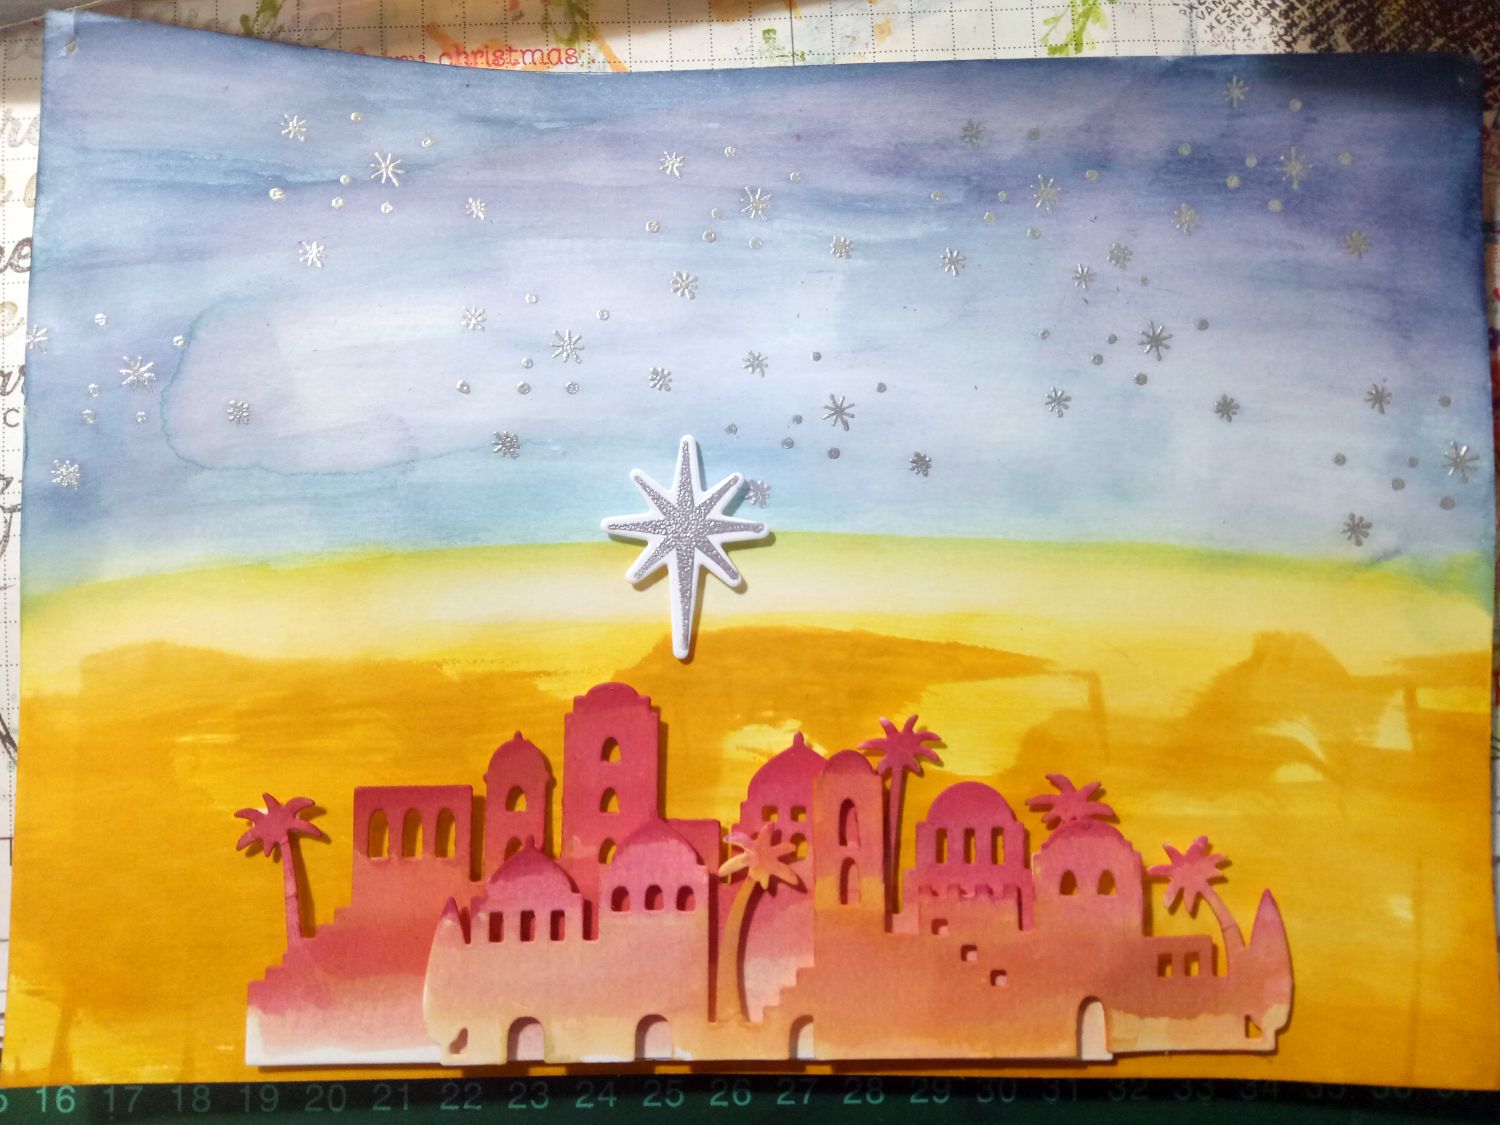
I created my ground and
sky with the inks I chose, painting them in broad strokes with my aqua
painter. The ground was made with a Crushed Curry ink pad dragged across
the lower third of my background piece then smoothed out with my aqua
painter and water. The sky was made with the Balmy Blue ink in the middle,
then shaded with the Night of Navy ink. You can create a similar scene
with sponge daubers and ink if you prefer.
Watercolouring TIP: Always start with lighter colours and work up to your darker colours. You can always add more colour but it is difficult to take it away!
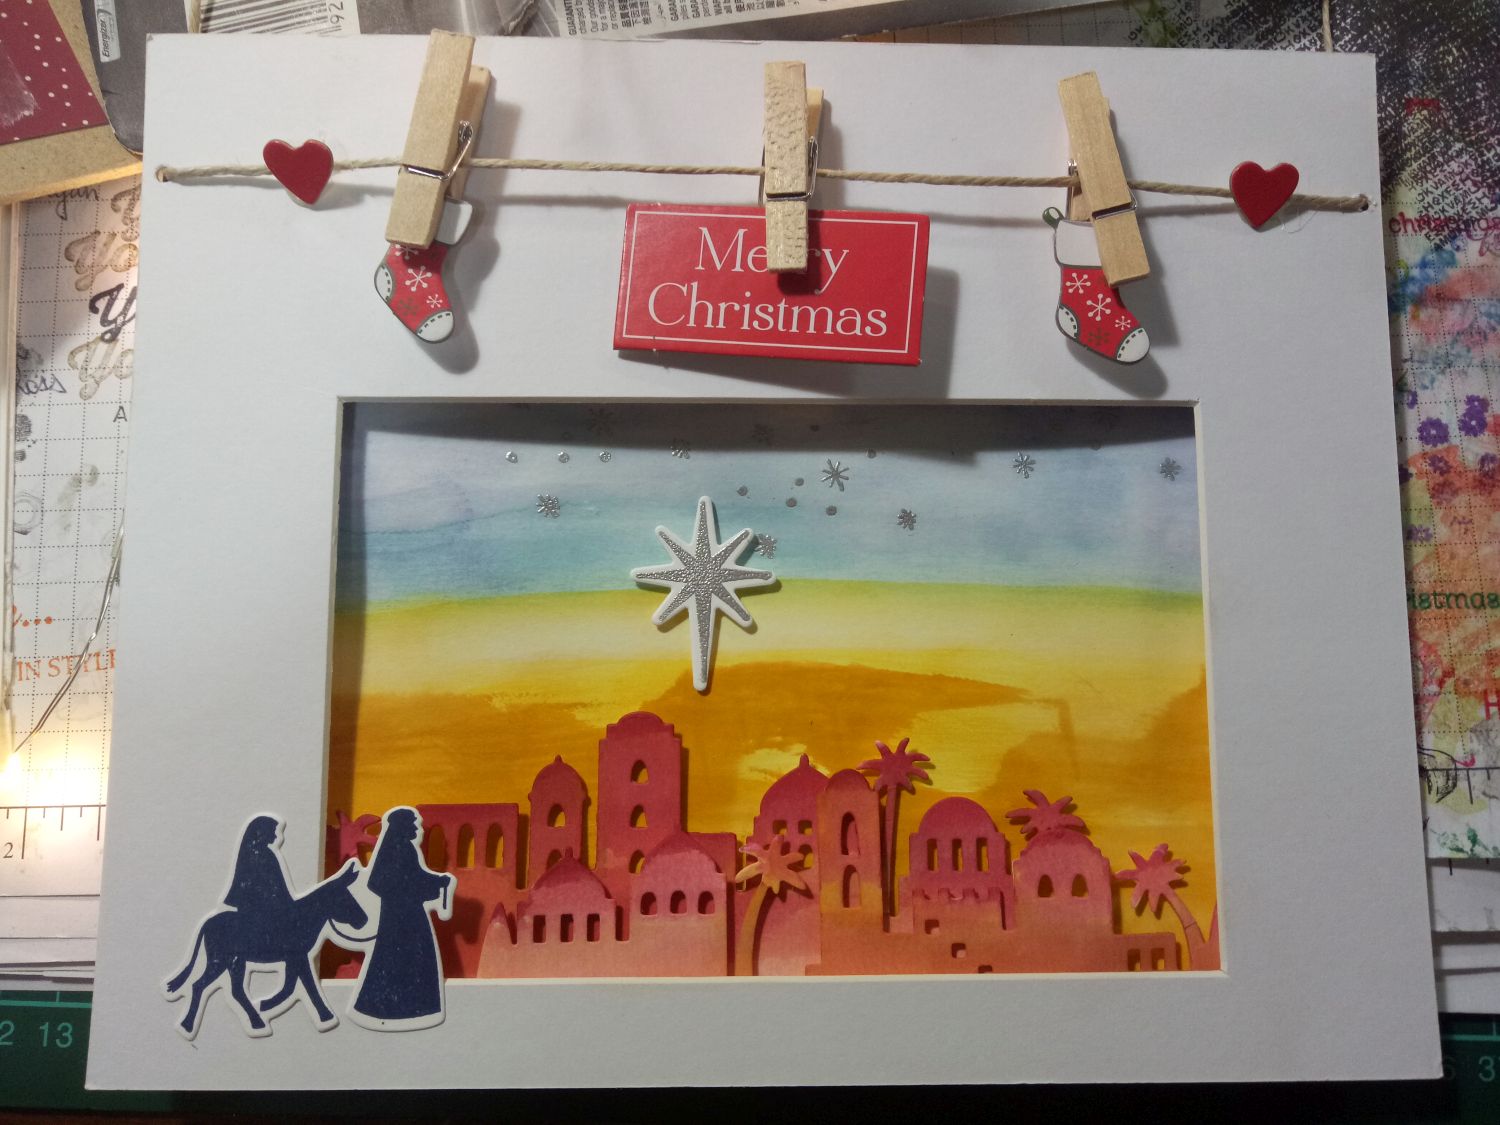
I polished my embossed stars with a tissue (Kleenex) after the inks had dried so they would shine again.
Now how did I get the City images in there? I'll tell you.
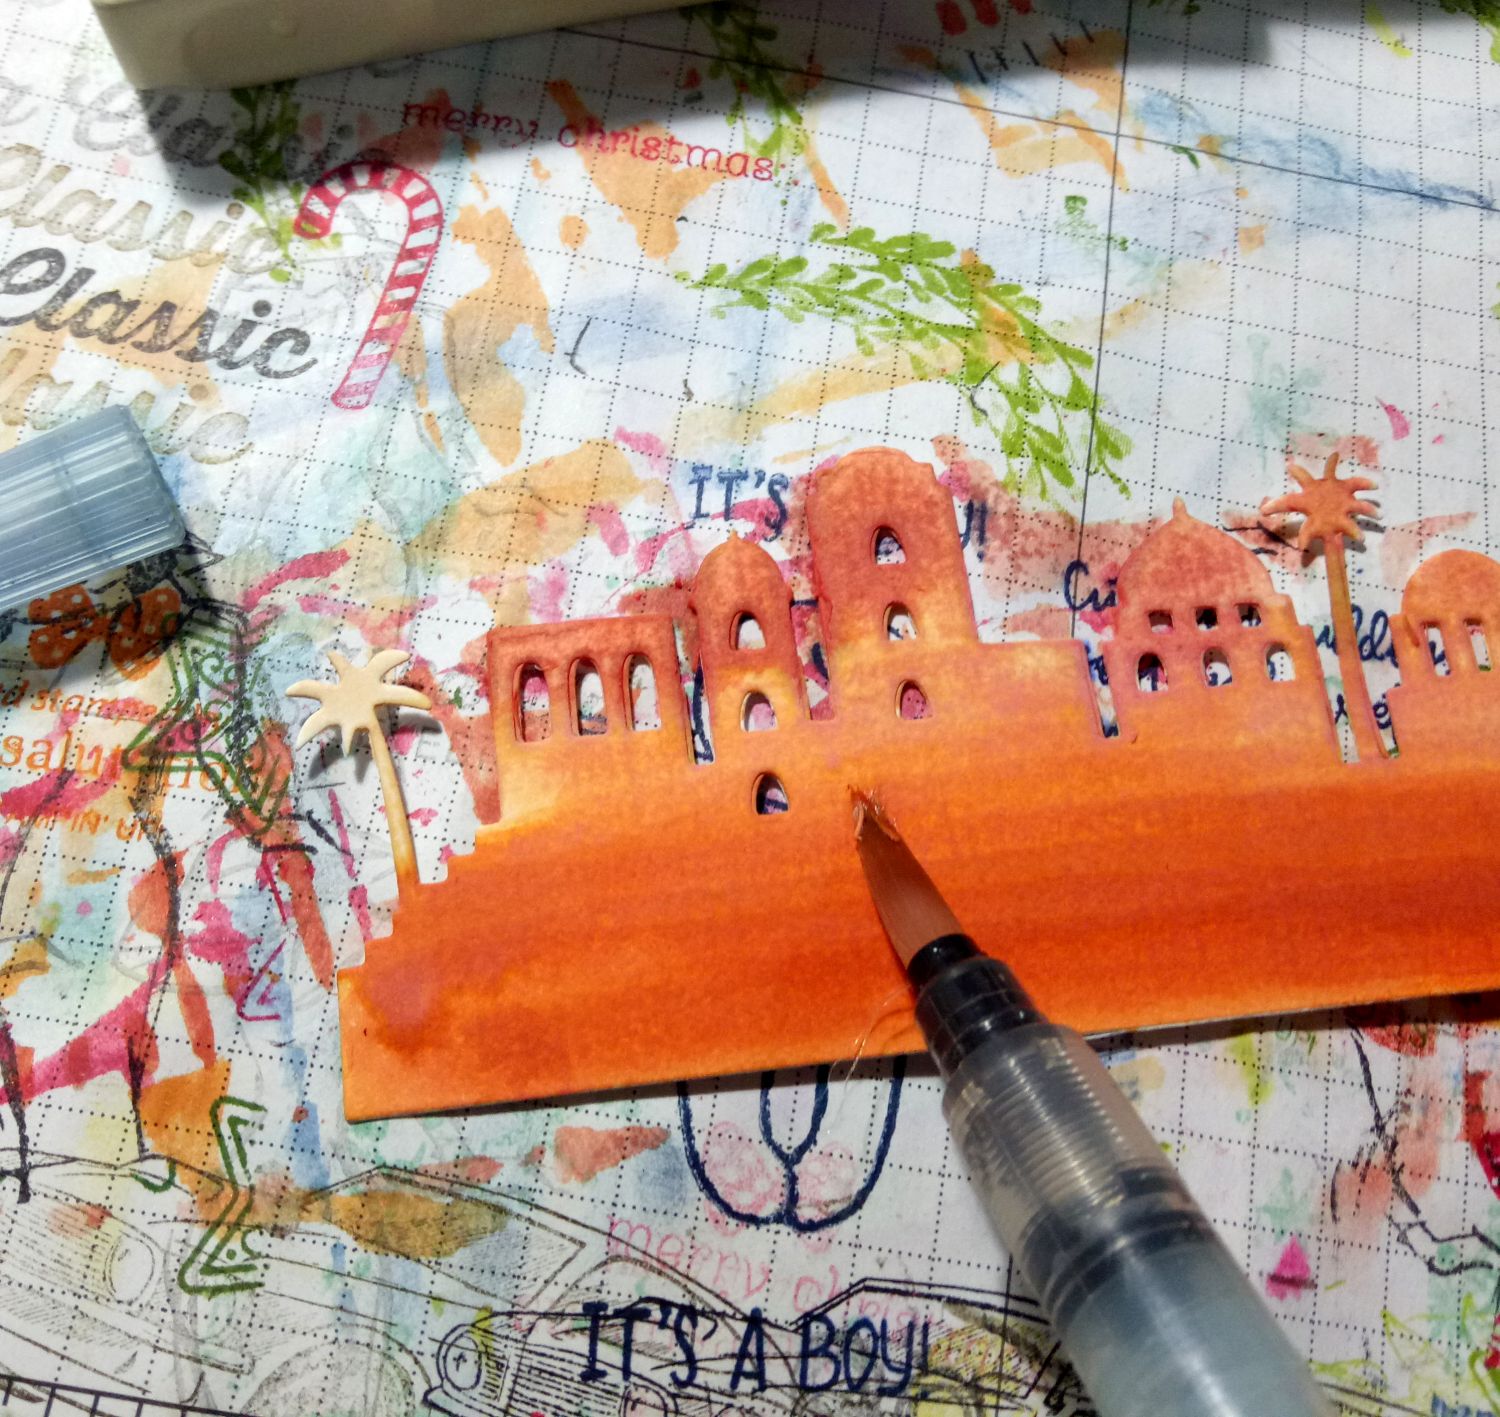
I
die cut the City of David scenes out and aqua painted them in
graduating shades of orange. As night was falling in my scene, I made
the tops of the buildings darker than the bottoms. So I started with
Pumpkin Pie on the bottom (I washed the whole pieces with it), then
added some Cajun Craze to the middle and upper buildings, then finished
with Cherry Cobbler on the building tops.
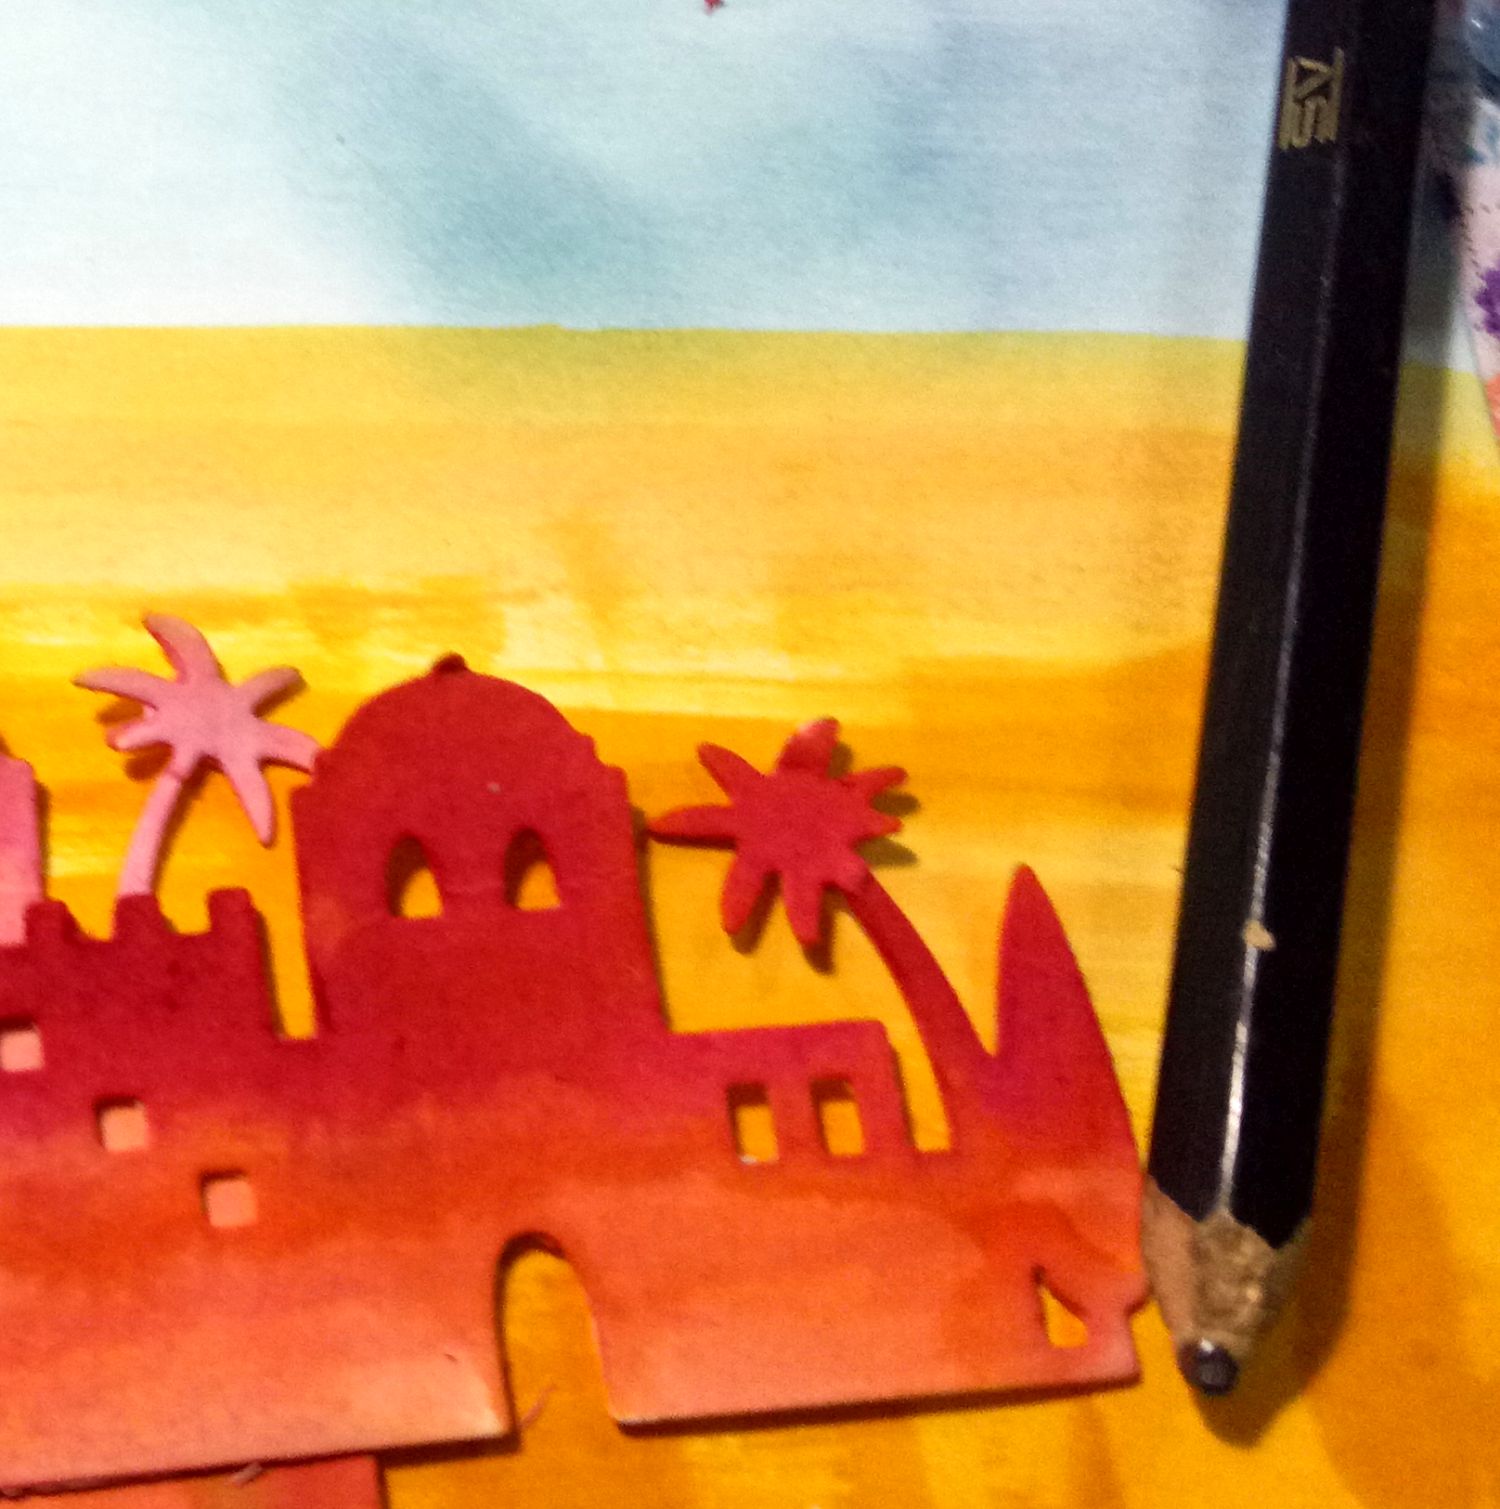
I let all my painted pieces
dry. You could dry them with a heat tool if you want to go on to the
next step sooner, but I took a break for lunch! When I got back,
everything had dried nicely. Drying the pieces is important or your
glue/Stampin’ Dimensionals will not stick to them.
Then I brought the shadow box mat in and positioned it over my background piece to see what part of my creation would show through the aperture. I played with my city pieces and star till I had them in place, marked their position with light pencil marks, and then added my star and city pieces to my background with lots of Stampin’ Dimensionals. I erased any pencil marks still showing.
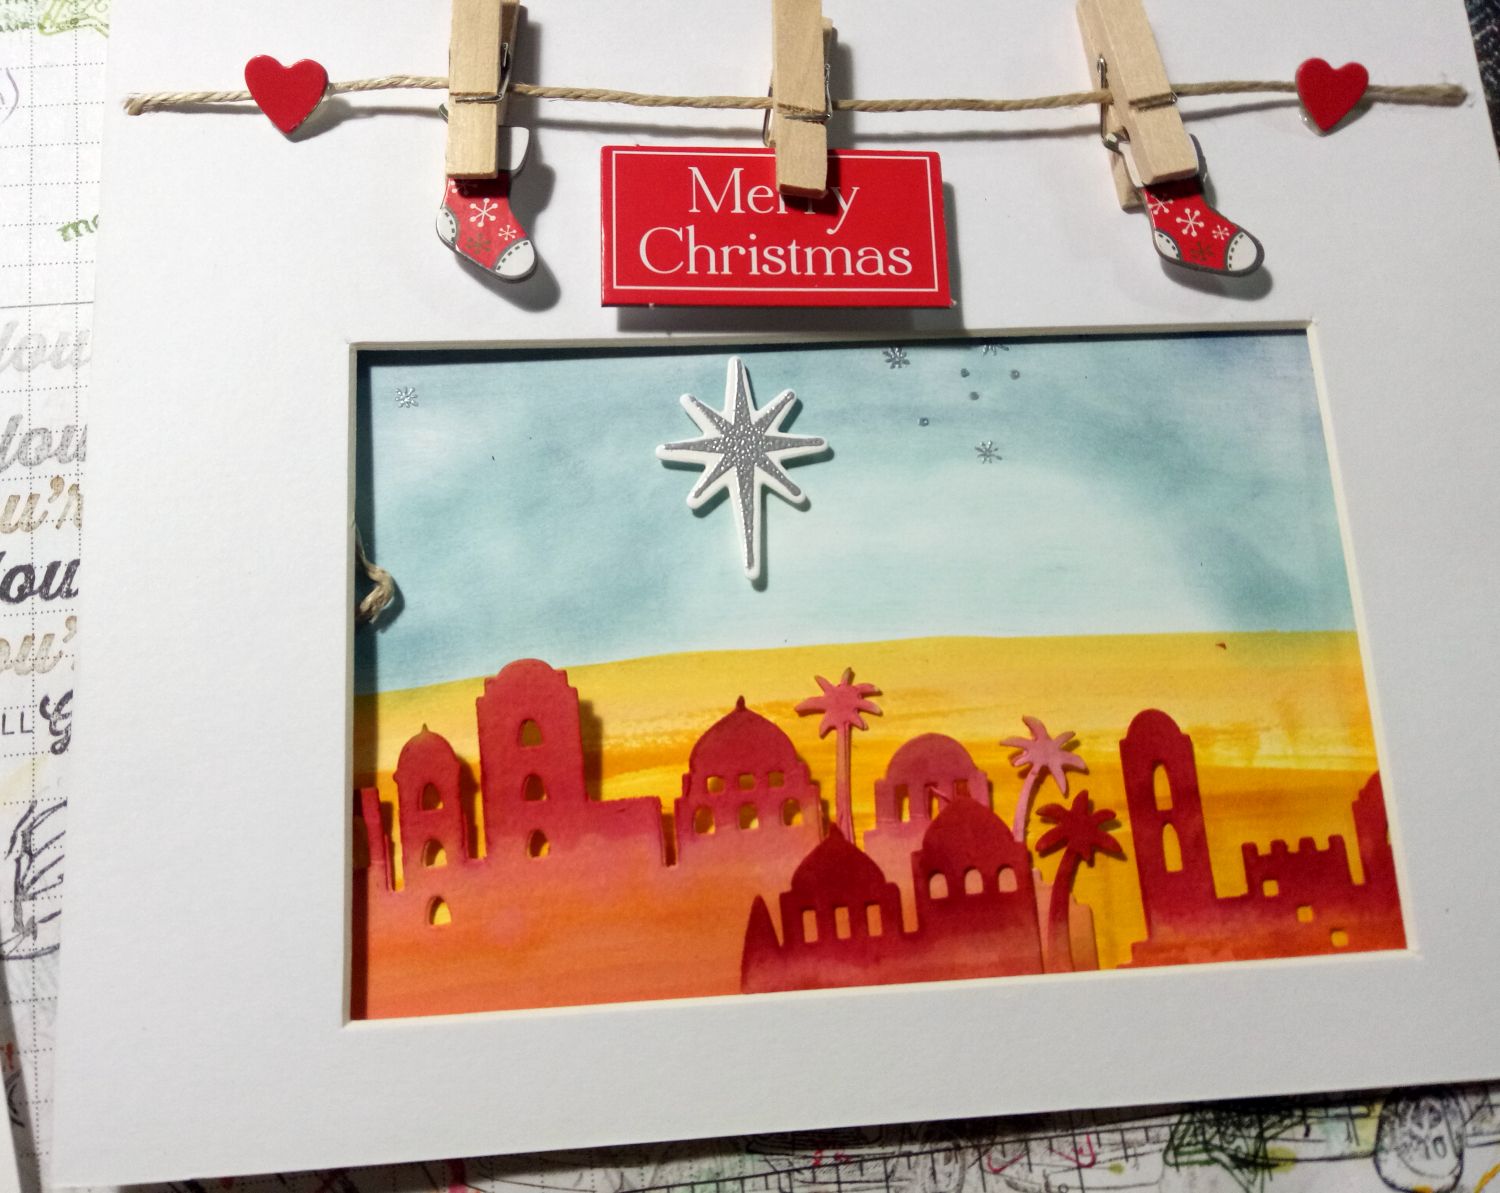
The shadow box I chose had a string of Christmas decorations across its mat that had been glued down. I found I could not remove them without tearing the mat. So I left them on. I could have removed them anyway and added another customised image but I chose not to.
My background piece covered the holes where the ready-made string
of Christmas decorations were attached. I cut slits in my background to
allow it to fit comfortably around the twine and be anchored in place
inside the shadow box.
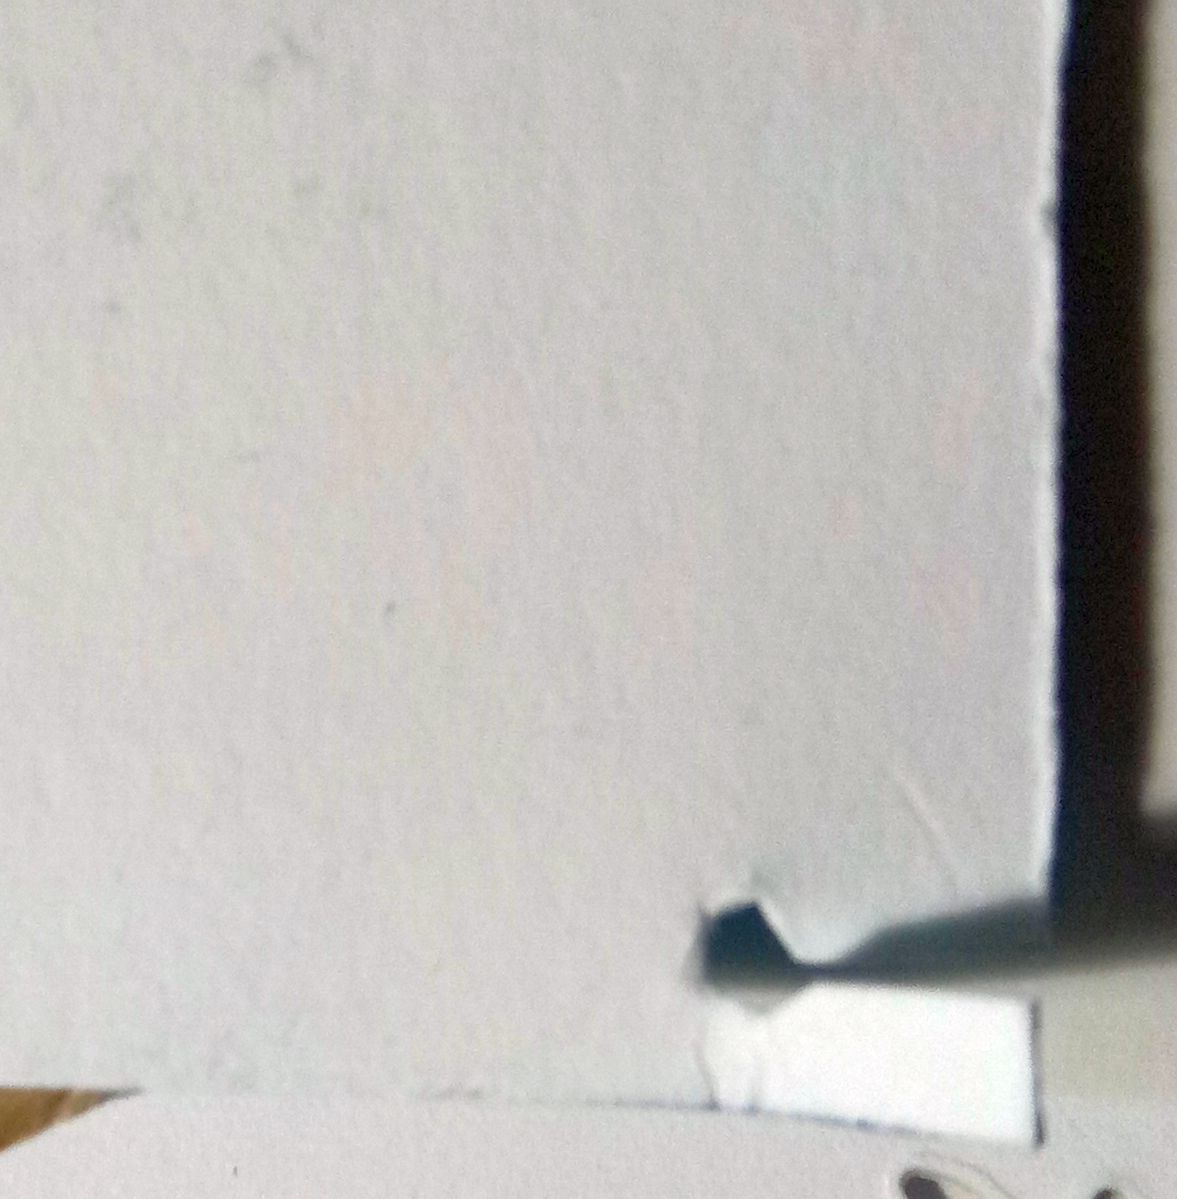
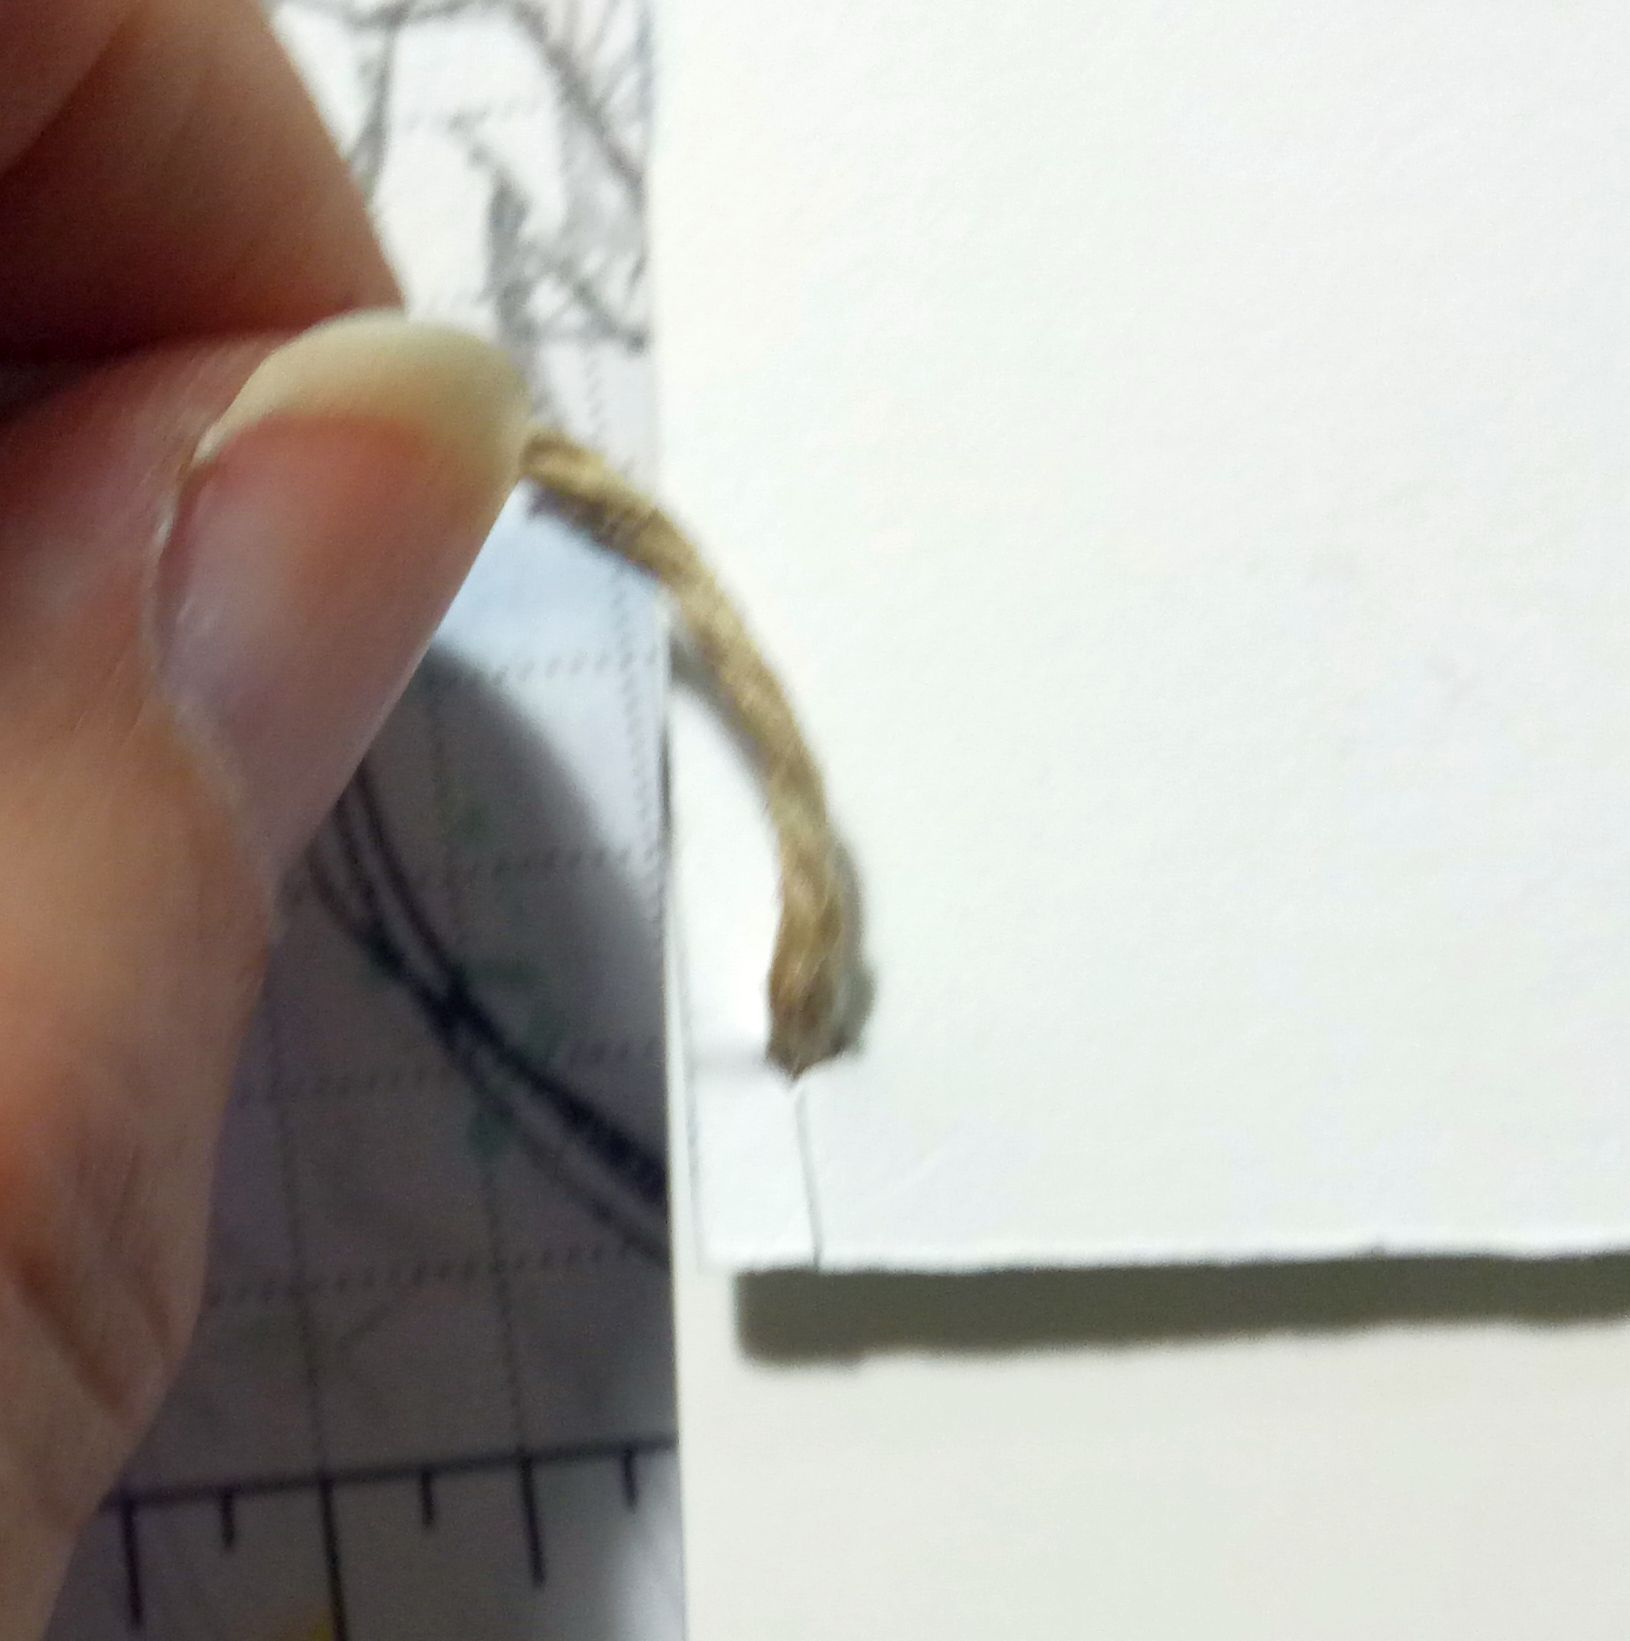
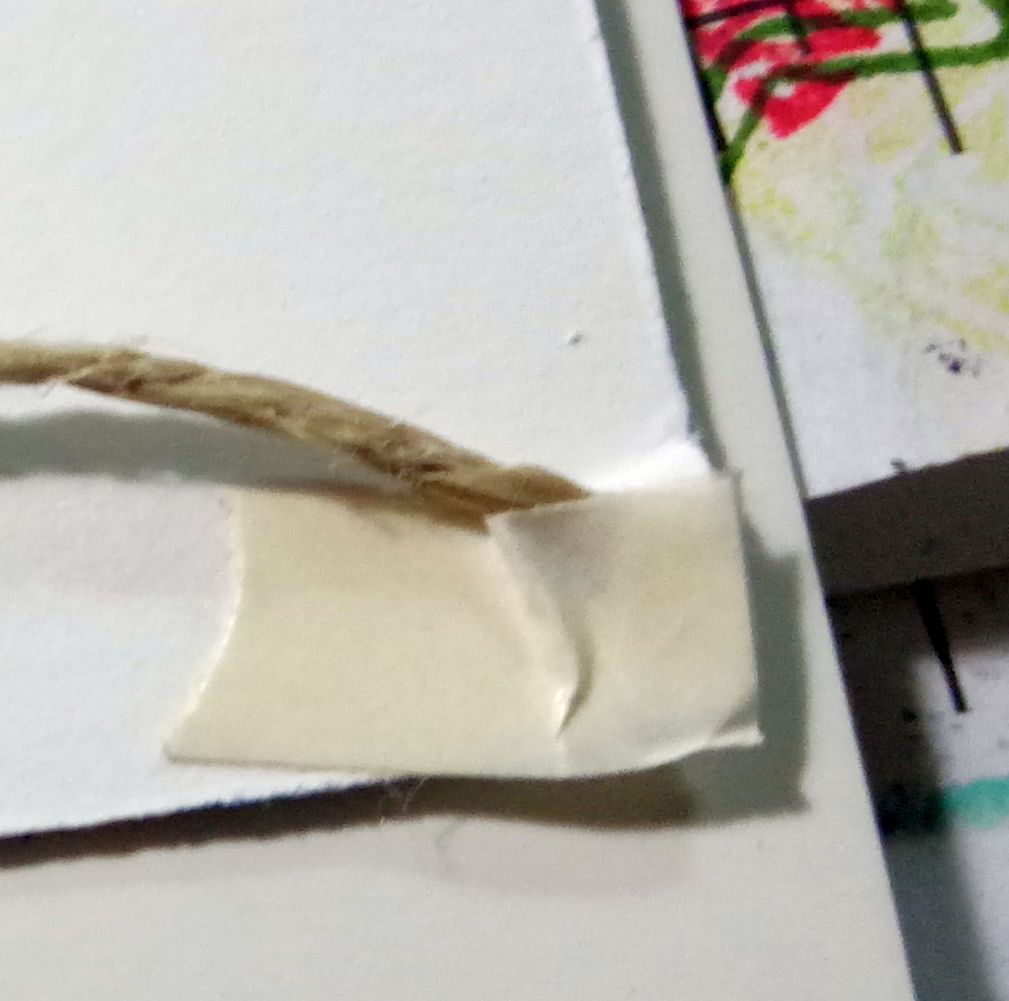
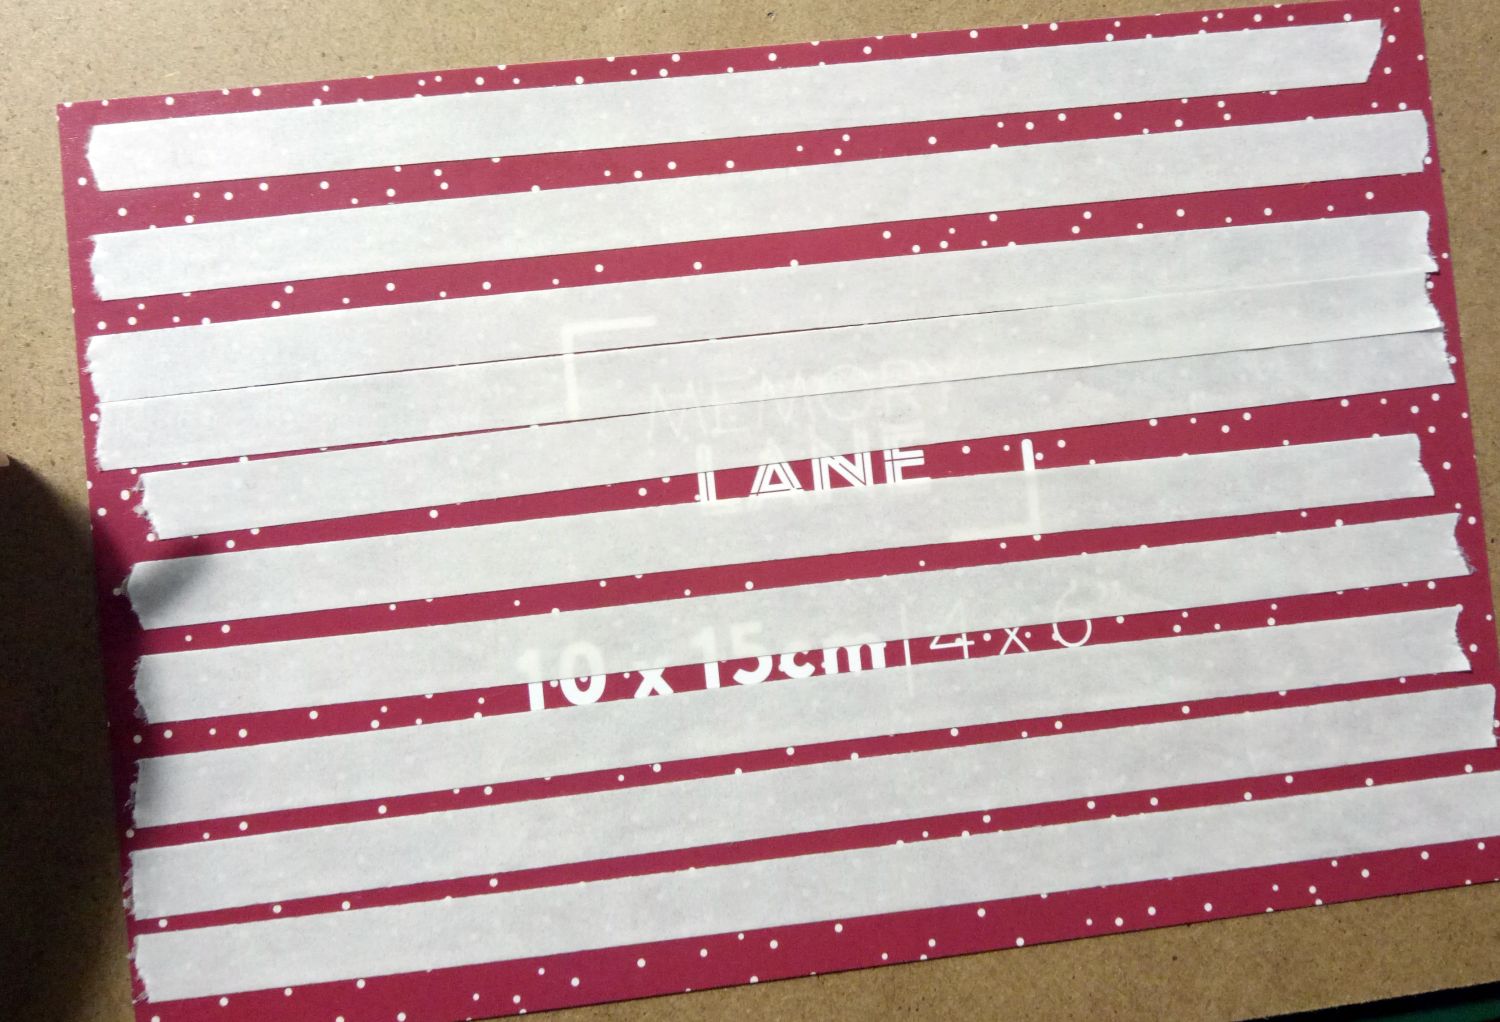
Then I took the chipboard backing piece of my frame and, being guided by the coloured mat that was already there, covered it in Sticky Strip and removed the tape backing.
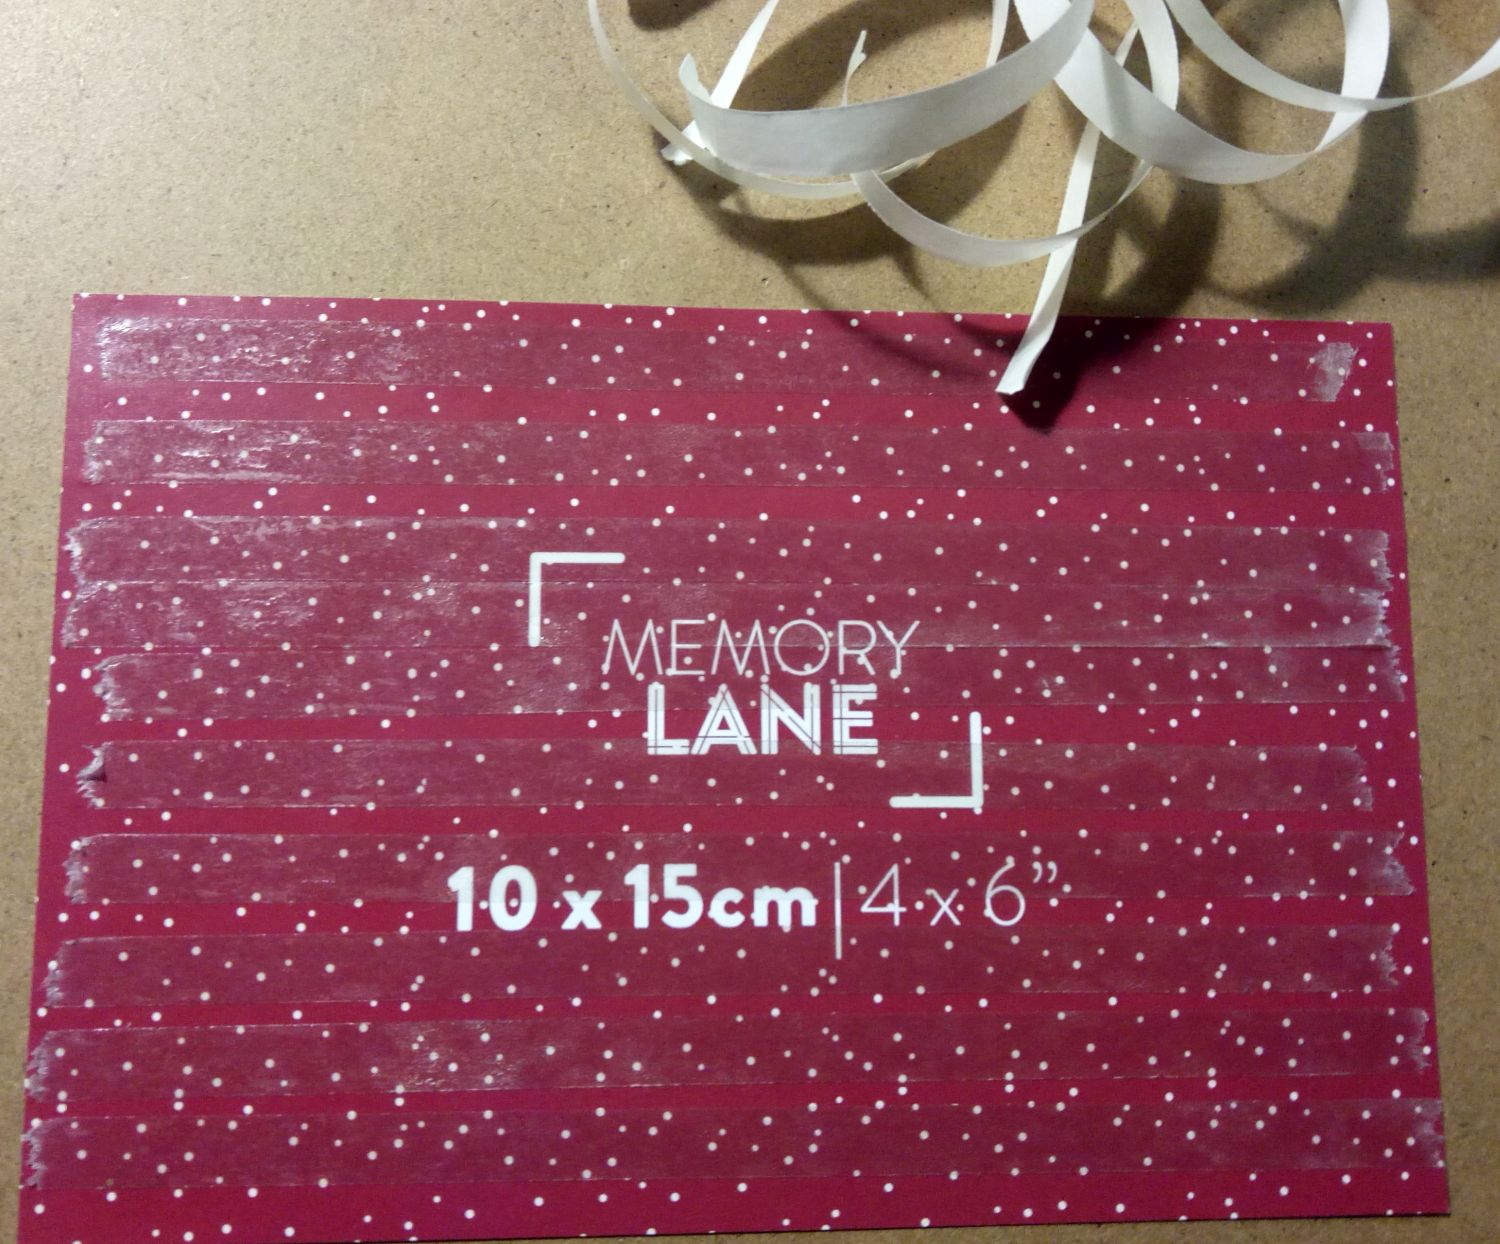
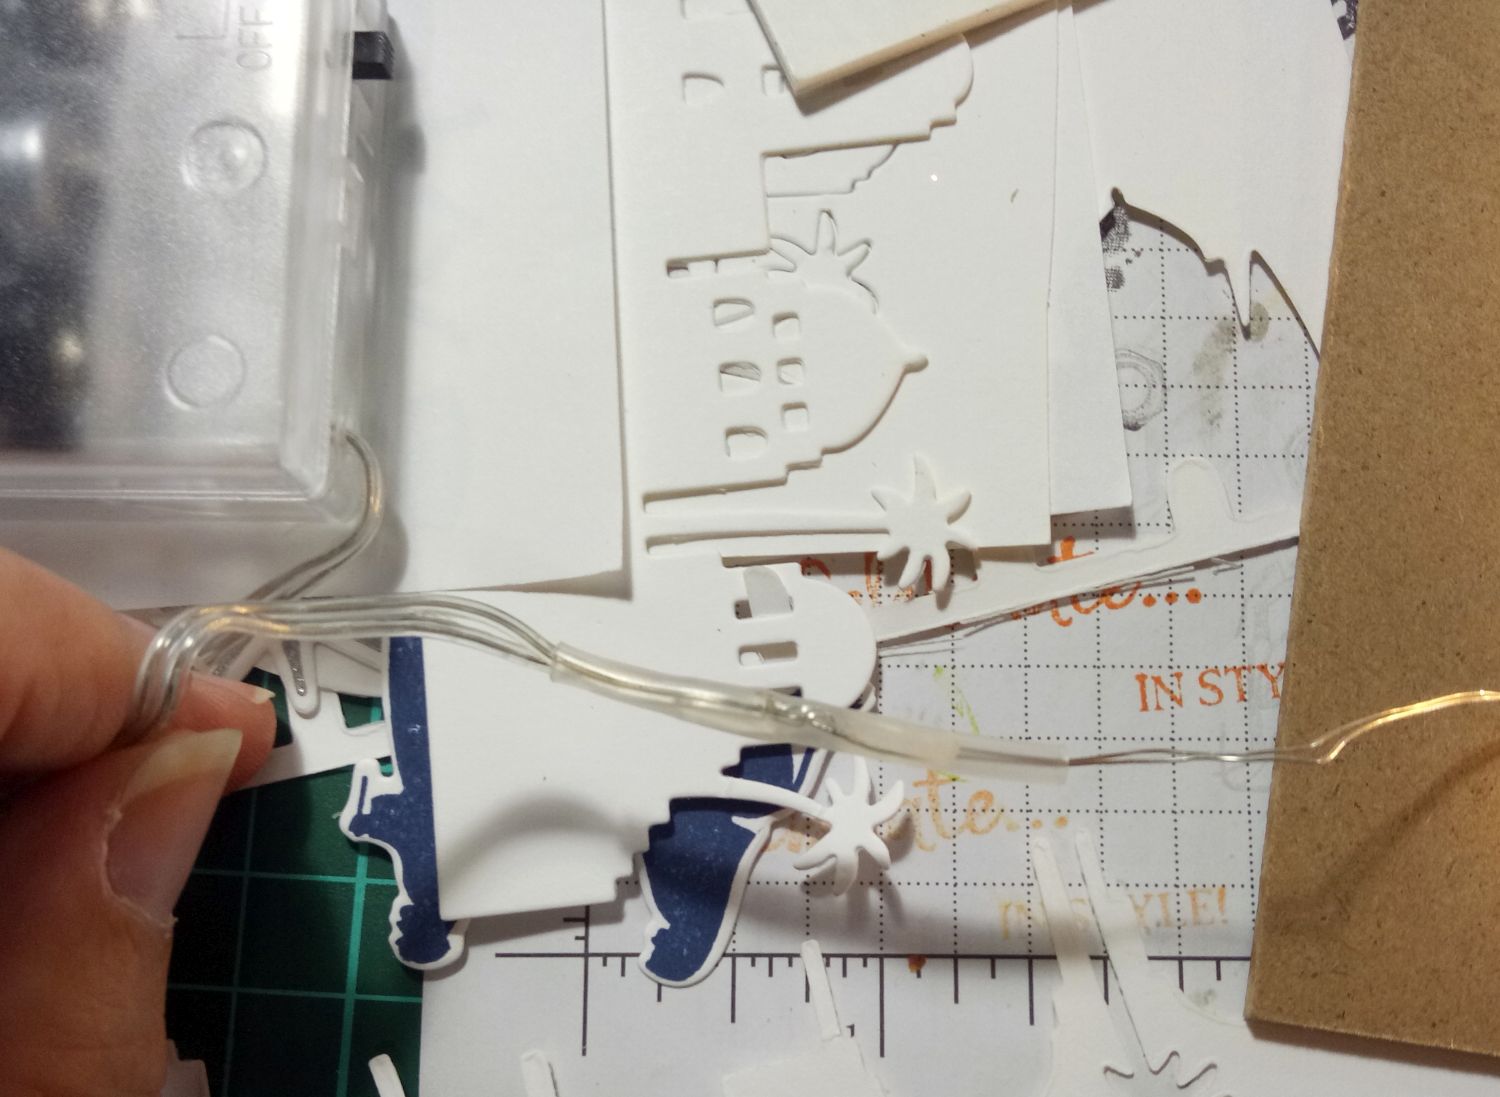
After that I unravelled my string of lights and put in the batteries to make sure the lights worked. Having the lights on also helped me in placing them in the right spots.
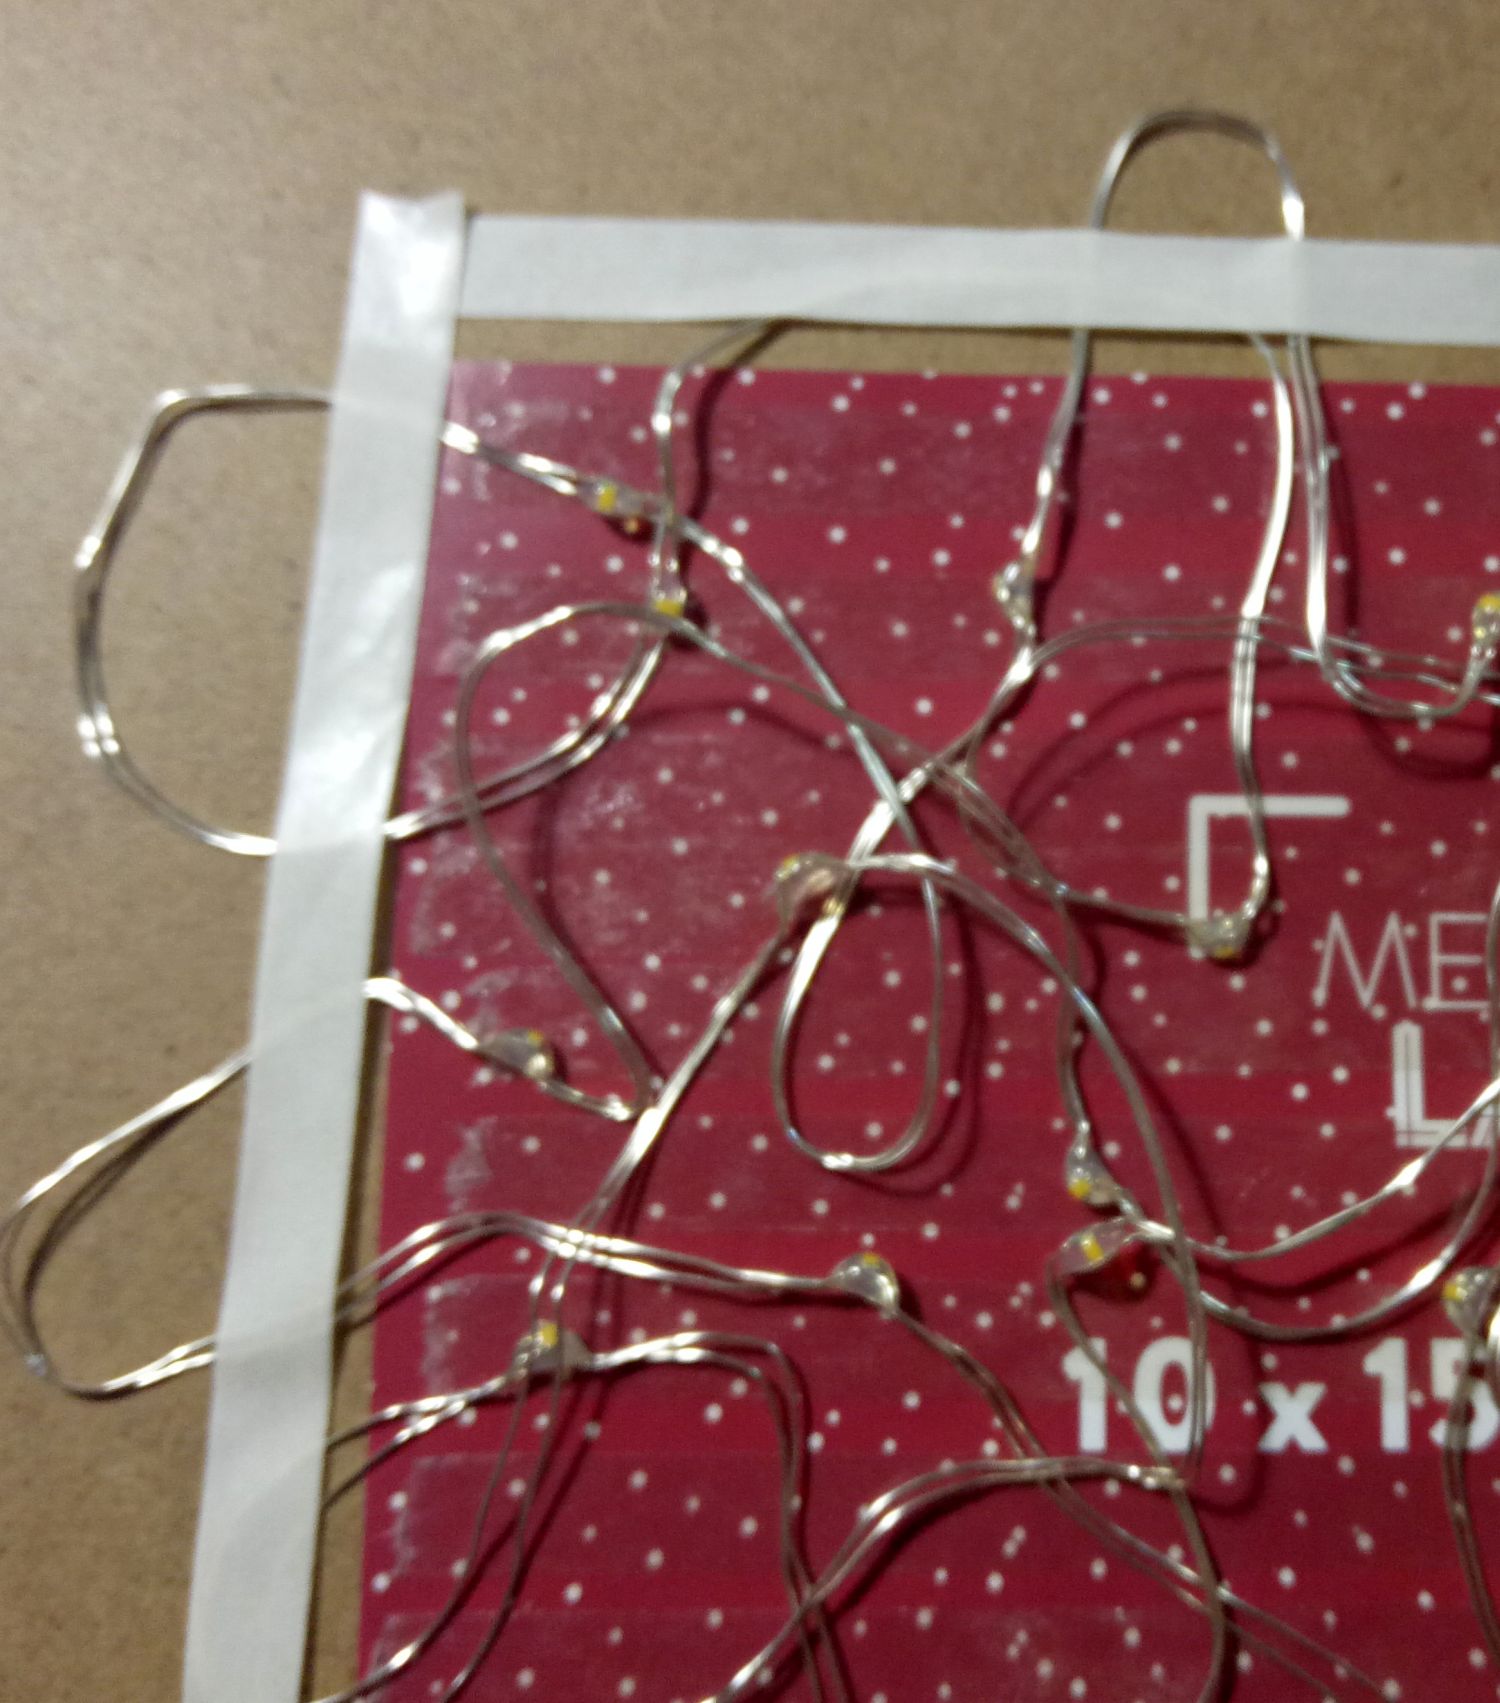
I stuck the light wires to the chipboard mat, and
then placed my scene over them to check and see if the lights were in
the right places. I readjusted some of the lights so they lit up the
windows of my City of David. The lights needed to be spaced out over the
sky, not hidden by my evening star.
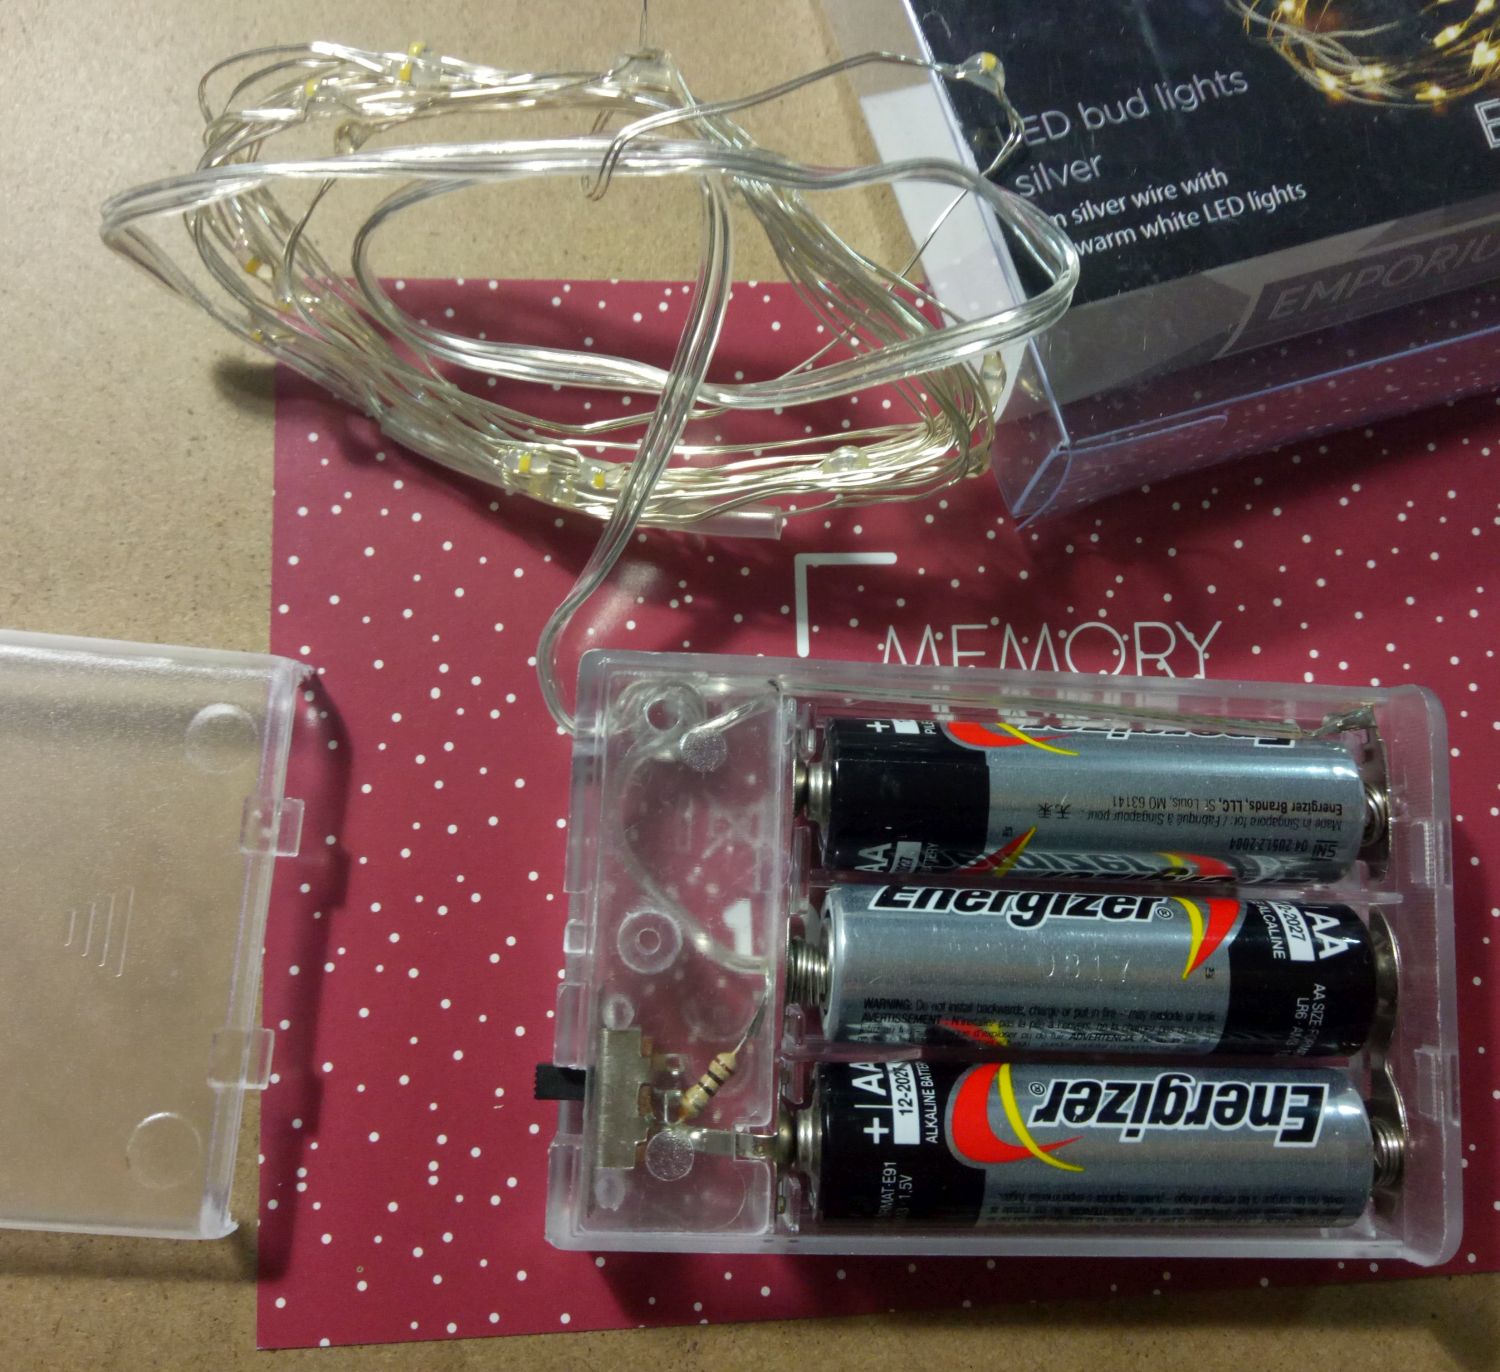
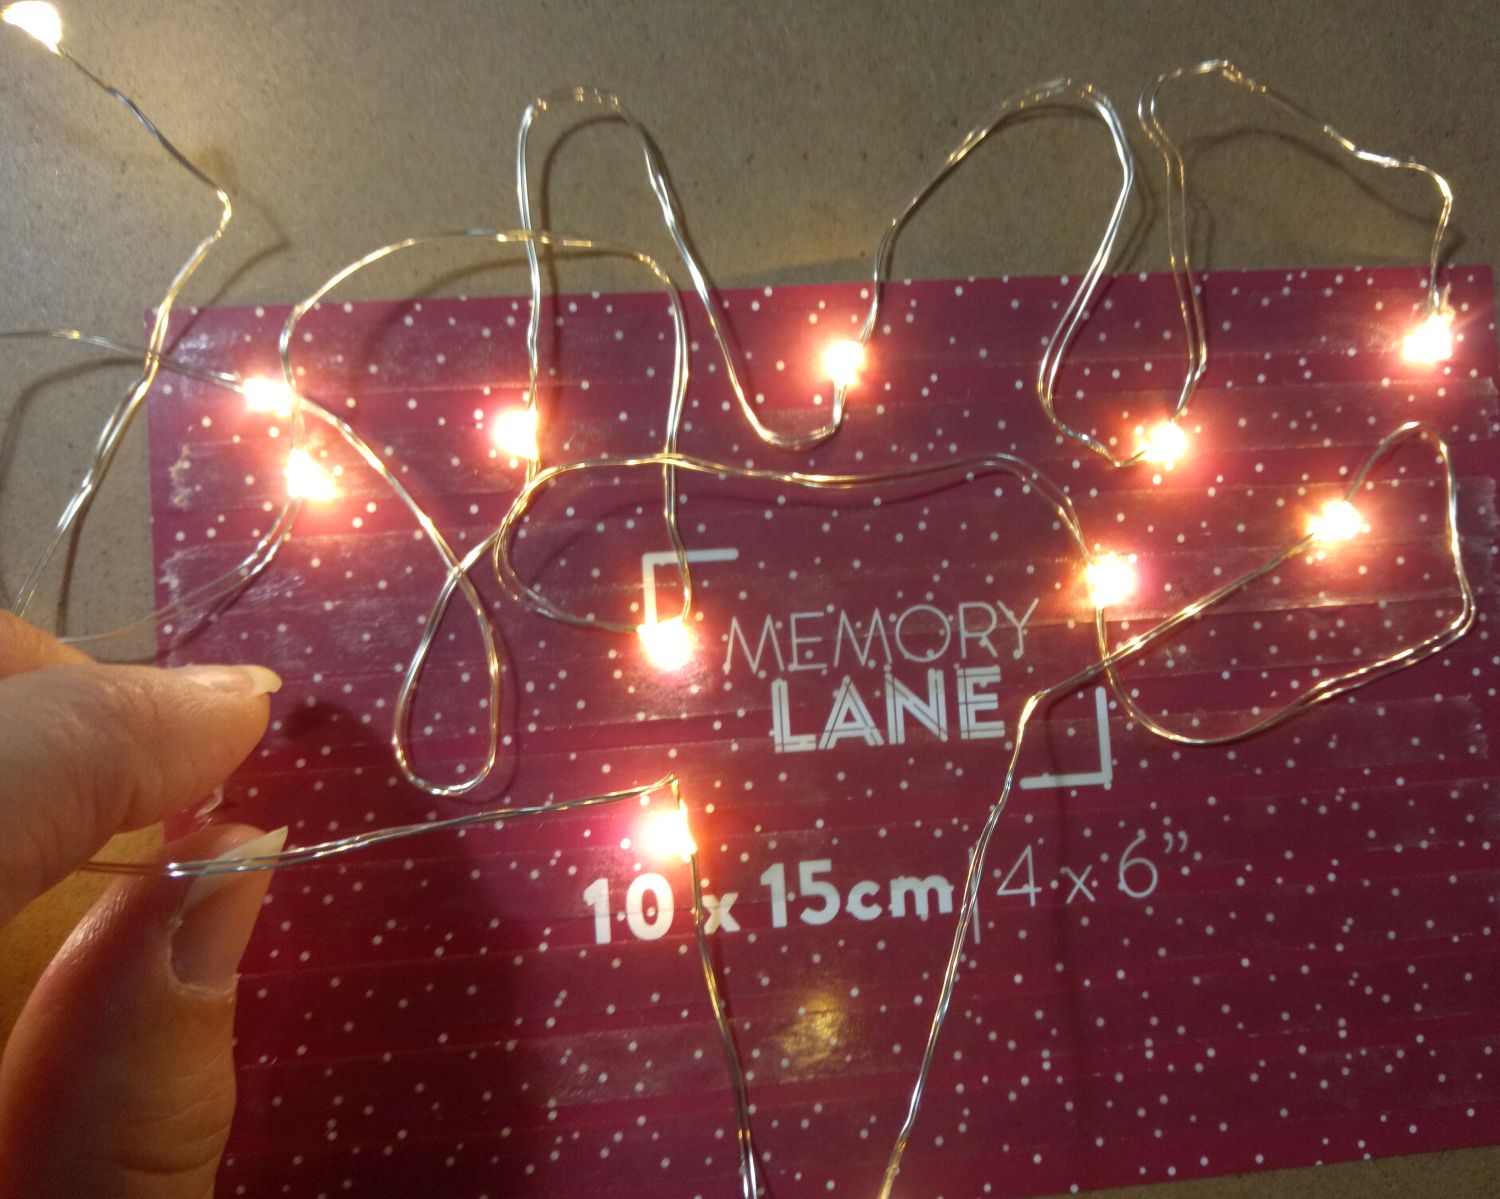
Once I was happy with the scene and the lights of my shadow box idea project, I added more Tear ‘n Tape to make sure the lights would stay in place, then restrung the layers of the piece together and popped them into their frame.
I made sure I left the tail of the string of lights long enough to go outside the frame so the switch box could be used. I just store the switch box behind the frame when it is on display.
And there you have it. A Shadow Box idea that you can duplicate with your own papercraft supplies.
Let me know if you have any questions.
I think any night scene would looks beautiful illuminated this way.
I hope you try this idea and show me what you make!
Do You Have A 3-d PaperCraft Project To Share?
Do you make 3-d PaperCraft items? I'd love to see your work. Please do share below.
You may also like to see the following night themed ideas:
- How to make a cat in the moon card
- How to make an owl at night card


New! Comments
Have your say about what you just read! Leave me a comment in the box below.