- Home
- Papercraft Adhesives
- Watercolor Techniques
Watercolor Cards
Written and Created by PaperCraftCentral Susan
When I make watercolor cards with Stampin' Write markers, I just love the effect.
"Winter is an etching, spring a watercolor, summer an oil painting and autumn a mosaic of them all."
~Stanley Horowitz
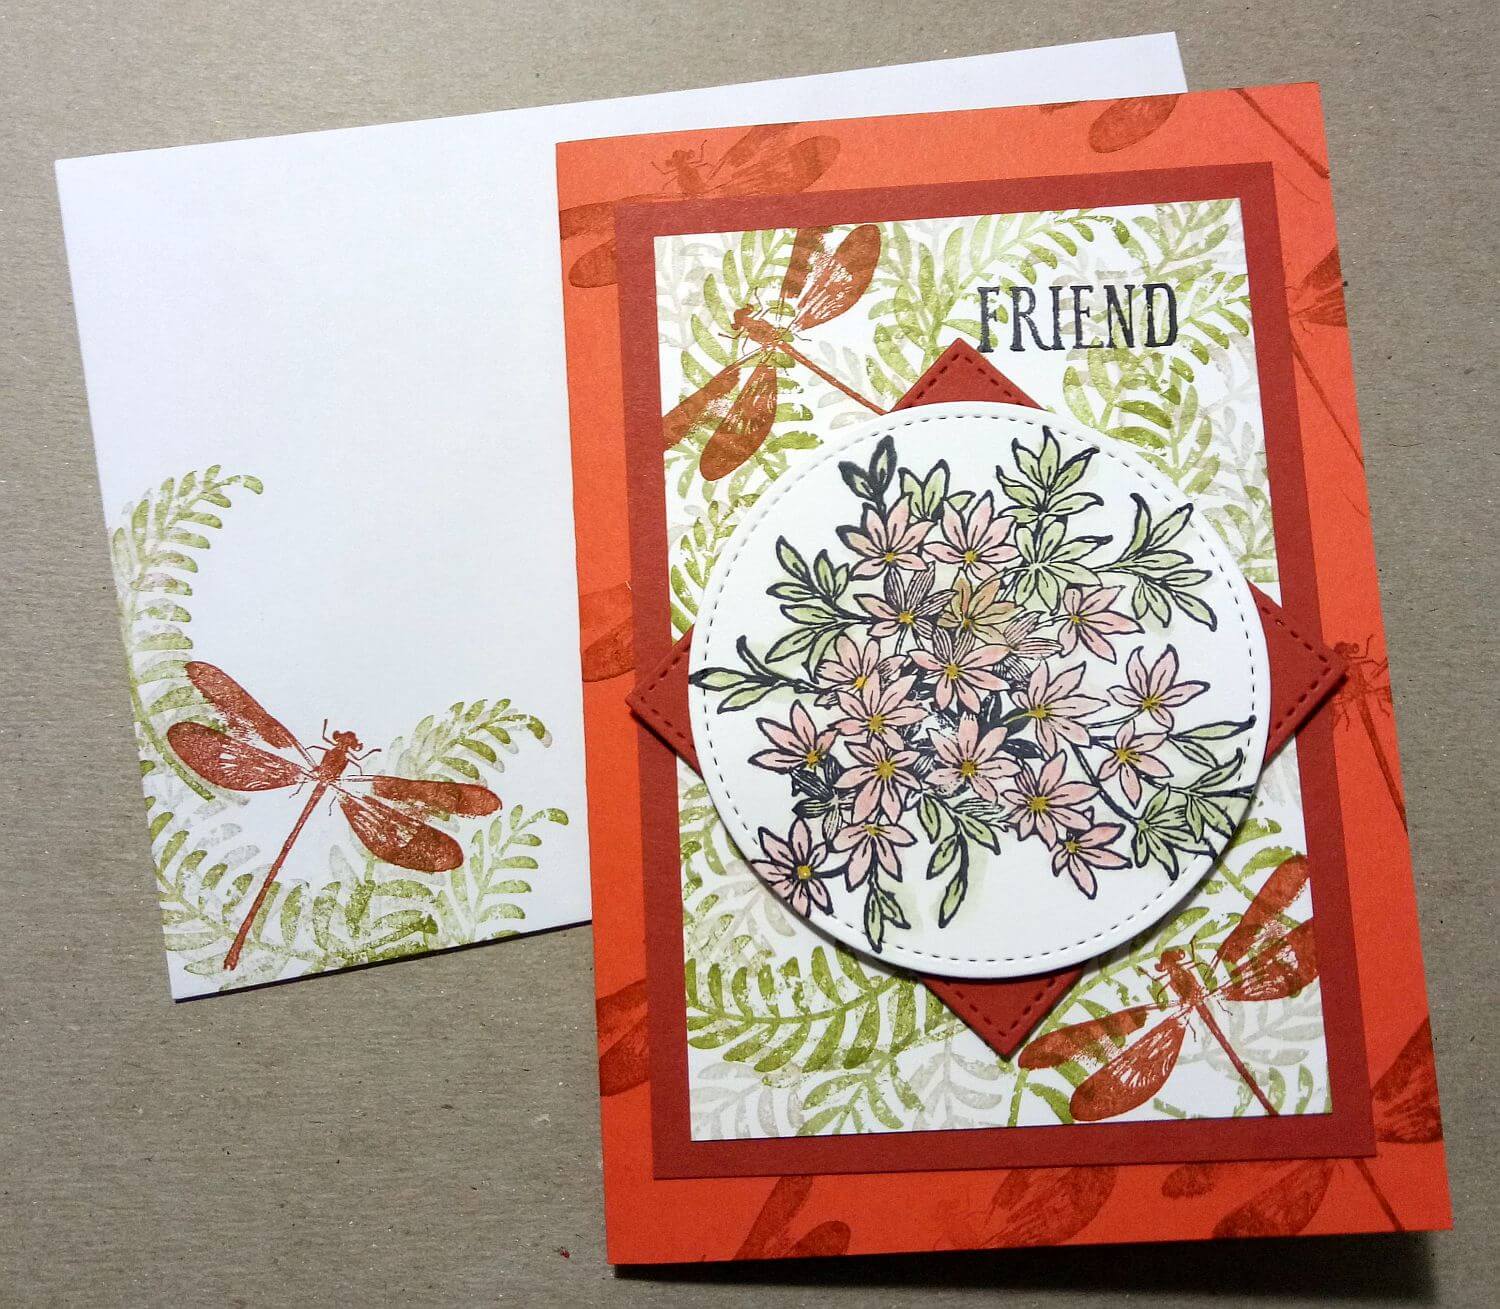
The Awesomely Artistic (retired) card below has been finished with a feature circle, water coloured with the water colour pencils and an aqua painter from Stampin' Up! I love the subtle effect and shading I got using this technique, but there are more ways of watercolouring described on this page.
One year for Christmas I completed several cards with my City of David stamp set (now retired) from Stampin' Up! using the watercolouring technique and heat embossing, with some paint daubing thrown in for good measure.
Instead of watercolouring paper, this time I used glossy white cardstock to stamp on and then finish tinting.
Want to know how to get this result?
Here we go!
How to Make Watercolor Cards with Stampin' Write! Markers
Here are the supplies I used:
- Glossy white cardstock
- A stamp set (I used City of David in this case but feel free to use any images that appeal to you)
- Stazon inkpad
- Silver embossing powder
- Various Stampin' Write! markers
- A fine paint brush and water
- An ordinary saucer from the kitchen
- A heat tool
- A glittery paint dauber
- A silver gel pen (try using Wink of Stella too!)
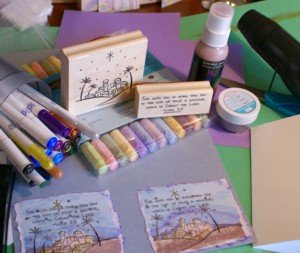
Here's what I did:
- First I stamped my image with black Stazon ink on the glossy white cardstock
- Then I scribbled some marker on my saucer, wet my paintbrush with water and picked up the colour from the saucer. I used this to paint the colours I wanted on my image, using light pastels for the buildings, shades of brown and yellow for the sand, and shades of blue and purple for the sky
- Next, I used the glittery paint dauber to highlight the sand as though starlight was shining on it
- Then I used the silver gel pen to mark in the stars and the edges of buildings where I thought starlight may fall
- Straight after using the gel pen, I poured silver embossing powder on the image and then flicked off the excess embossing powder
- Finally I heated the powder with the heat tool to melt it
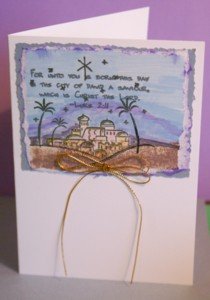
To finish this card:
- I tore around the edges of the image and inked them with purple
ink.
- Then I mounted the image (using double sided mounting tape) on some coordinating cardstock that I had previously cut out with deckle-edged scissors. I mounted this on a plain white card base and added some gold cord I had tied into a bow.
And there you have it. A watercolor card for Christmas.
Be sure to use this technique for other occasions too, of course, whenever you are making handmade greeting cards.
I have another watercolouring example for you now.
Watercolour Wedding Card
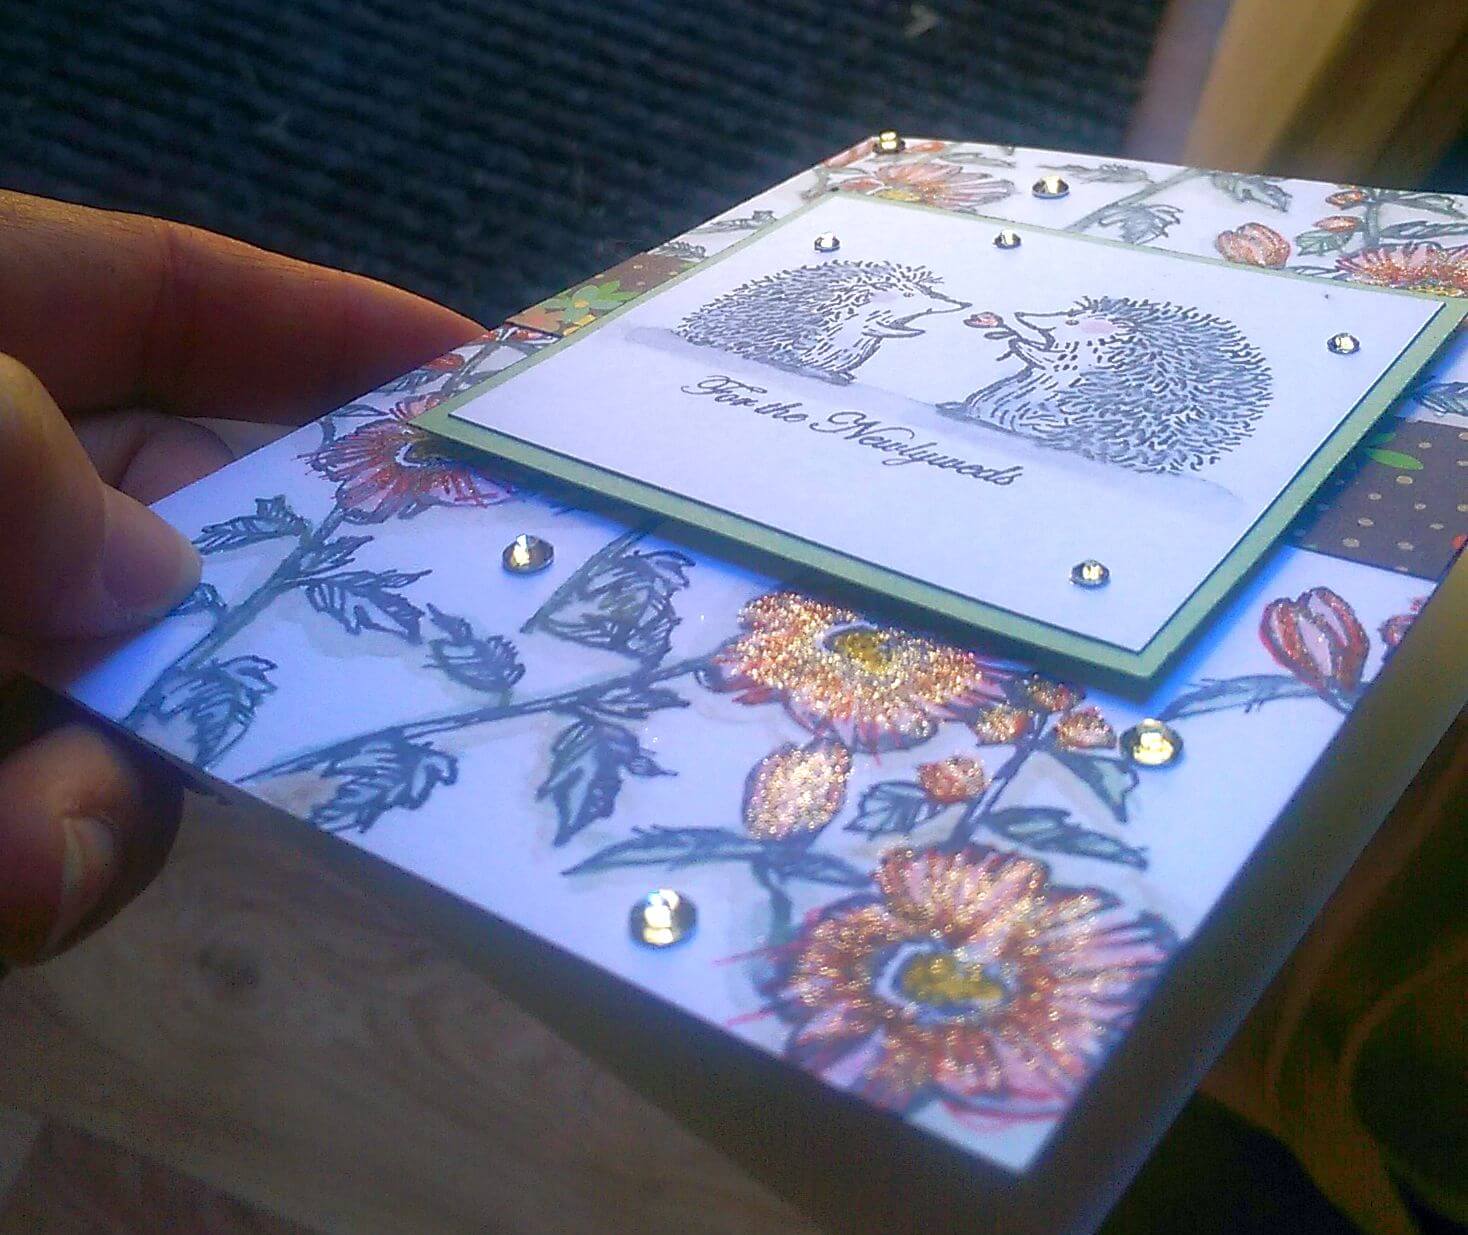
- I love the Love You Lots stamp set(retired) so I made the hedgehogs image with it, using an Aqua Painter and Stampin' Write! markers to add a little depth and color.
- I started with Whisper White cardstock but try Glimmer Paper too, or the Watercolour paper itself, all available from Stampin' Up!
- The images were all stamped in Night of Navy ink and then the shadows were added with the same colour, watered down with the Aqua Painter.
- I made the background with the Fabulous Flora stamp set (retired) using Watercolour Wonder (retired) and Daffodil Delight on the blooms and Mint Macaron on the leaves.
- You can see I also added a flower image to the envelope.
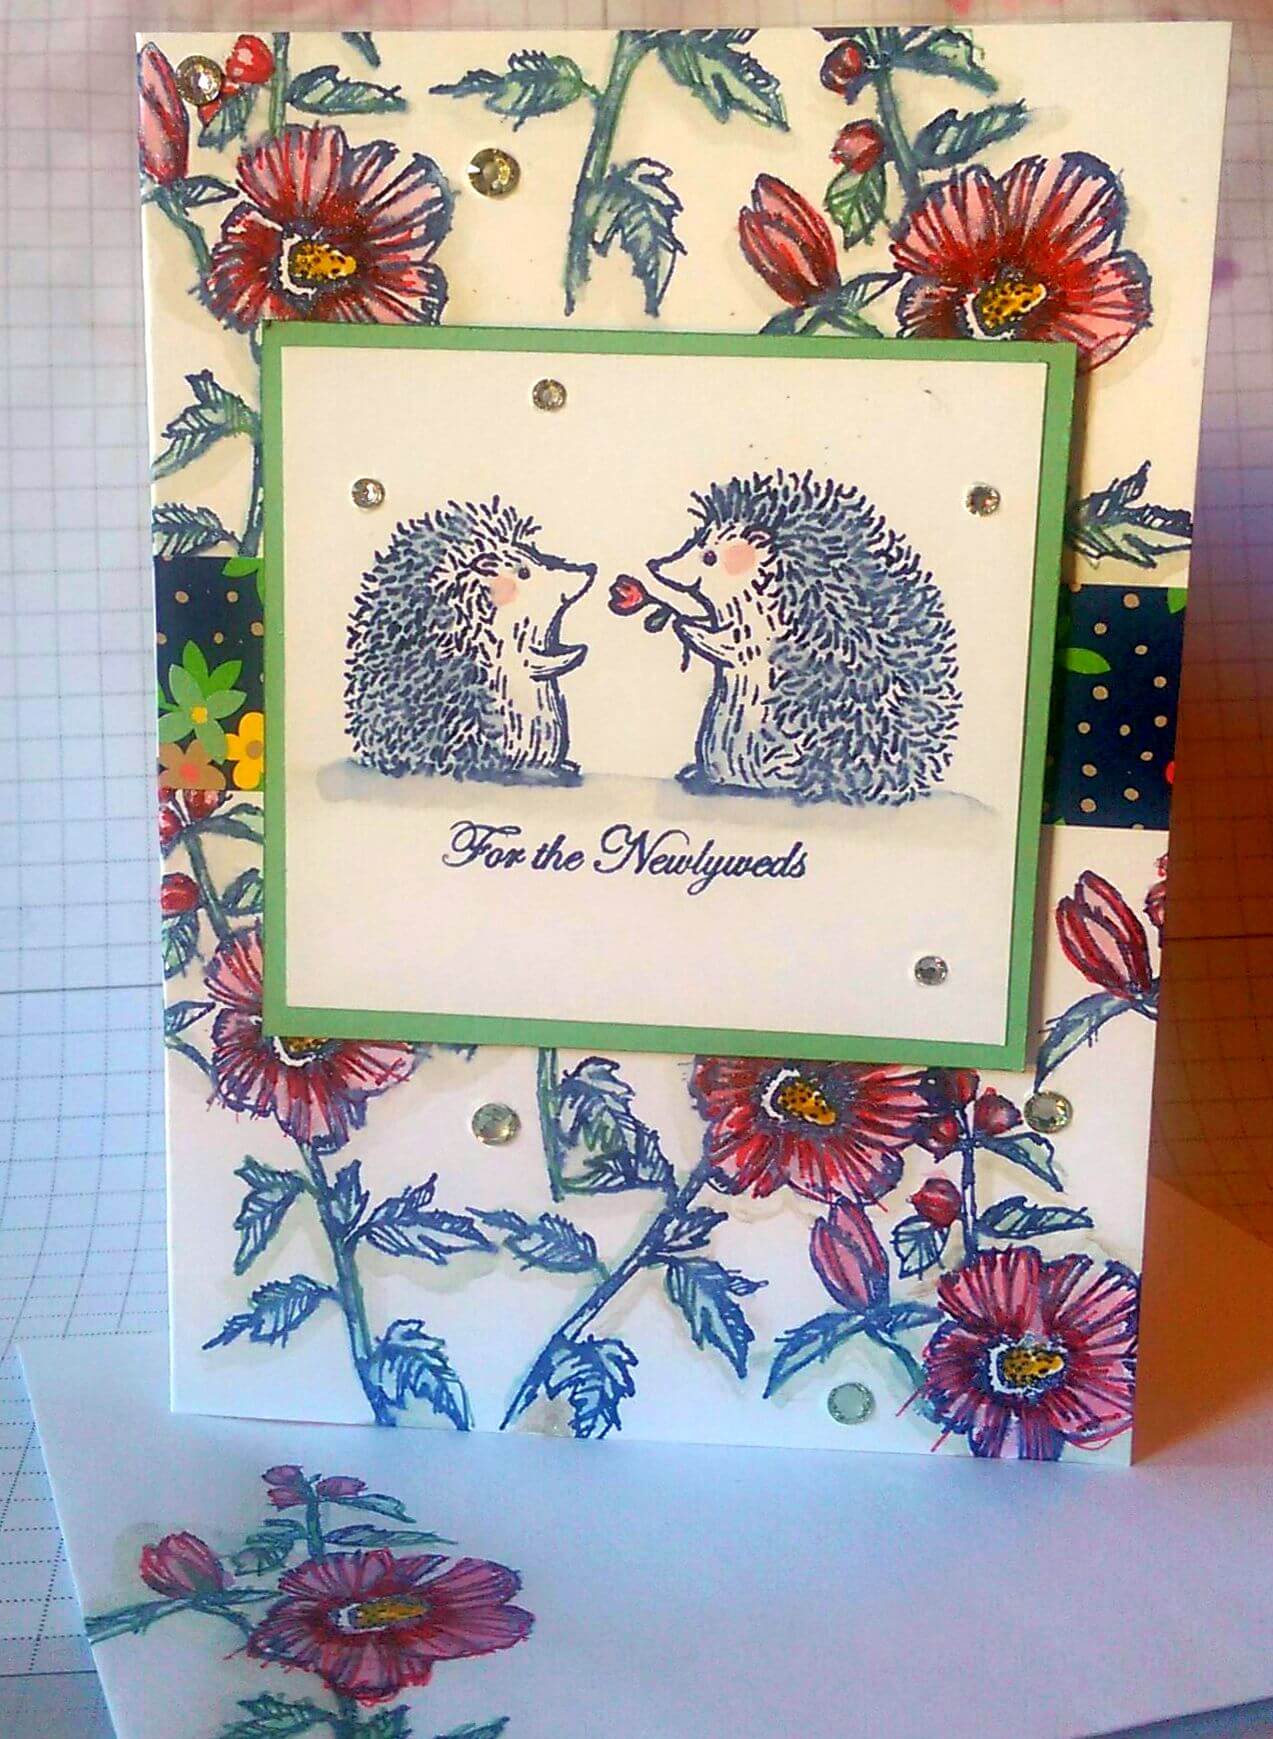
- I added clear Wink of Stella to the petals and in gold to the flower centres. Can you see how it pops here?
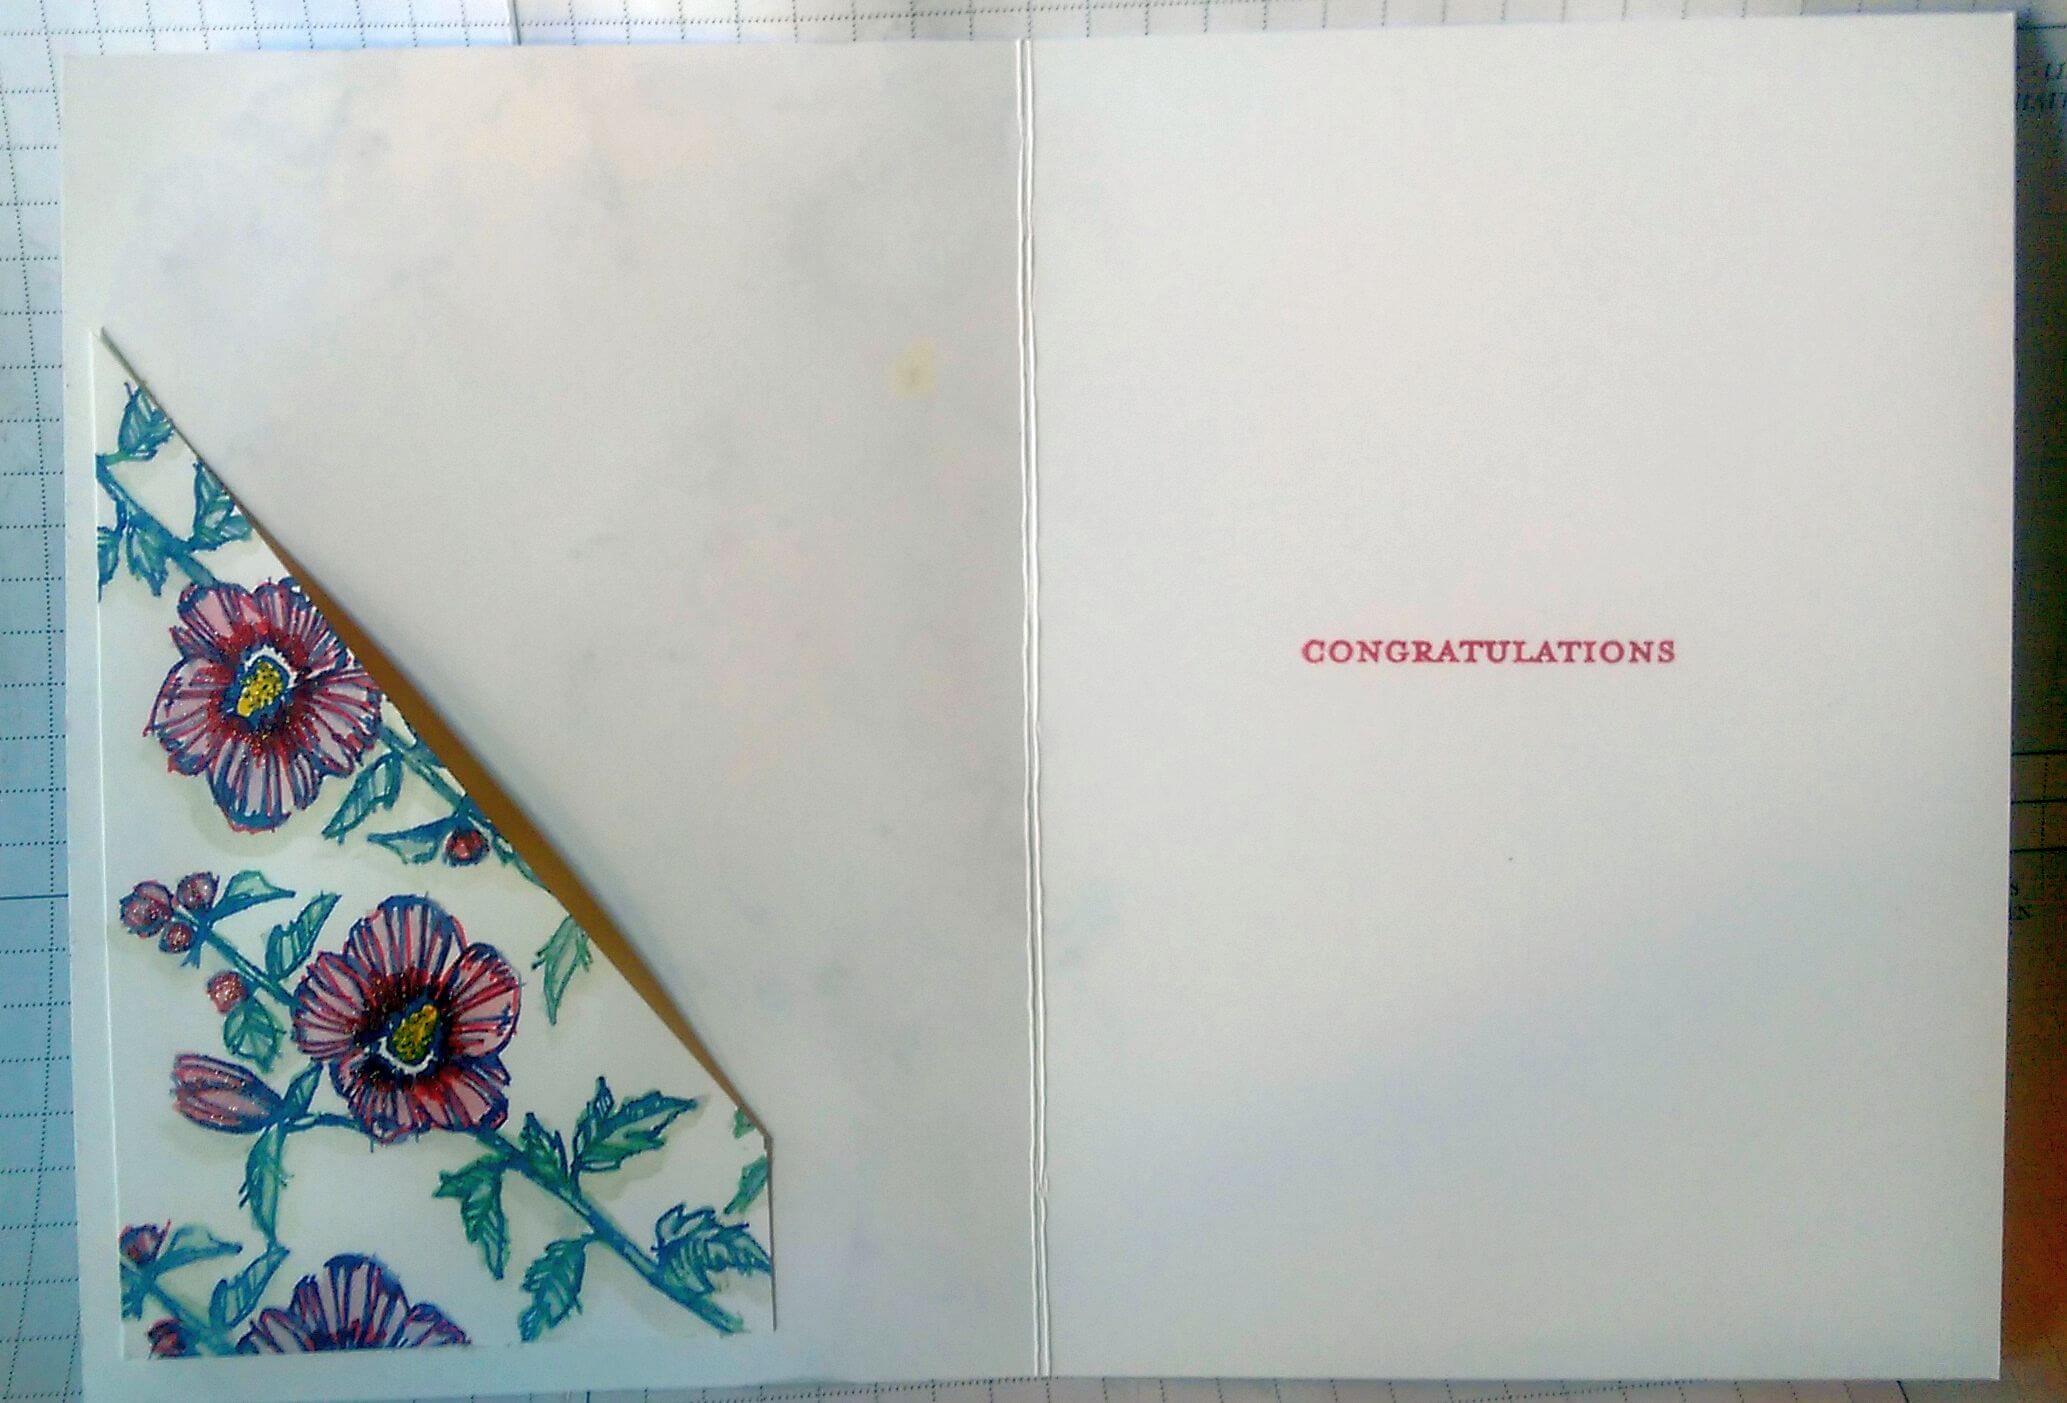
- I also cut a triangular piece and decorated it with Fabulous Flora, to make a money pocket for the inside of the card, since this wedding was to be a wishing well wedding:
- I did go over the flowers with my Stampin' Write! markers as the water colouring made them a little smudgier than I liked, and deepened the colours on the petals with the thick end of my markers.
Here is the card recipe.
All current supplies may be available on my SusanSalutations Stampin' Up! store, should you wish to purchase some of the supplies I used:
Stampin Write! Markers: Pink Pirouette (retired), Crumb Cake, Watermelon Wonder (retired), Night of Navy, Mint Macaron
Cardstock: Whisper White, Mint Macaron
Designer Series Paper: Affectionately Yours (retired)
Accessories and tools: Jewels Basic Rhinestones, Wink of Stella in clear and gold (retired), Aqua Painter & water, Tombow glue, Double sided tape, Stampin' Dimensionals, Stampin' Blocks, Paper Trimmer, Paper Snips, Bone Folder, Stampin' Scrub, Stamp cleaning mist, grid paper, self healing craft mat
Stamp Sets: Love You Lots (retired), Fabulous Flora 9retired), Teeny Tiny Sentiments (retired)
More Watercolor Cards
Here are a couple more watercolor cards using this technique:
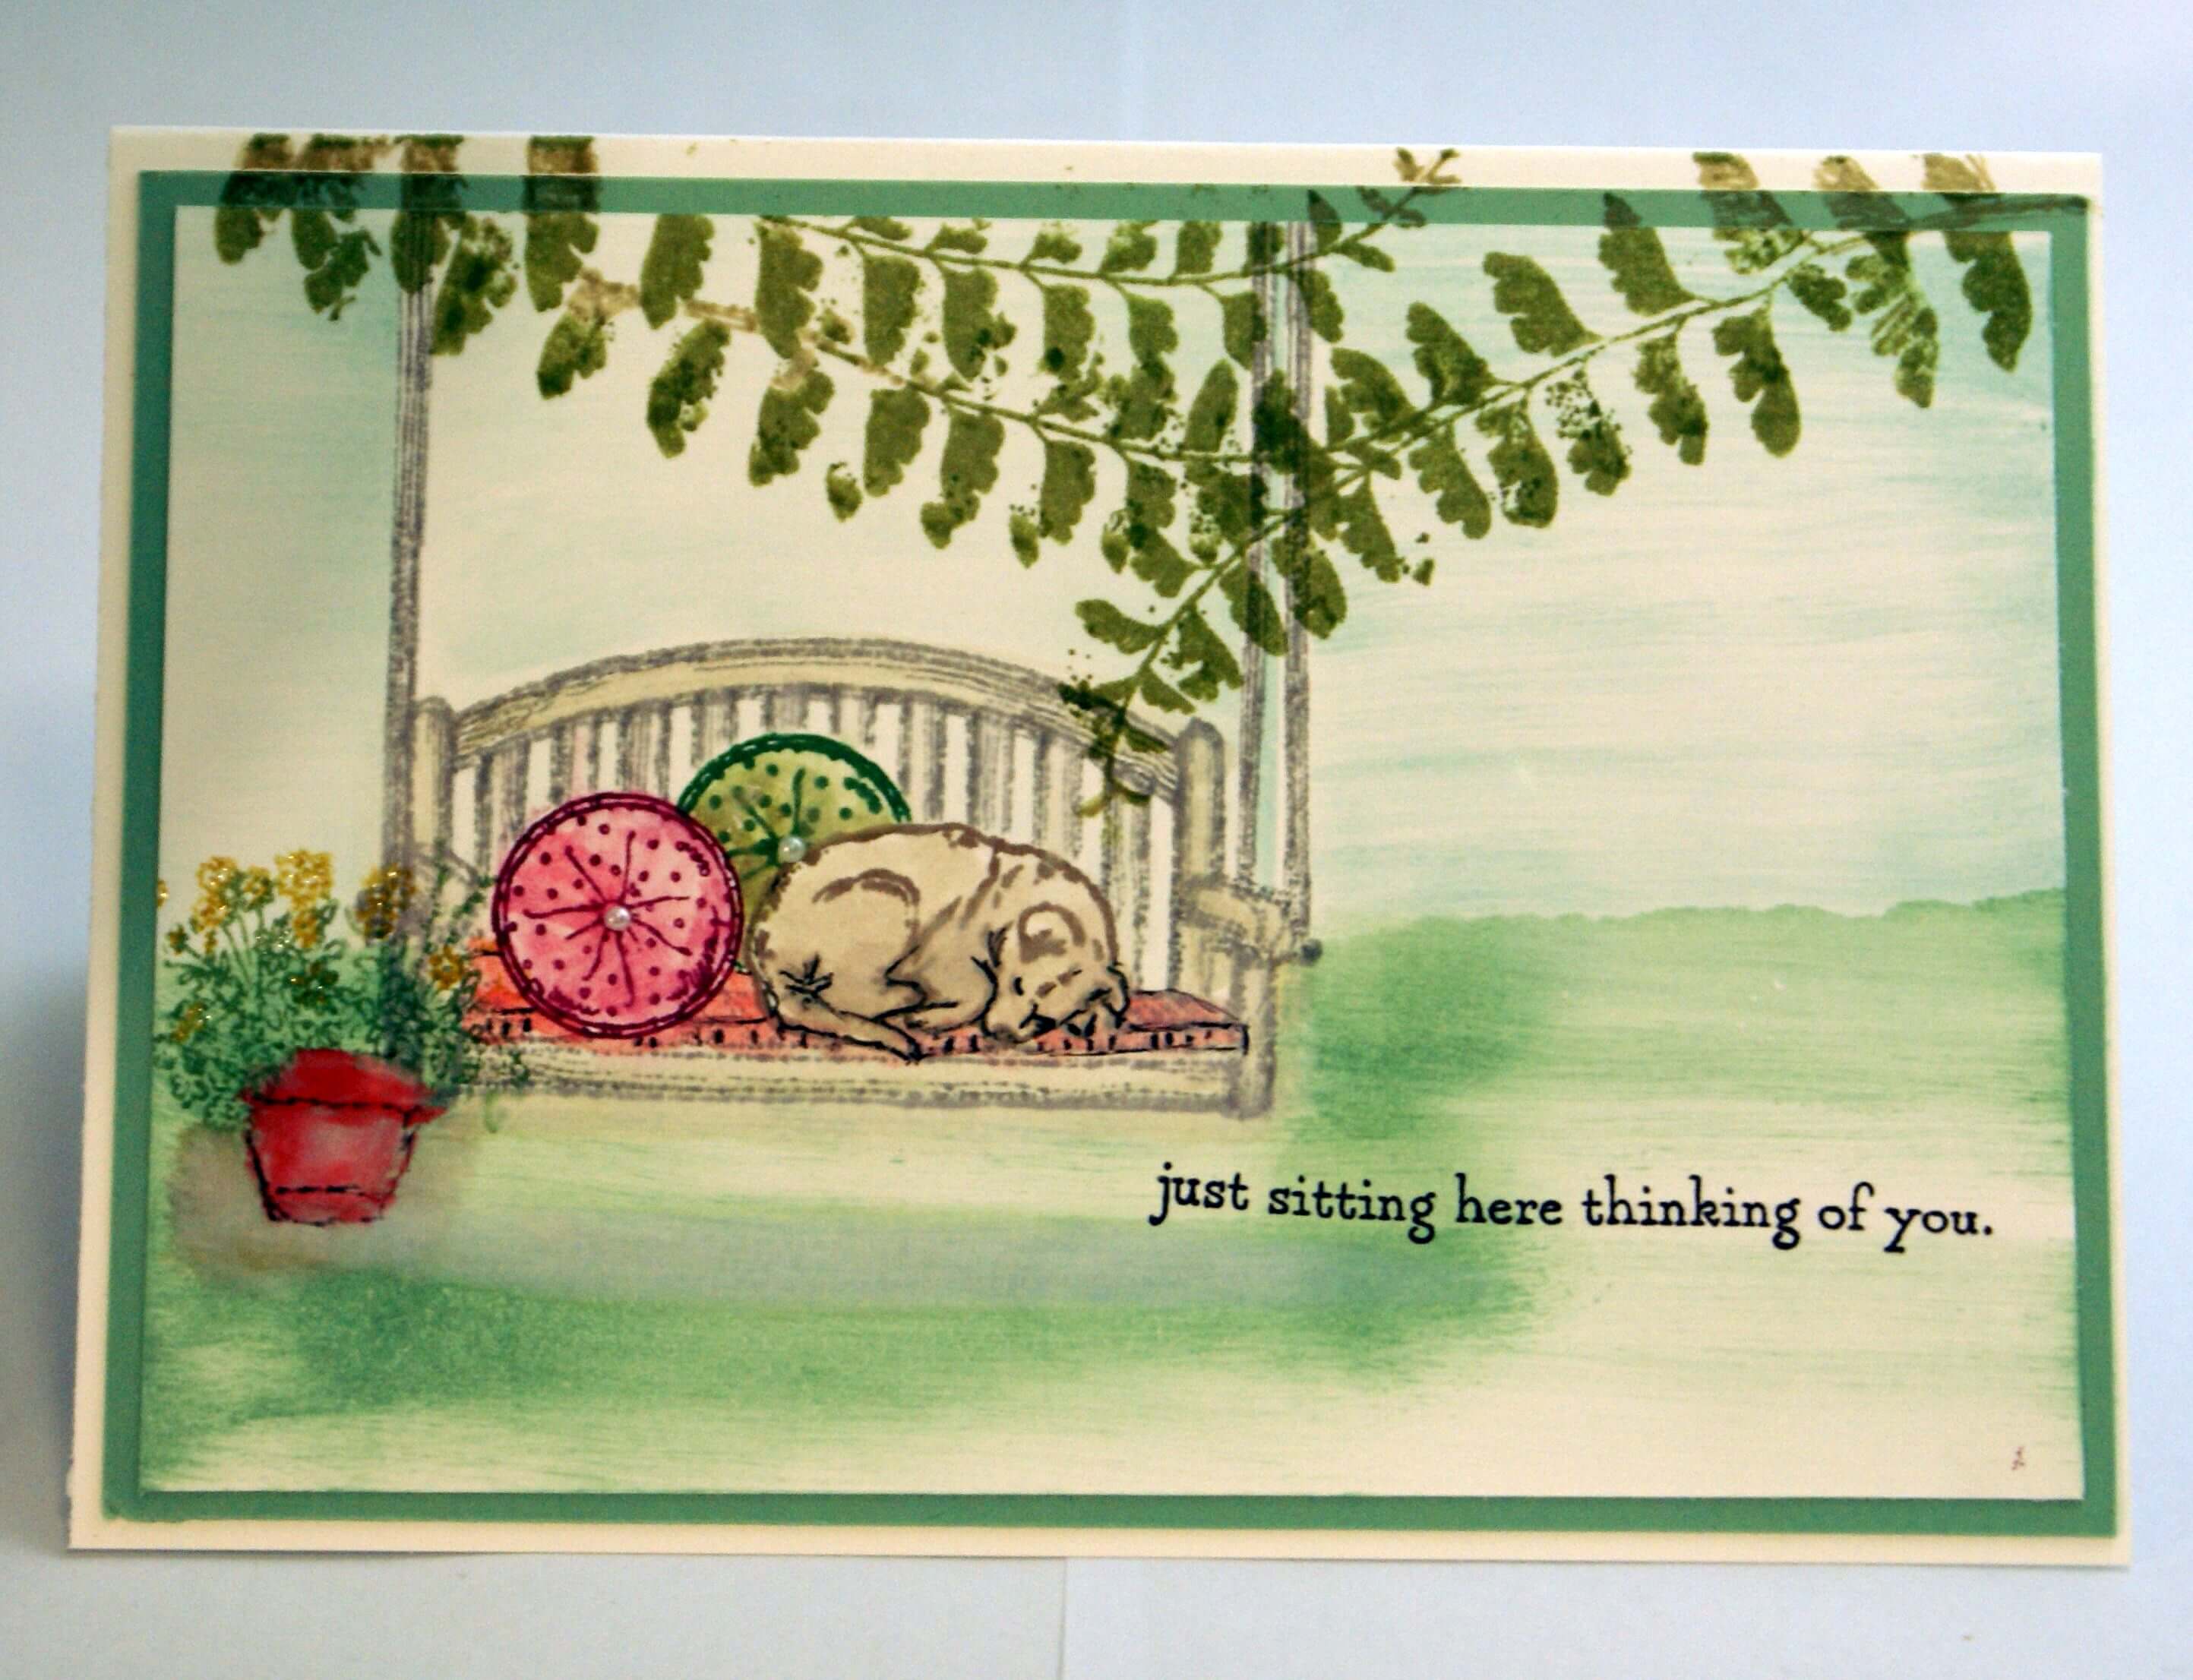
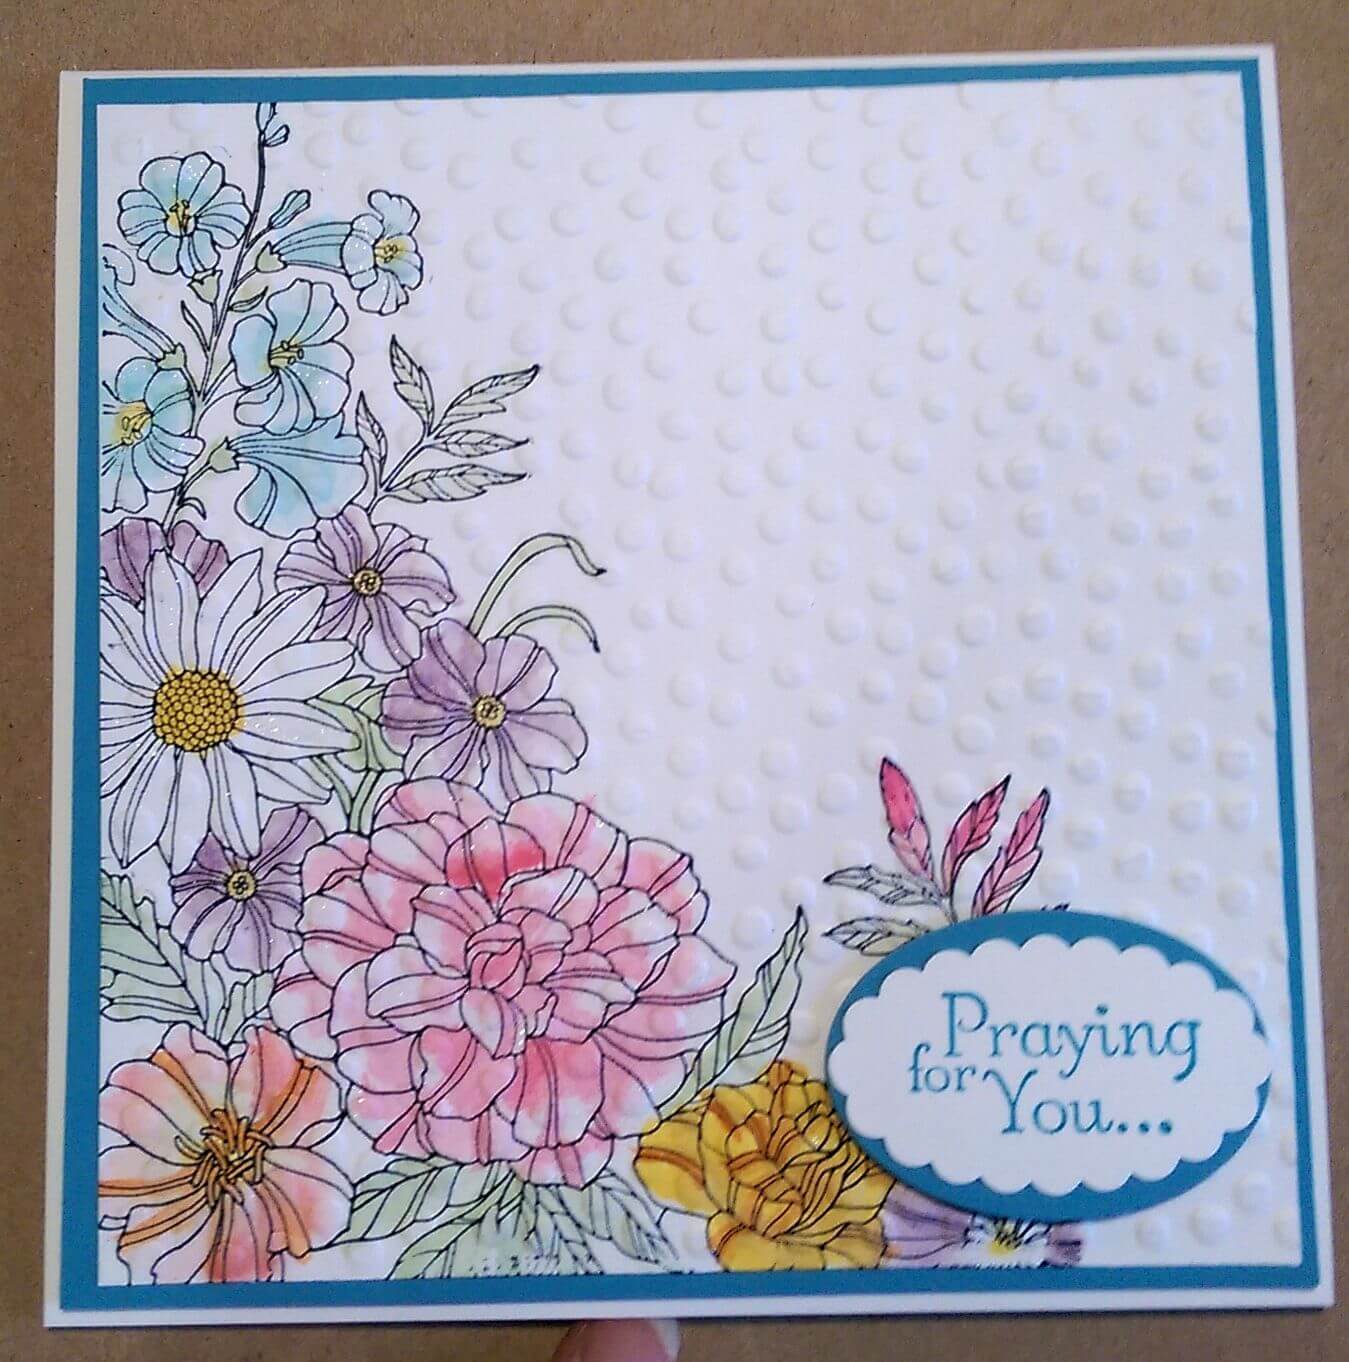
Do show me if you have favourite watercolor cards that you have made. I just love seeing your work!
Do You Have A Favourite Handmade Card to Share?
Do you make greeting cards? Please do share it with me.
If you enjoyed this technique, you might like to try the torn paper technique or the kissing technique next.


New! Comments
Have your say about what you just read! Leave me a comment in the box below.