- Home
- Papercraft Adhesives
- How to make Birthday Cards
Birthday Cards
Written and Created by PaperCraftCentral Susan
Handmade birthday cards make birthdays extra special for most people!
"The older the fiddler, the sweeter the tune."
~English Proverb
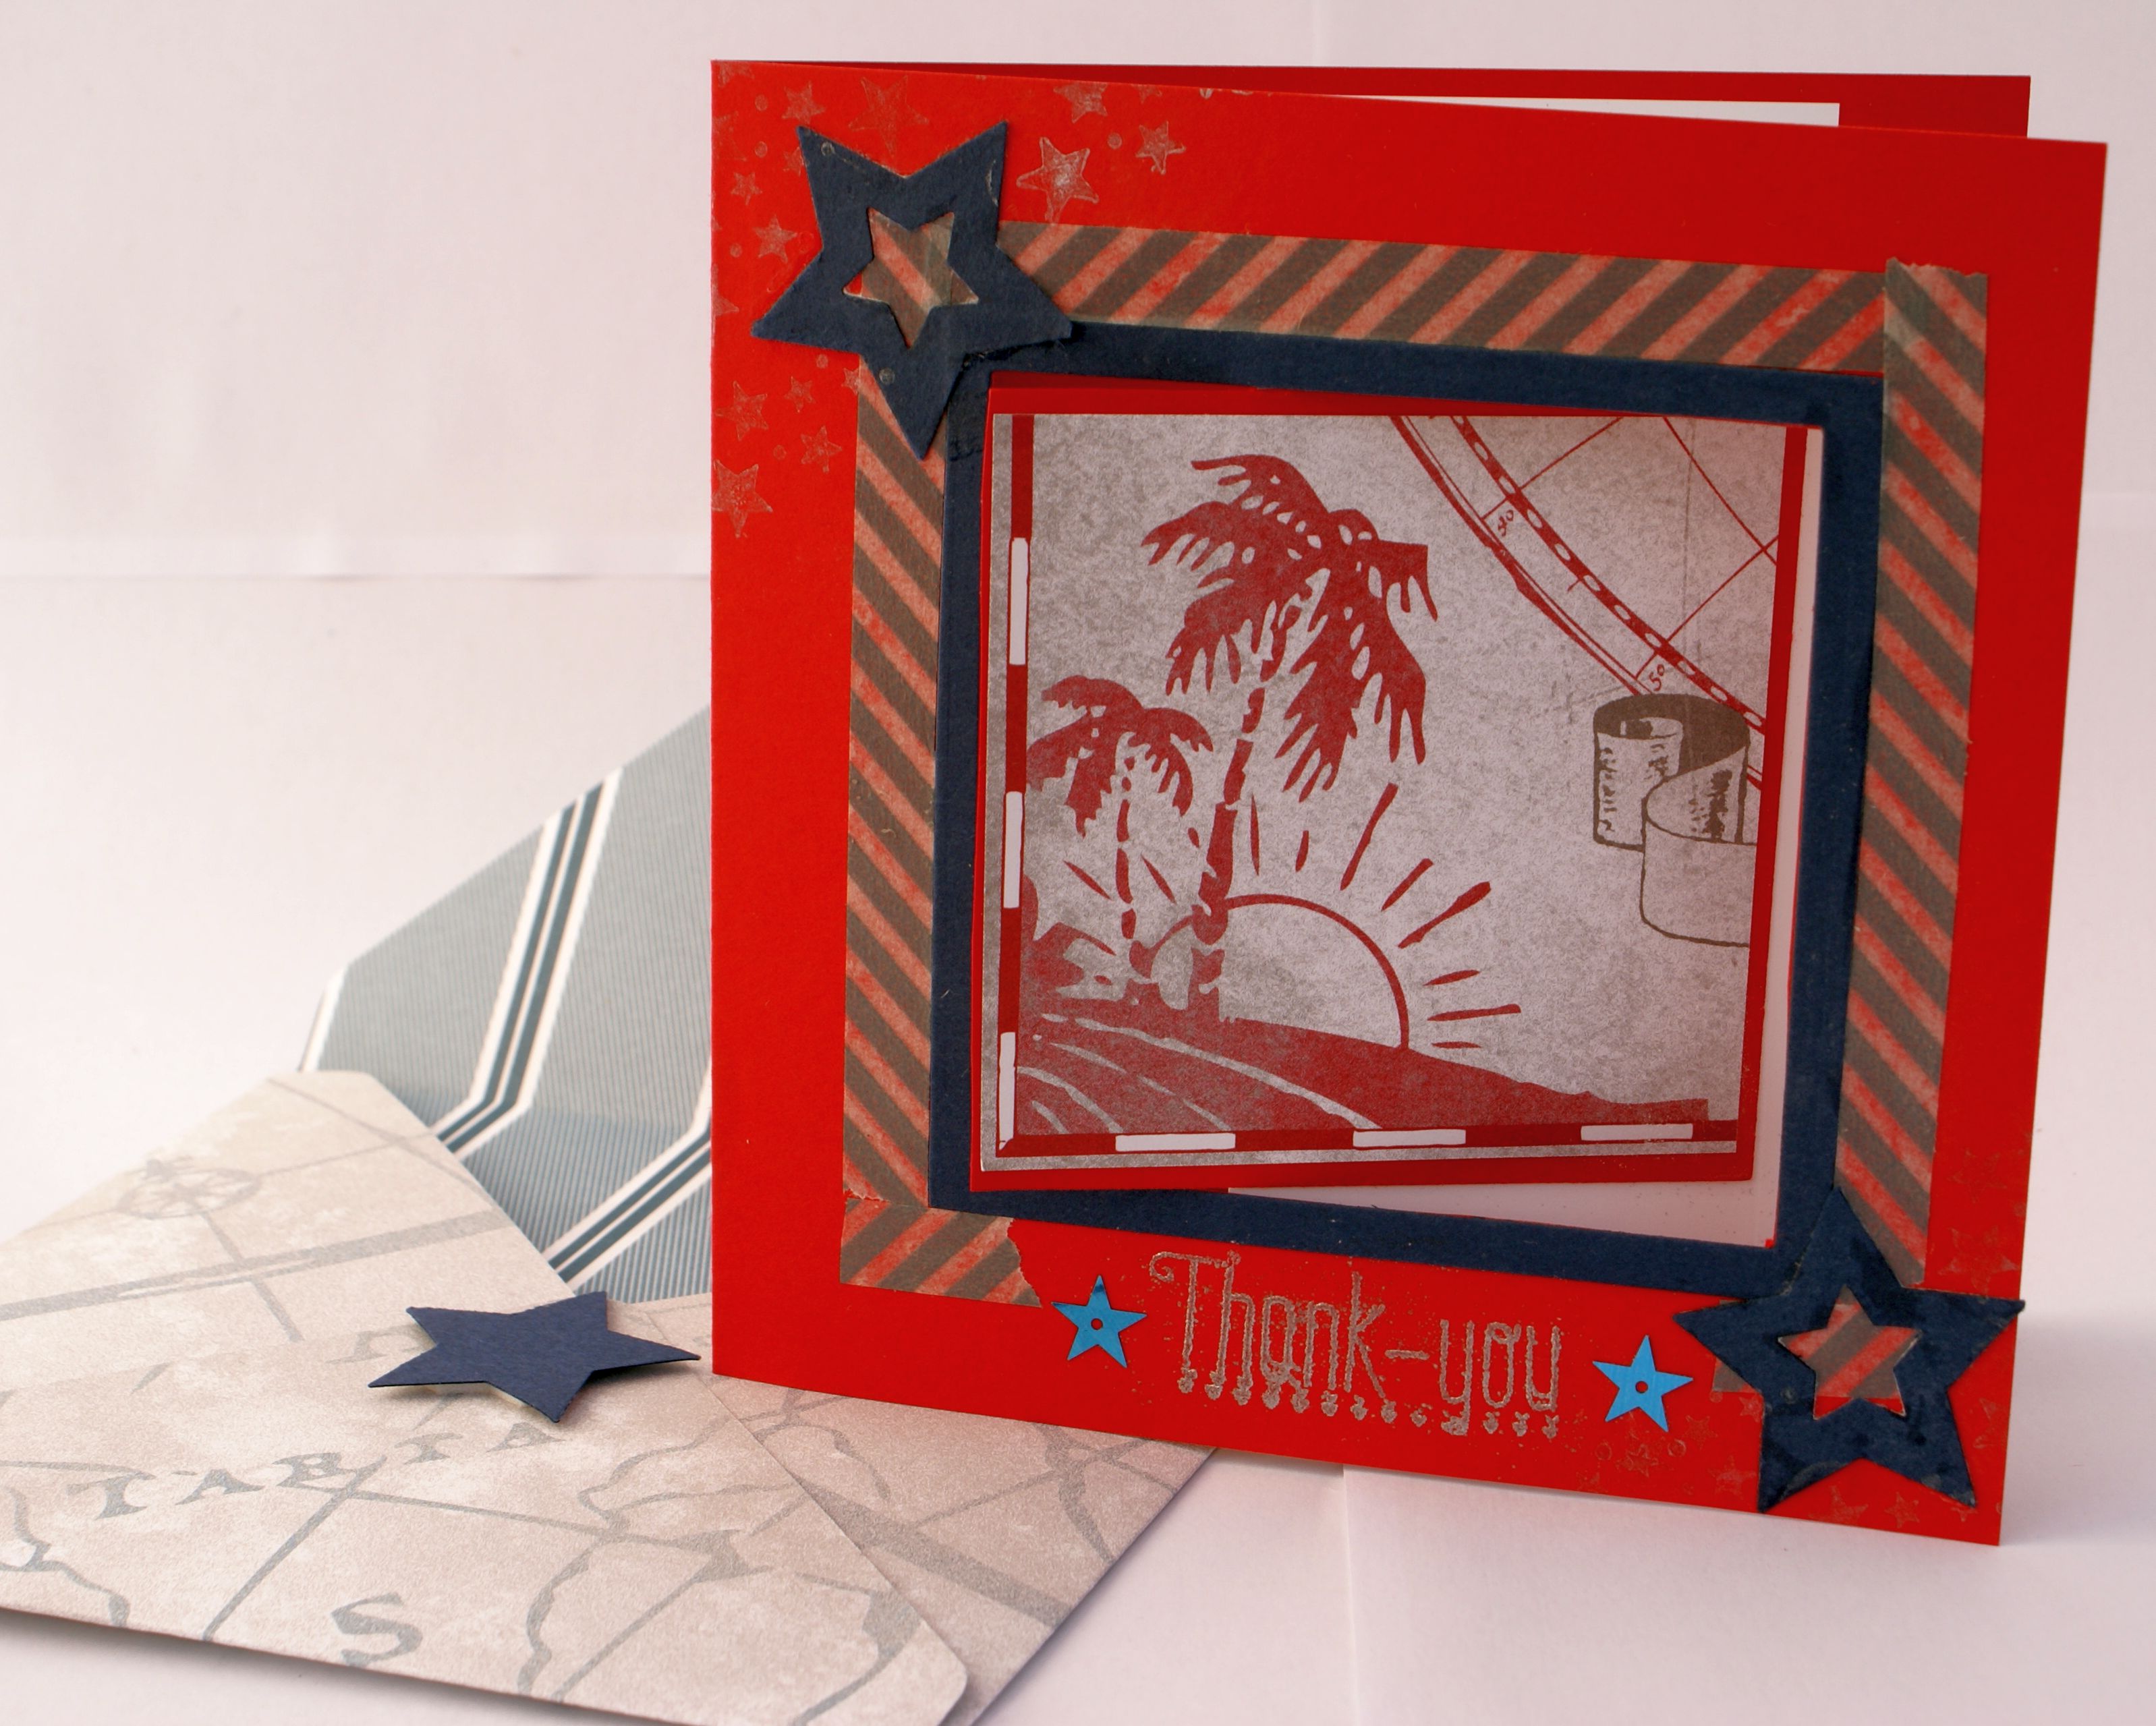
Here's a swing front birthday card that I made for a special someone. I love to be inspired by other Stampin' Up! Demonstrators and Tami White from the USA shows how to make a pop out swing card in this video:
I hope you try making one too!
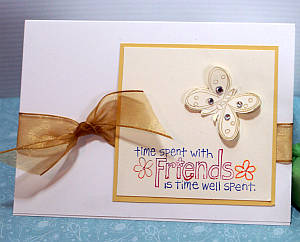
I just had to share this card that I made for a friend's birthday. It was so quick and easy to make! I used Stampin' Up!'s (retired) Time Well Spent stamp set, some Bold Bright Stampin' Write markers to ink up the sentiment, some Encore Gold ink for the butterfly (retired from Stampin' Up! but you might be able to find it in craft shops), and Basic White, Very Vanilla and Barely Banana (retired) cardstock. Oh and there are some some crystals and gauzy ribbon on the greeting too.
To make the butterfly or another image of your choice pop up, stamp it where you want it on your main piece first, then stamp it again on a separate piece of cardstock.
Carefully cut out the second image leaving a little white border around it, then apply some tiny crystals and fold up the wings a little. Then all you have to do is adhere it over the first stamped butterfly on your card.
It will lie flat in your envelope and be ready to pop up again once it is free of the envelope.
Ways to Customise Birthday Cards:
You can really tie your card in with your special person's life when you hand make it. I love this aspect about cardmaking!
For example, you can personalise your greetings by
- Adding the person's name and/or age
- Referring to the person's occupation
- Using the person's favourite colours
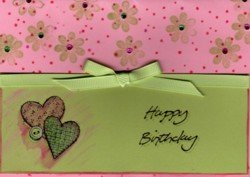
- Making the card in a person's favourite style - modern, country (a bit like the one I made shown above - I added ribbon, stamped the stitched hearts and glued a real button onto one heart), humorous, classical, masculine, feminine, etc
- Using images that mean something to the recipient
- Customising the card so that special greetings can be added by, say, the whole office or family, by adding pages or determining the size of the whole card
- Using a person's favourite song/poem/saying as your sentiment
- Even incorporating photos into your handmade greetings
Suggestion: If you would like to personalise your greeting with some UNUSUAL birthday poems for your card insert, try searching the Special Birthday Poems site for some unique and rhyming verses.
How about some customised birthday cards examples?
1. Here I made a card for a friend who is a computer programming trouble-shooter and spends his days 'debugging' computers. I swiped a small ink pad vertically on the card front to make the stripes on the background paper, cut paper circles to fit behind the corner brads and resemble washers and bolts, a beetle stamp to march across the card front, and a twist of ribbon to make a sort of medal:
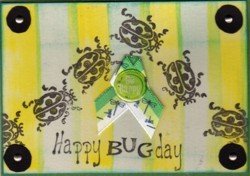
He has to de-bug computers all day, right? Corny, but he seemed to appreciate the humour.
2. This card has a simple dry-embossed background (the backing sheet was put through a Die Cutting and Embossing Machine ) and I have simply used a paper flower and a brad with a tag to complete it. I placed my friend's name in my own handwriting on the tag to personalise it.
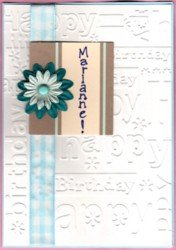
People don't expect you to make a card with their name on it. I think it's especially effective if the person has an unusual name and can't find regular merchandise with their name on it.
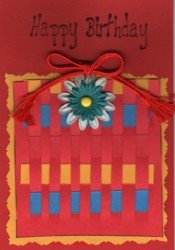
3. This card was simple to make once I decided on colours. Just make a whole lot of paper strips and weave them together. I mounted the woven piece on a contrasting coloured mat that I trimmed around with decorative scissors, then topped that with a flower, a brad and a length of ribbon. This time I used a stamped sentiment. The person I gave this to enjoyed the bright colours and extra attention to details.
Here's another suggestion: You could make a bunch of these birthday cards to use throughout the year from all of your paper scraps.
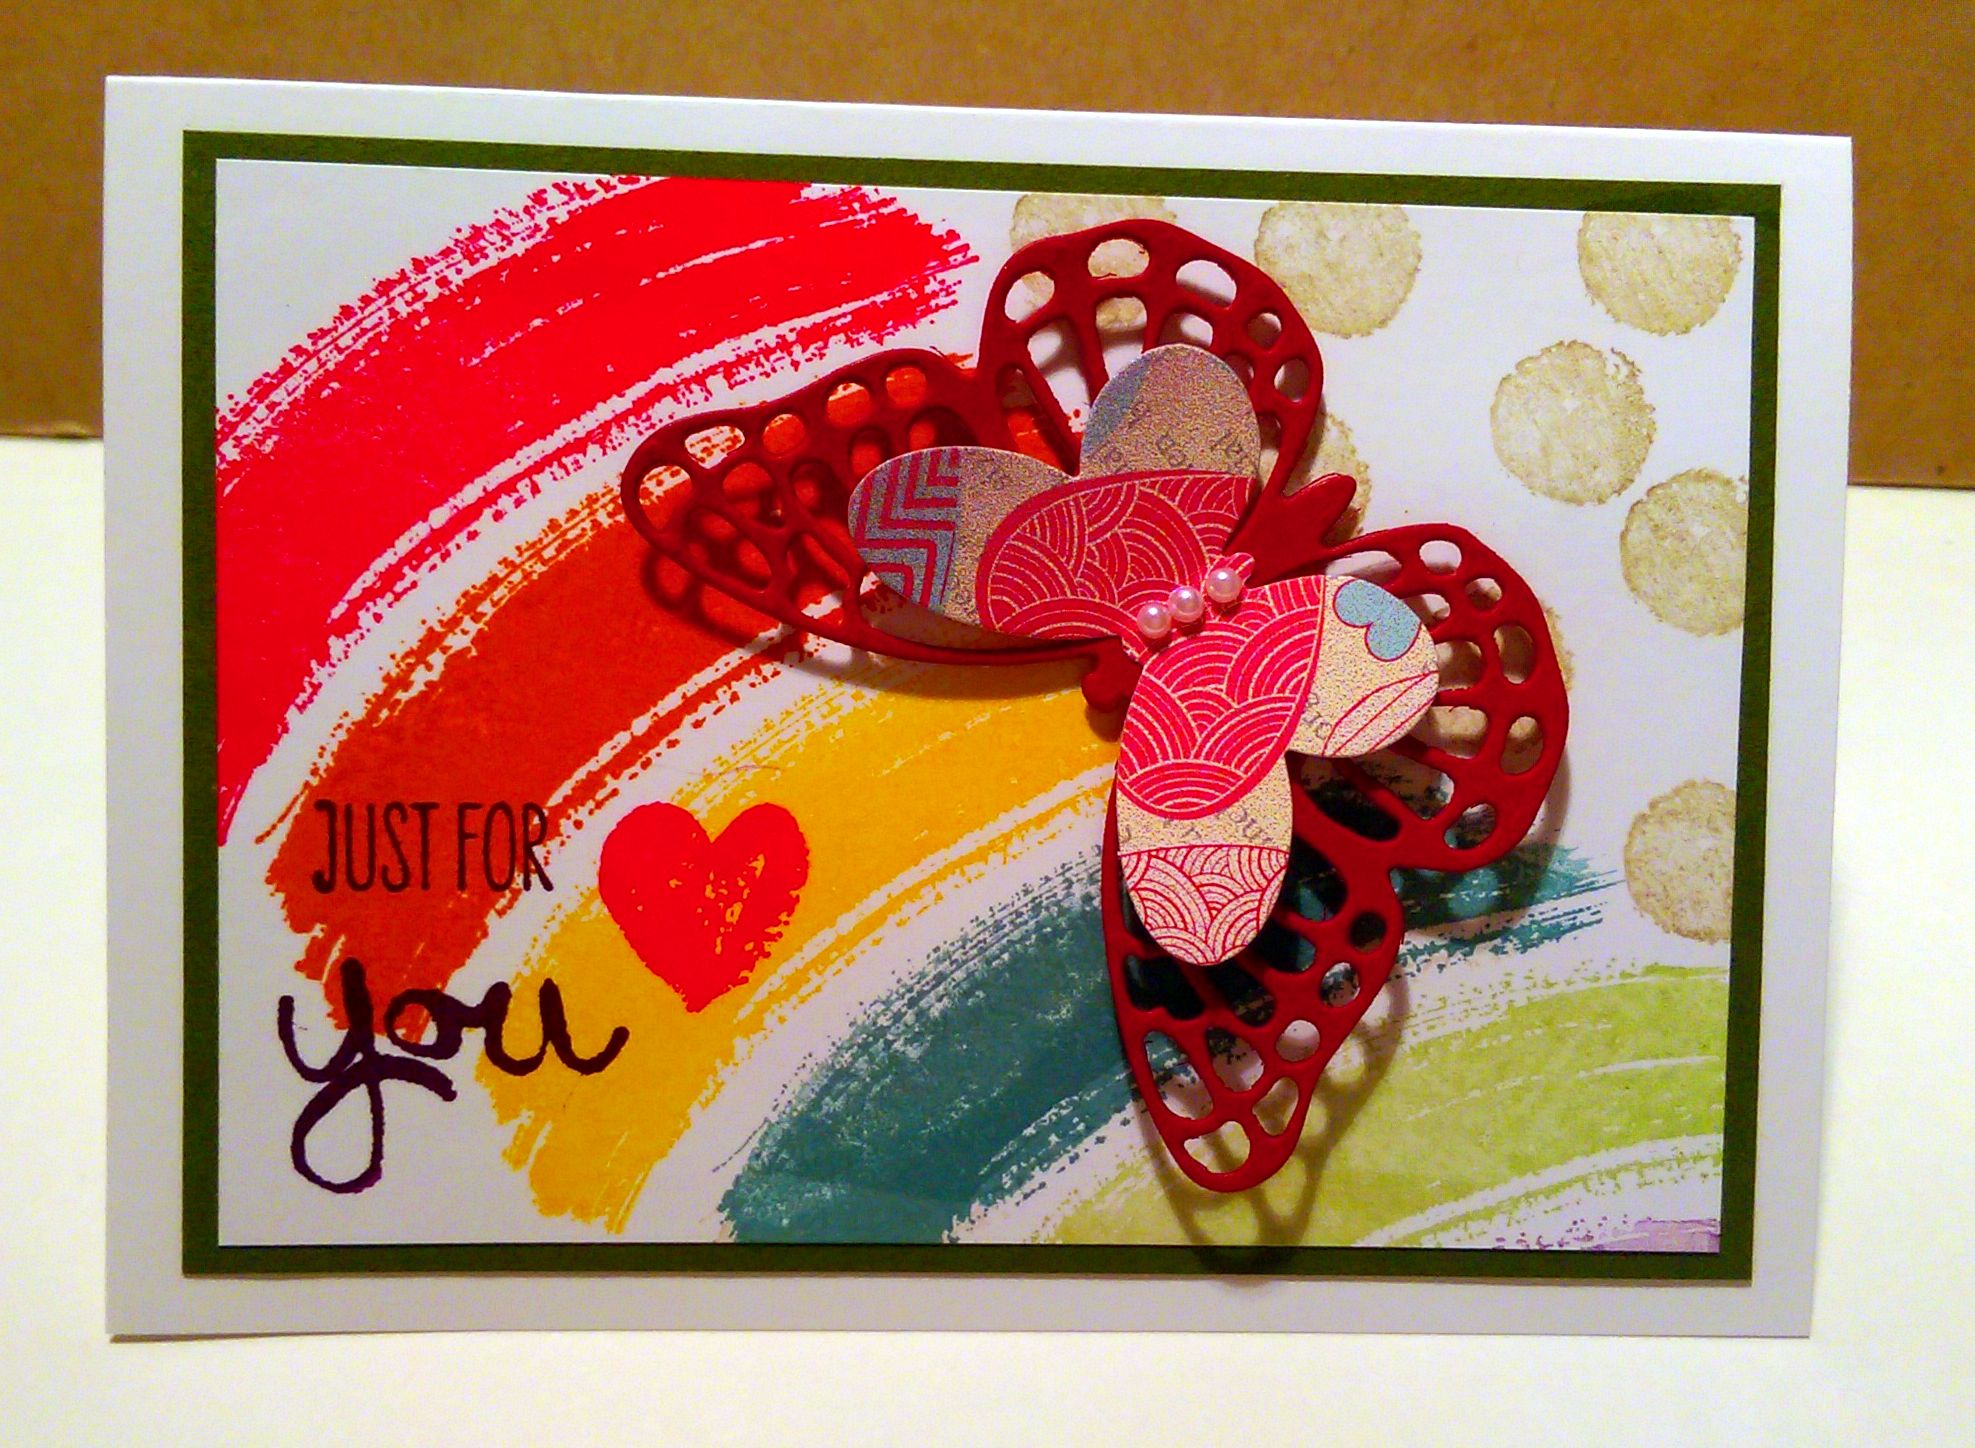
4. My style has changed over time but the techniques used in the above cards remains the same. The butterflies below are die cut. I made the rainbow on this one using one stamp and several ink colours:
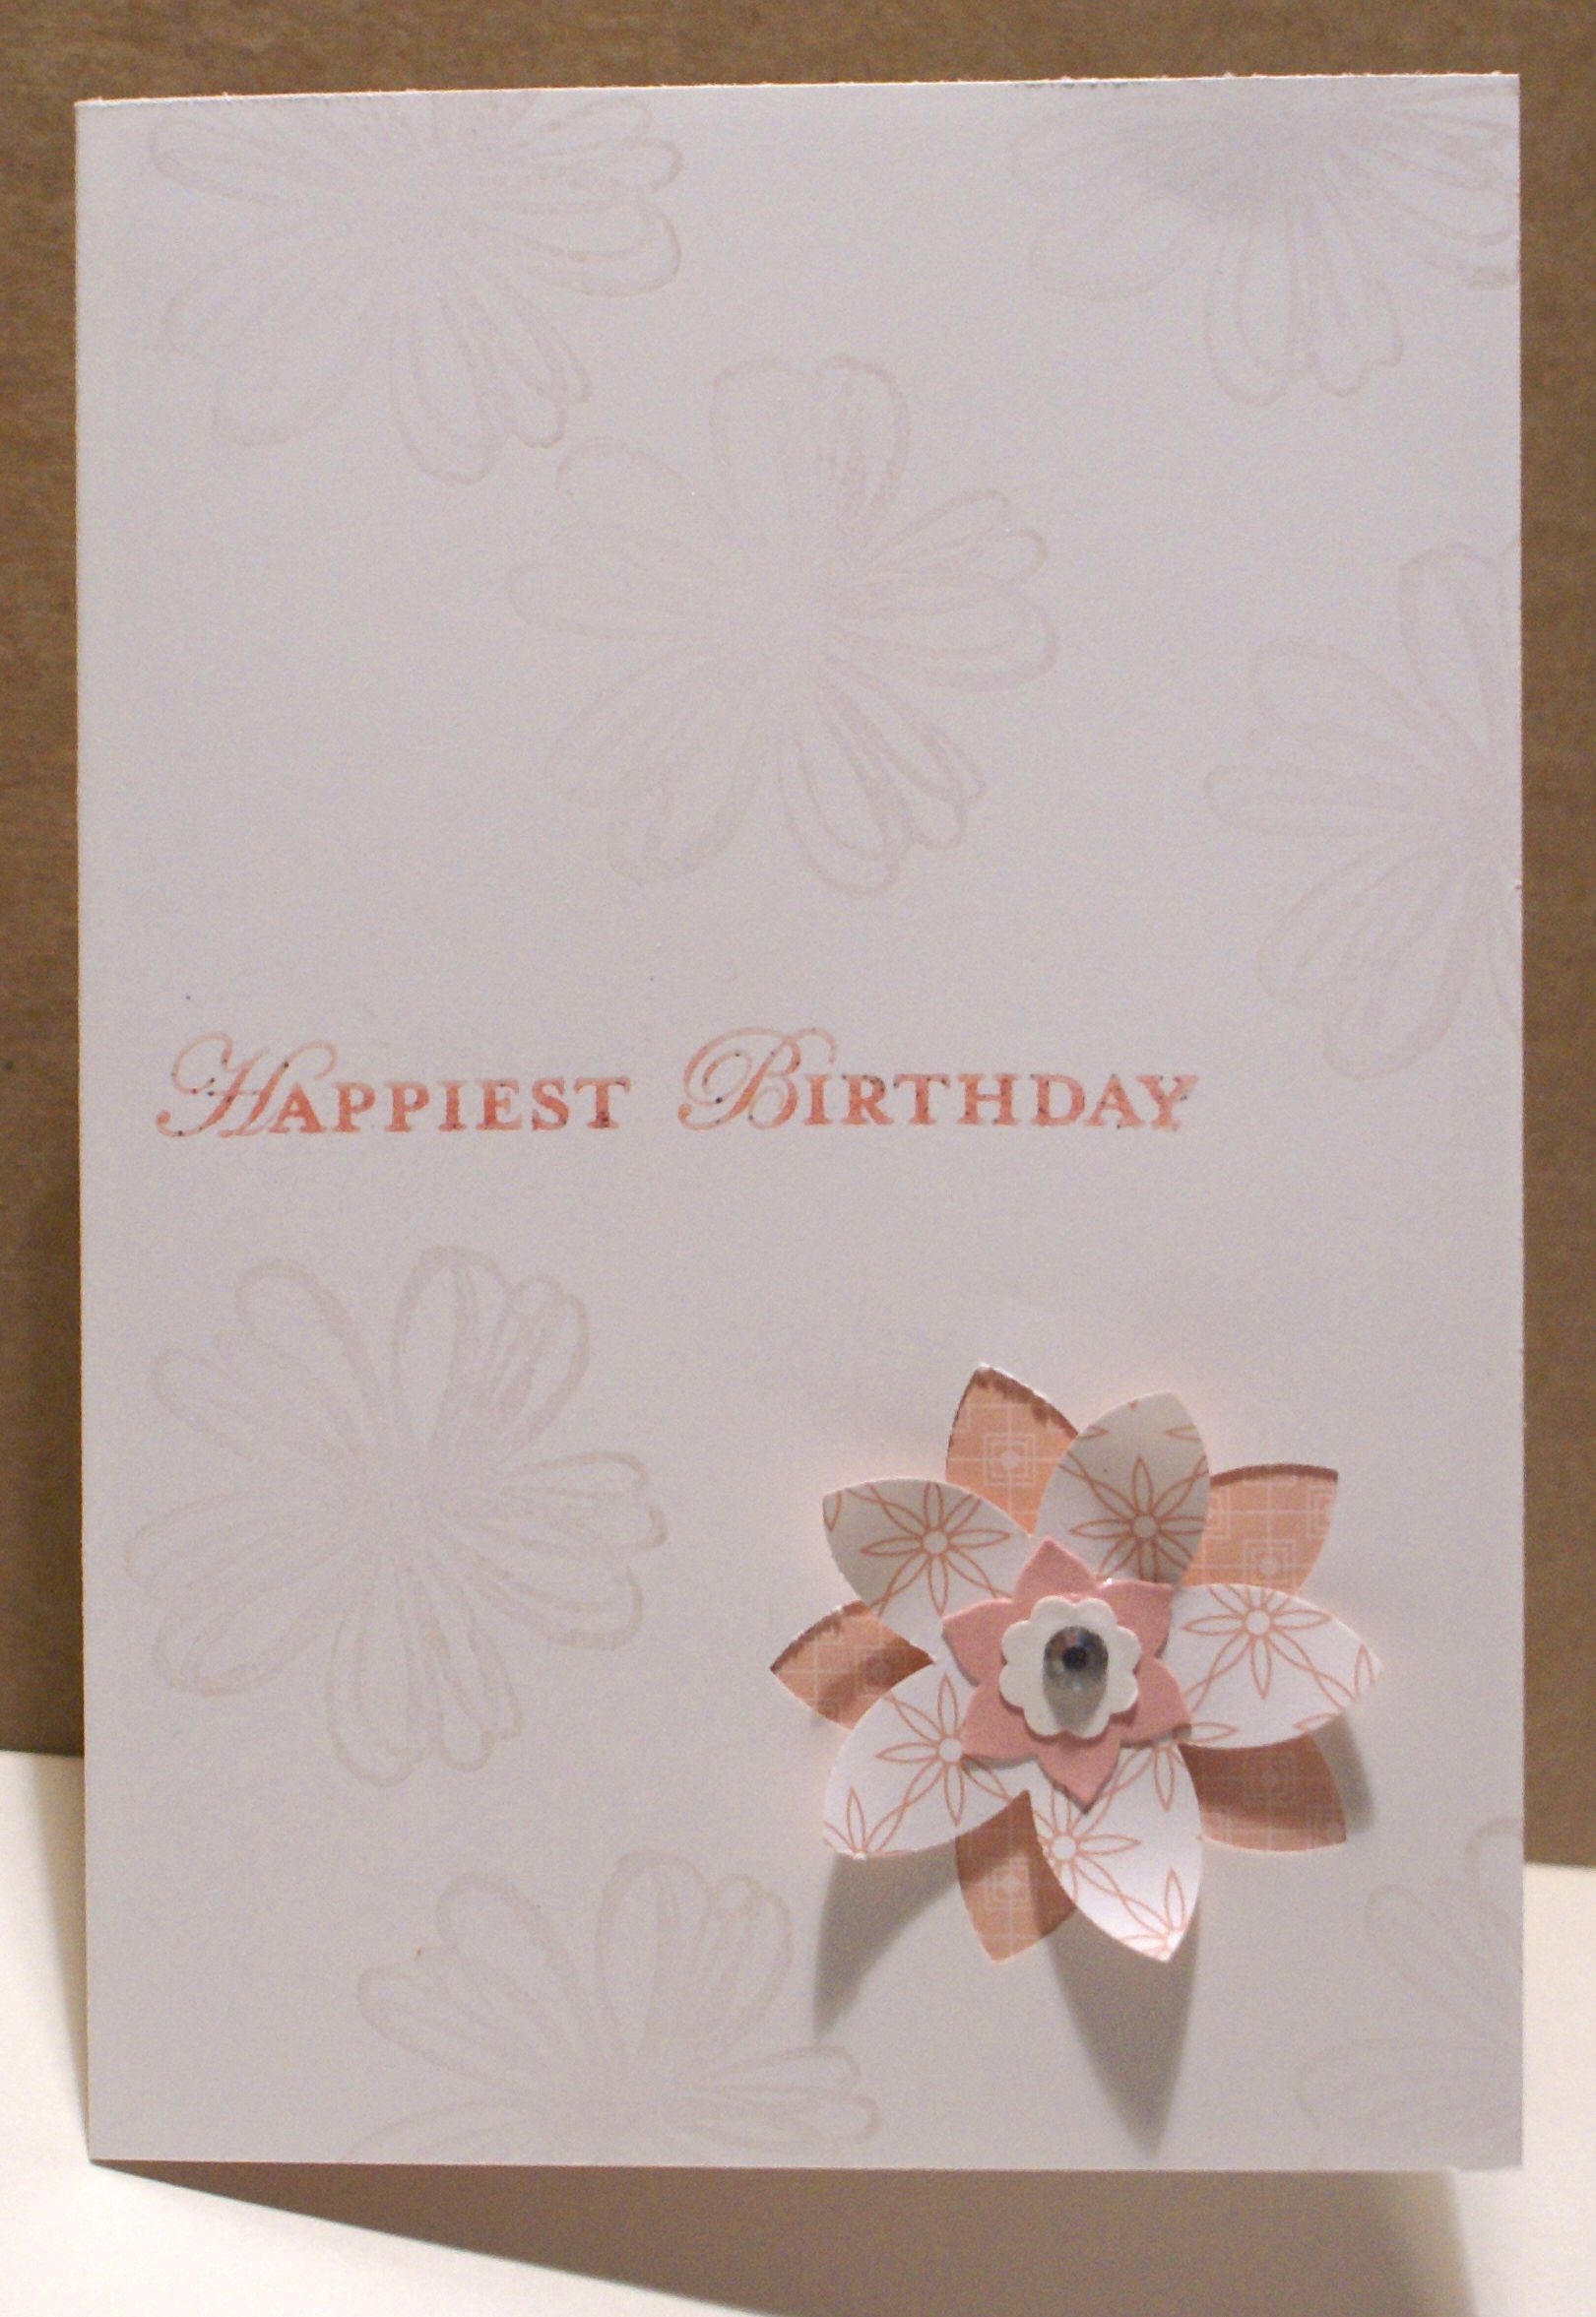
5. This one has a flower punched out of the cover, then a piece of pink cardstock added to the inside of the cover. I shaped the punched out flower and added it back to the card front but did not line it up with its punched out hole:
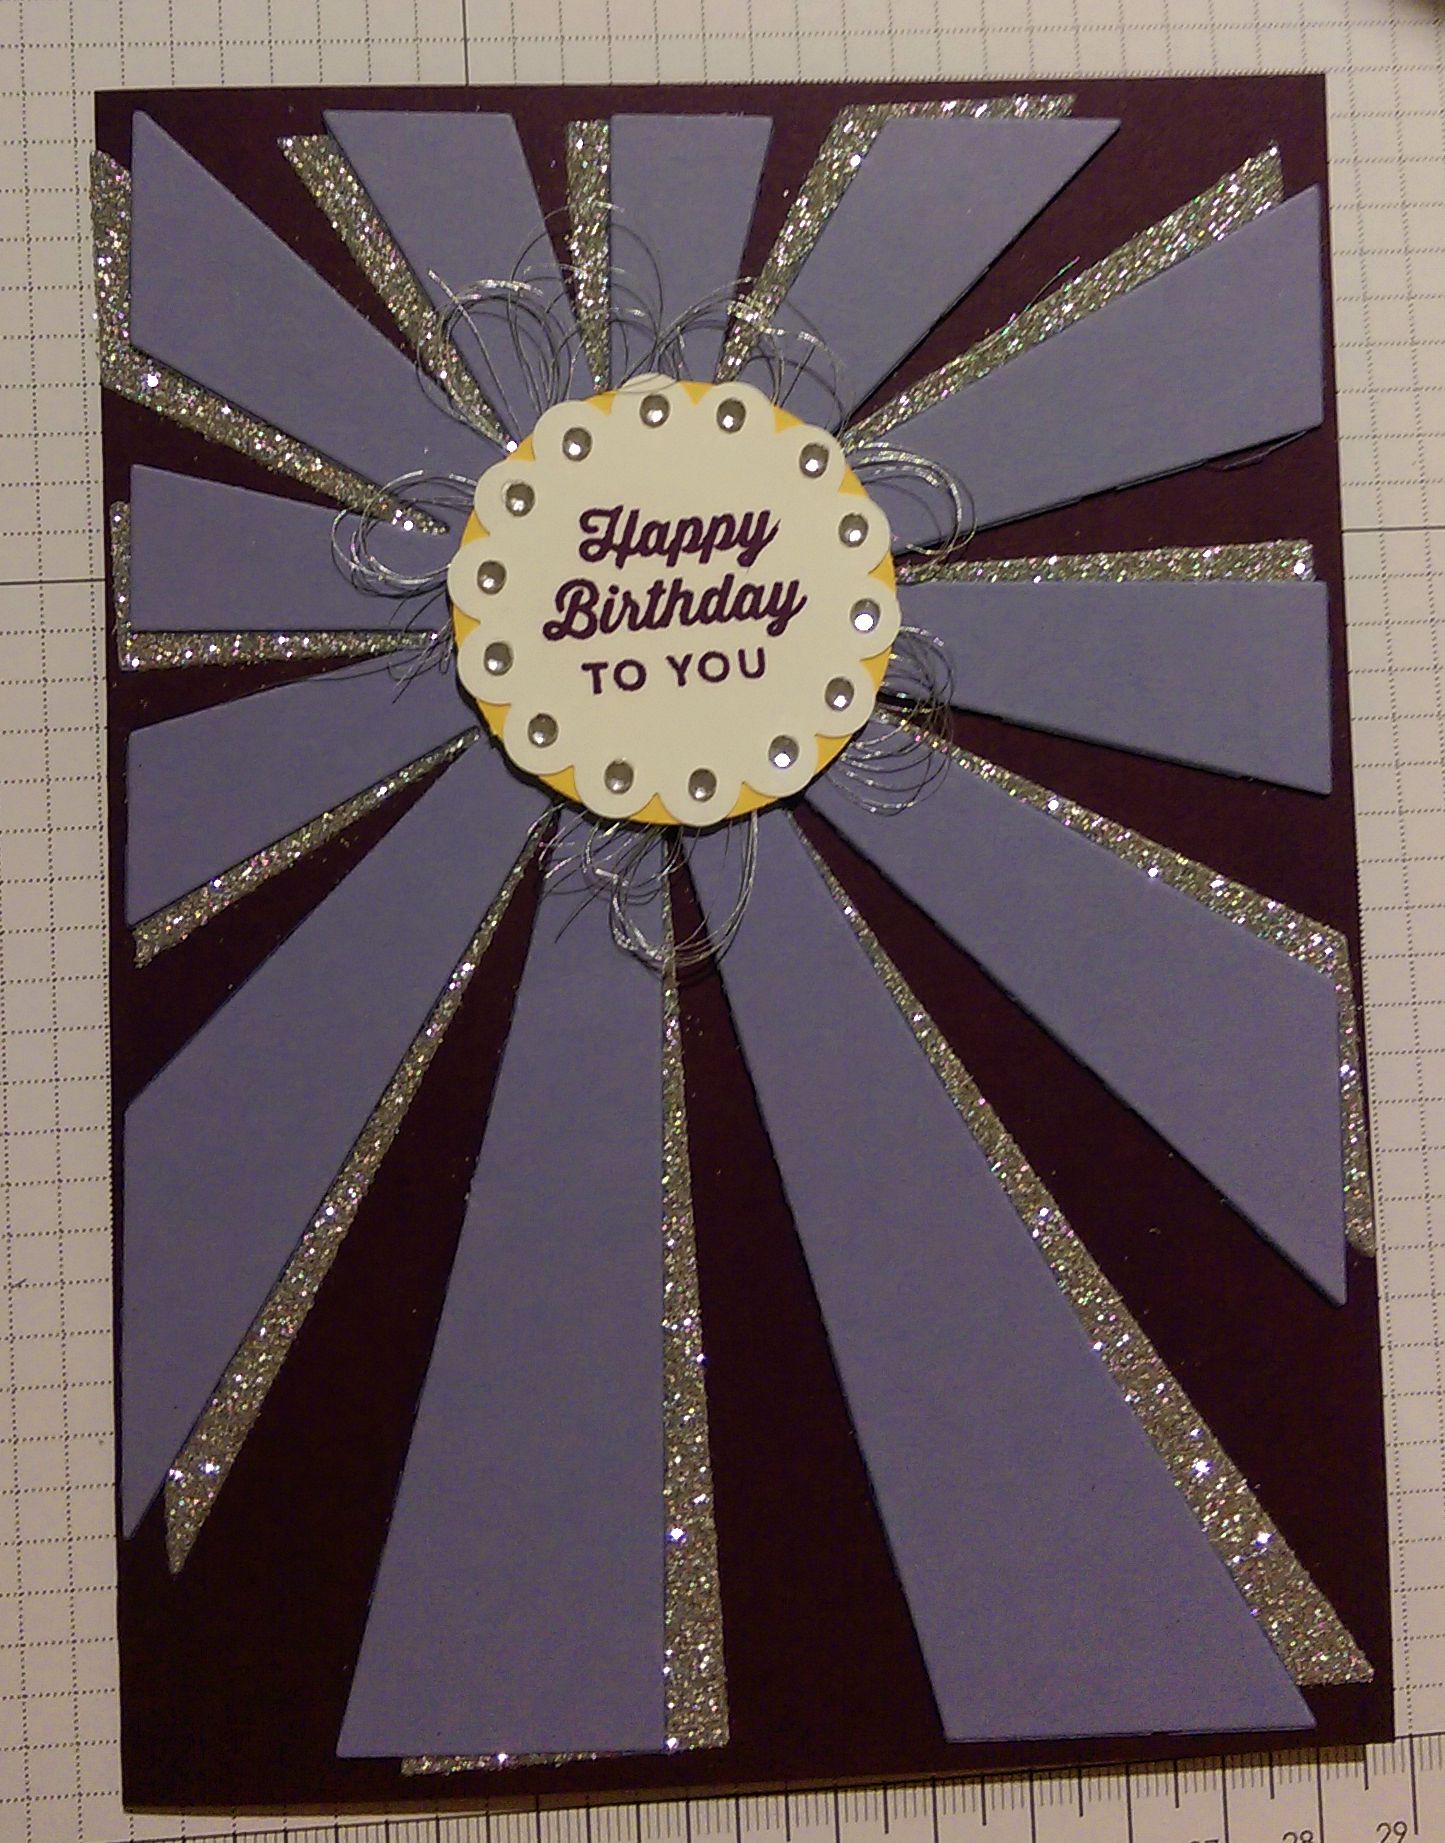
6. This one has a lot of pizzazz. I used the Sunburst die twice, with Wisteria Wonder cardstock (retired) and with silver glitter paper. I off-set them on the Elegant Eggplant (retired) background.
Now I hope you have a few ideas for a way to start your own handmade birthday cards and that you will share them with me below.
If you can add a picture of your work, that would be even better.
Do You Have A Favourite Handmade Card to Share?
Do you make greeting cards? Please do share it with me.
What Other Visitors Have Said
Click below to see contributions from other visitors to this page...
Green and Brown stripe card 


I used two contrasting papers from the Bohemian Sarapapers collection from Paper Wishes.
Also a Martha Stewart border punch.
This is a scan not a photo. …
Rakhis Birthday Card Not rated yet
Happy birthday my best friend,
Amazing times, we always spend.
Laughter and jokes are common place,
Since we built that solid base.
Special friend …
Tigger Birthday Card Not rated yet
A friend wanted Tiger birthday card for a one year old boy. I do not have many Disney 'characters' so I decided to make a shaker card. I punched out …
Happy Birthday Not rated yet
I would love to make a pretty easy but cute birthday card that I can give to my boyfriend. This is the first time I'm giving him something so I want it …
Valentine Not rated yet
This filigree heart is quilled using only a couple of shapes. The "long stem roses" are made with 1/8" quilling paper. The roses are 'folded" just like …
Recycled picture card Not rated yet
I went through several boxes of old cards I had received.
The daisy picture was rescued from the card with the help of a Nestability die. Matted and …
Male Birthday Card Not rated yet
Simple male birthday card using pattern paper and buttons, cardstock. Some stamping as well.
Leanne
*
Your card looks great, Leanne! I …
Scripture Card Not rated yet
I wanted to try my hand at a 5x5 card.
My theory is to mat mat and mat again.
Love the contrasting colors.
Honestly I just LOVE creating cards.
…
New Home Card Not rated yet
How can you get more personalized than this.
Marti
*
Lol! You are so right - that's a personalised card, for sure!
I once sent …
Grandma Not rated yet
The Grandmother needs a card too.
I use my cuttlebug folders ALOT.
Marti
Aww, how gorgeous. You are so right about new babies making …
Congratulations on your Baby Not rated yet
I love personalizing the baby cards with a picture of the new baby. Our local hospital has the pictures of newborns online for 30 days.
Marti
…
Anniversary Card Not rated yet
Needed an Anniversary card for an outdoor couple.
Nothing too frilly or mushy.
Love my cuttlebug embossing folders.
Marti
****
Marti, …
Get Well Card Not rated yet
Masculine cards are a challenge for me.
I used a cuttlebug embossing folder and the card practically made itself.
Marti
*****
I find masculine …


New! Comments
Have your say about what you just read! Leave me a comment in the box below.