- Home
- Papercraft Adhesives
- Paper Twists Issue 27
Paper Twists Issue 27
Welcome to Paper Twists Issue 27!
Paper Twists Issue 27 is all about Christmas, new ideas on site, staying in touch and talking about 2019.
I
realise I have not been writing to you as much as I was in the earlier
part of the year. It was not until a lovely Paper Twists subscriber and
contributor to PaperCraftCentral wrote asking me if I was alright that I
realised just how long the gap has been. (Thank you, Colleen!)
It has been a tough six months for our family, with a death and some illness to contend with, but I am coming out on top again and plan to start writing more regularly to you in 2019.
To help make up for the gap, Paper Twists Issue 27 is longer than the usual newsletter.
2019 Plans
In early 2019, I plan to re-do my craft room. Maybe that would be a good topic to write about.
How many of you
have been thinking about reorganising your own craft space, or have
actually done it? I would love to see 'before' and 'after' pictures and
hear your stories. I will tell you a way to do that at the end of this newsletter.
Also, if anyone has ideas for what we could talk about around Stampin' Up! in the 2019 newsletter series, now is the time to contact me about them and let me put my thinking cap on!
What's in Paper Twists Issue 27?
In Paper Twists Issue 27, you will find
- Last Minute Christmas card ideas
- News about the 2018 and 2019 Cards for Troops Drives
- A pretty German Christmas Bell to make
- Handmade Scrapbook Album ideas
- An Easel Cat Card
- An Invitation to Share Your Craft Room Stories
Christmas Card Ideas
Just like many of you who celebrate Christmas, I have been busy making cards for special people in my life. I needed to make about 70 for family and friends.
Whenever I found a design I liked, I decided it was a good idea to go ahead and make several of that type, as I had all the supplies out and ready to go for that project.
Many of these also found their way to local Markets!
I am sharing four favourite designs in case you still need to make a last minute card or two and need some inspiration.
Christmas Card Design No 1
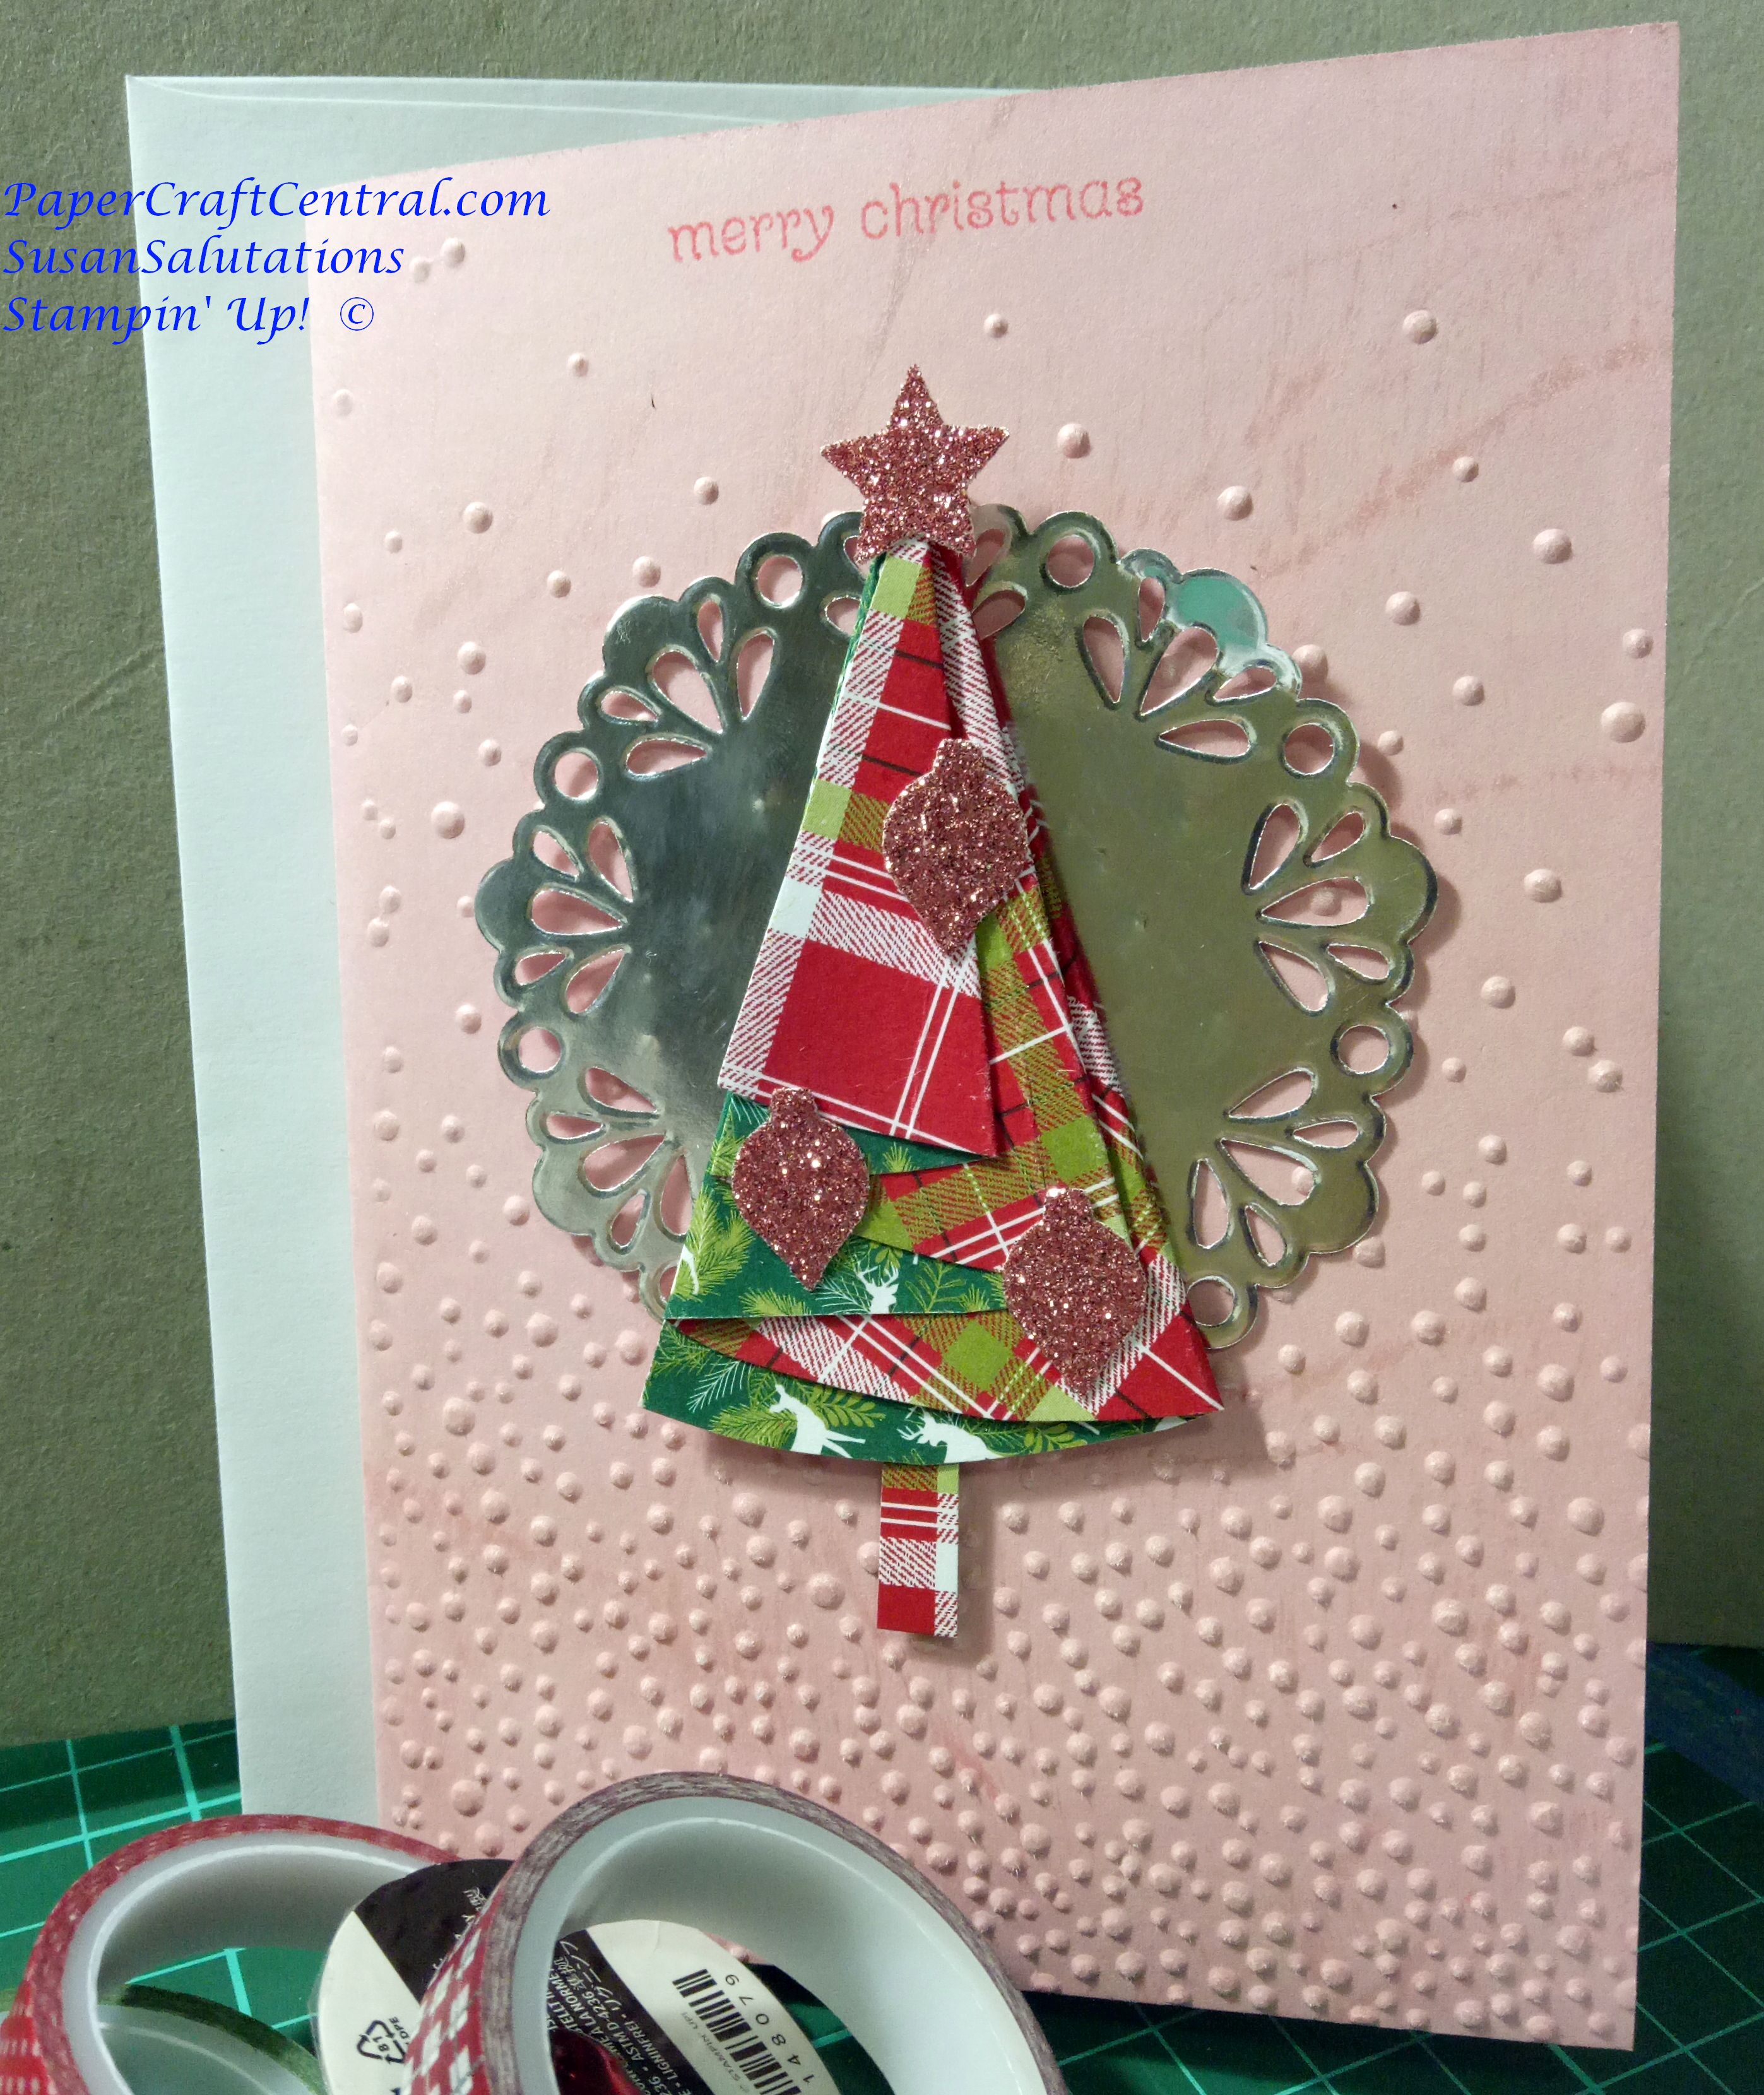
The first one is a folded Christmas Tree card. I actually found instructions for folding a cloth serviette this way and thought, 'Why not transfer this idea to paper?' So I did!
Find the instructions for folding at Louisa Quilts
I decided to use Designer Series Paper to make mine.
Christmas Card Design No 2
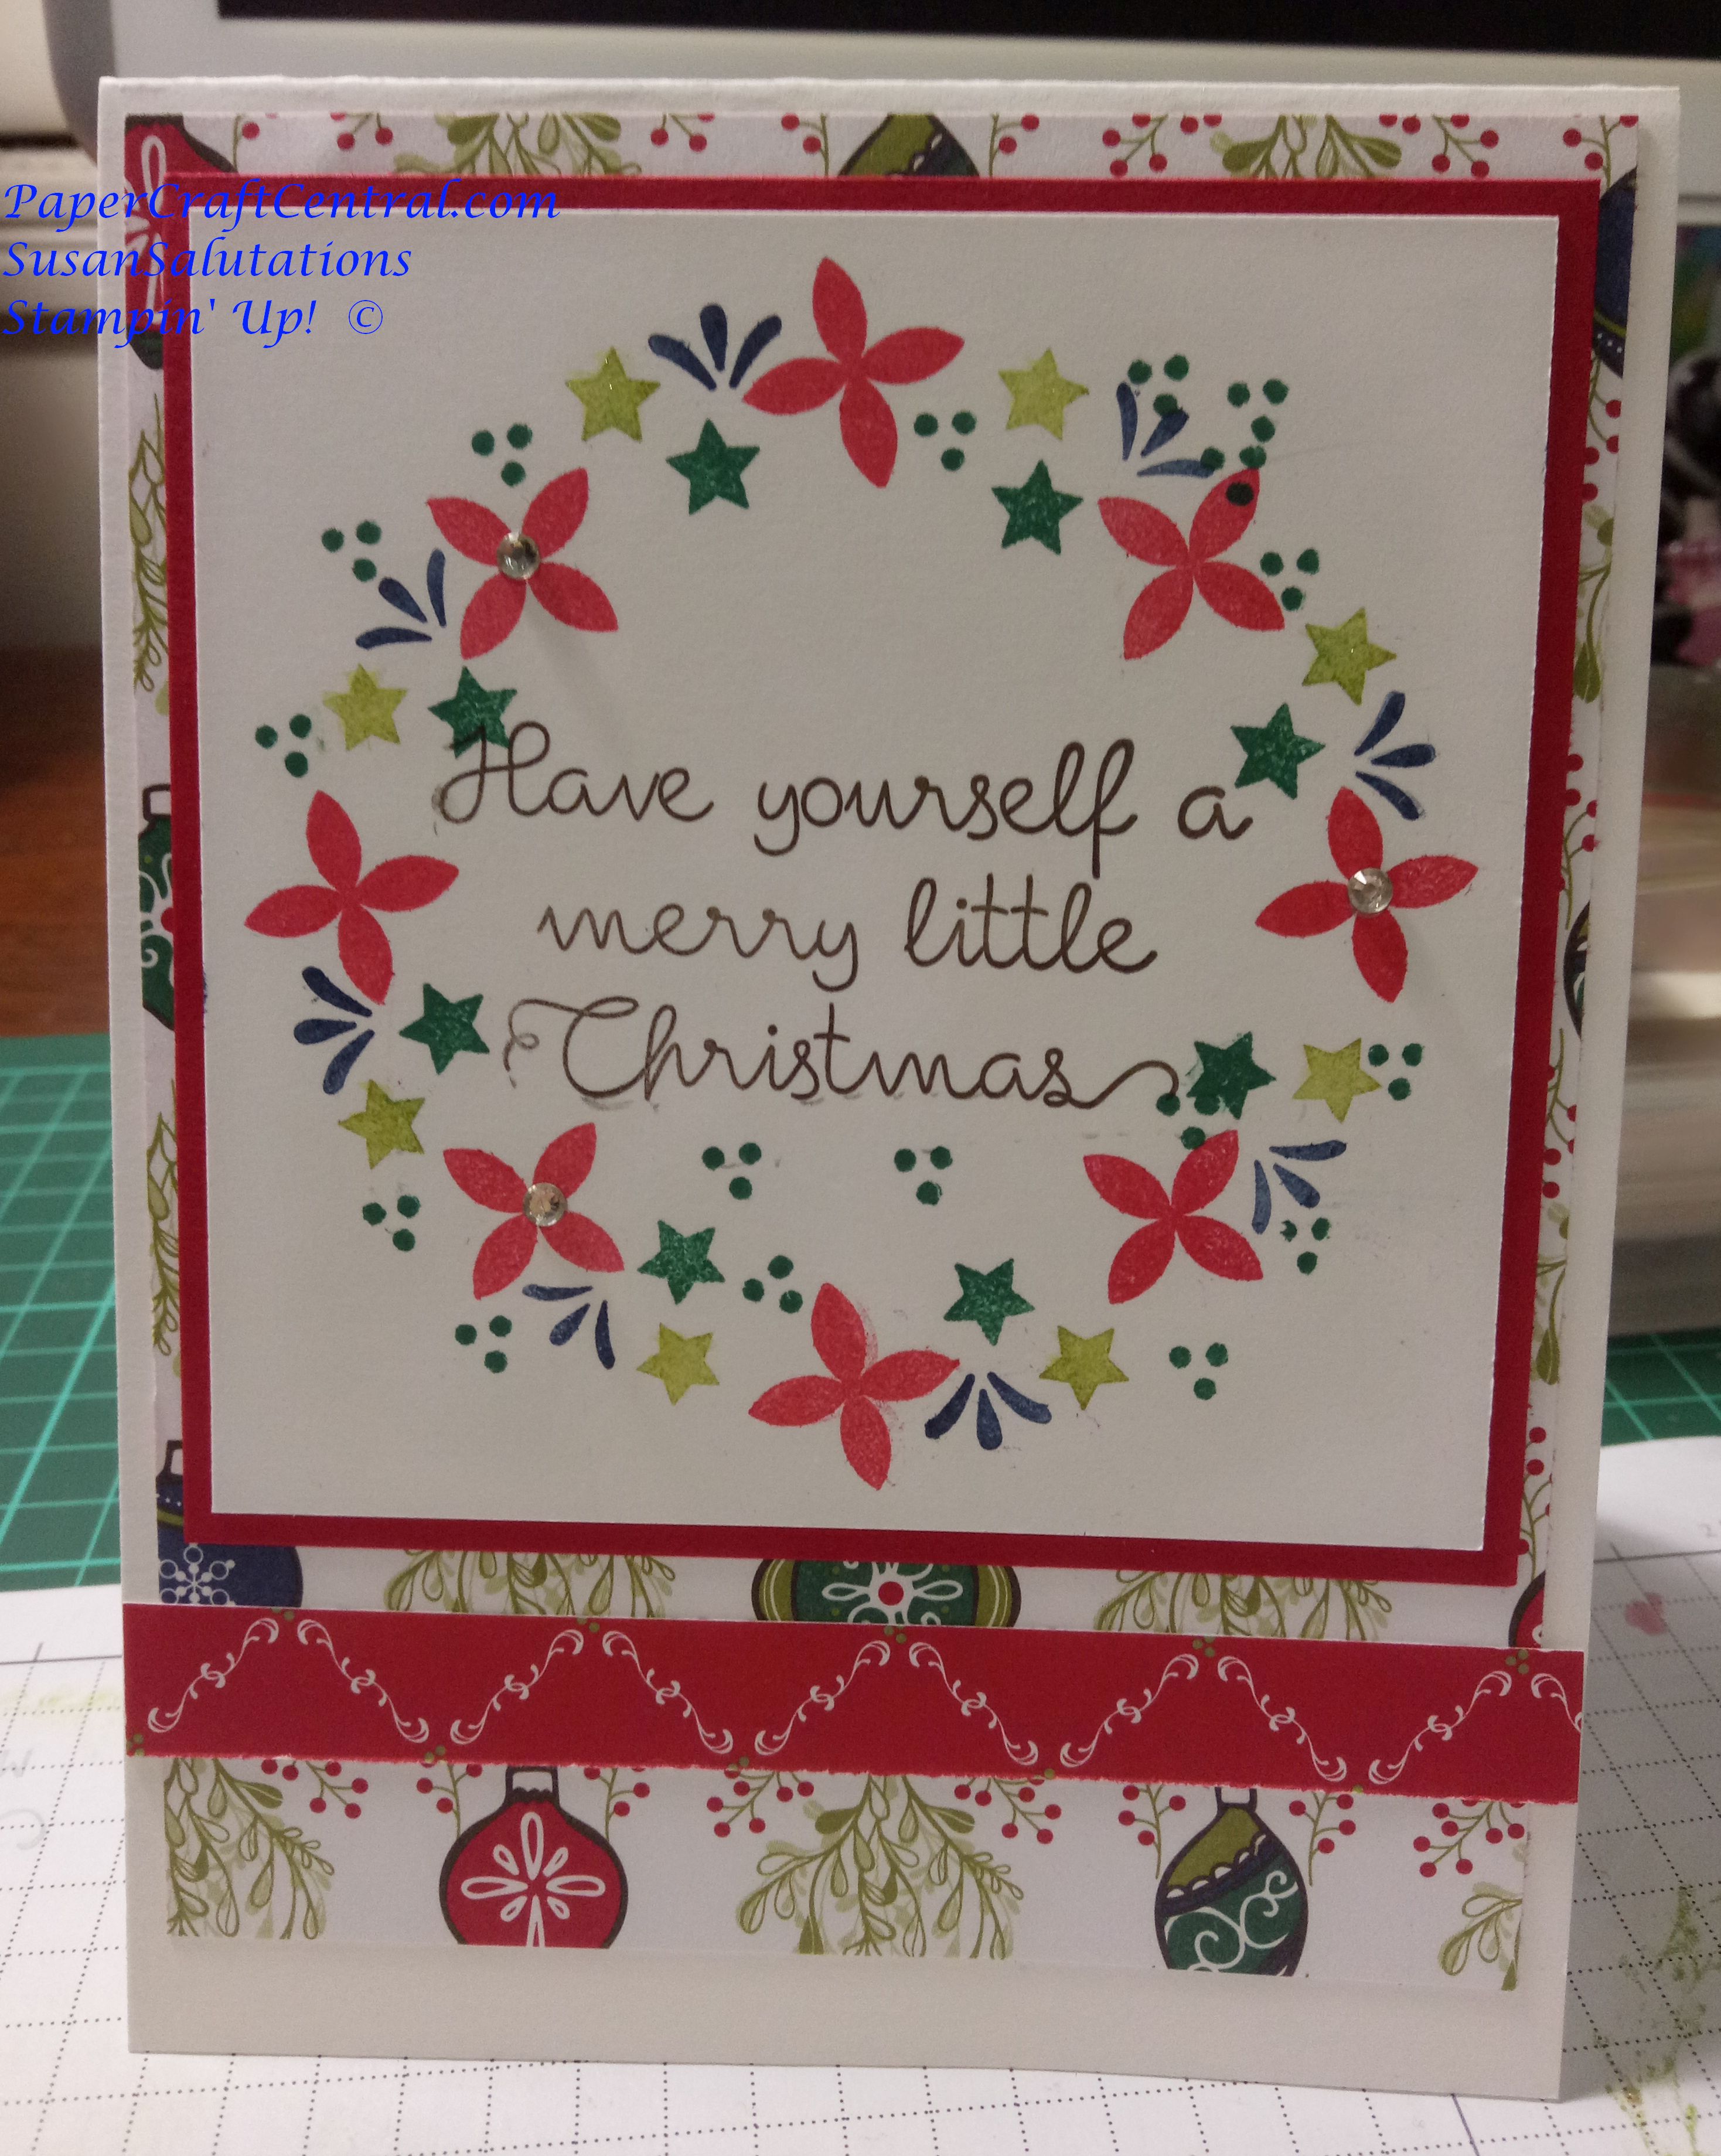
My Stamparatus came in handy to make the following Christmas Wreath card. Isn't it pretty? I found a template for how to make one at Artful Stampin' so have embedded that video below for you.
Christmas Card Design No 3
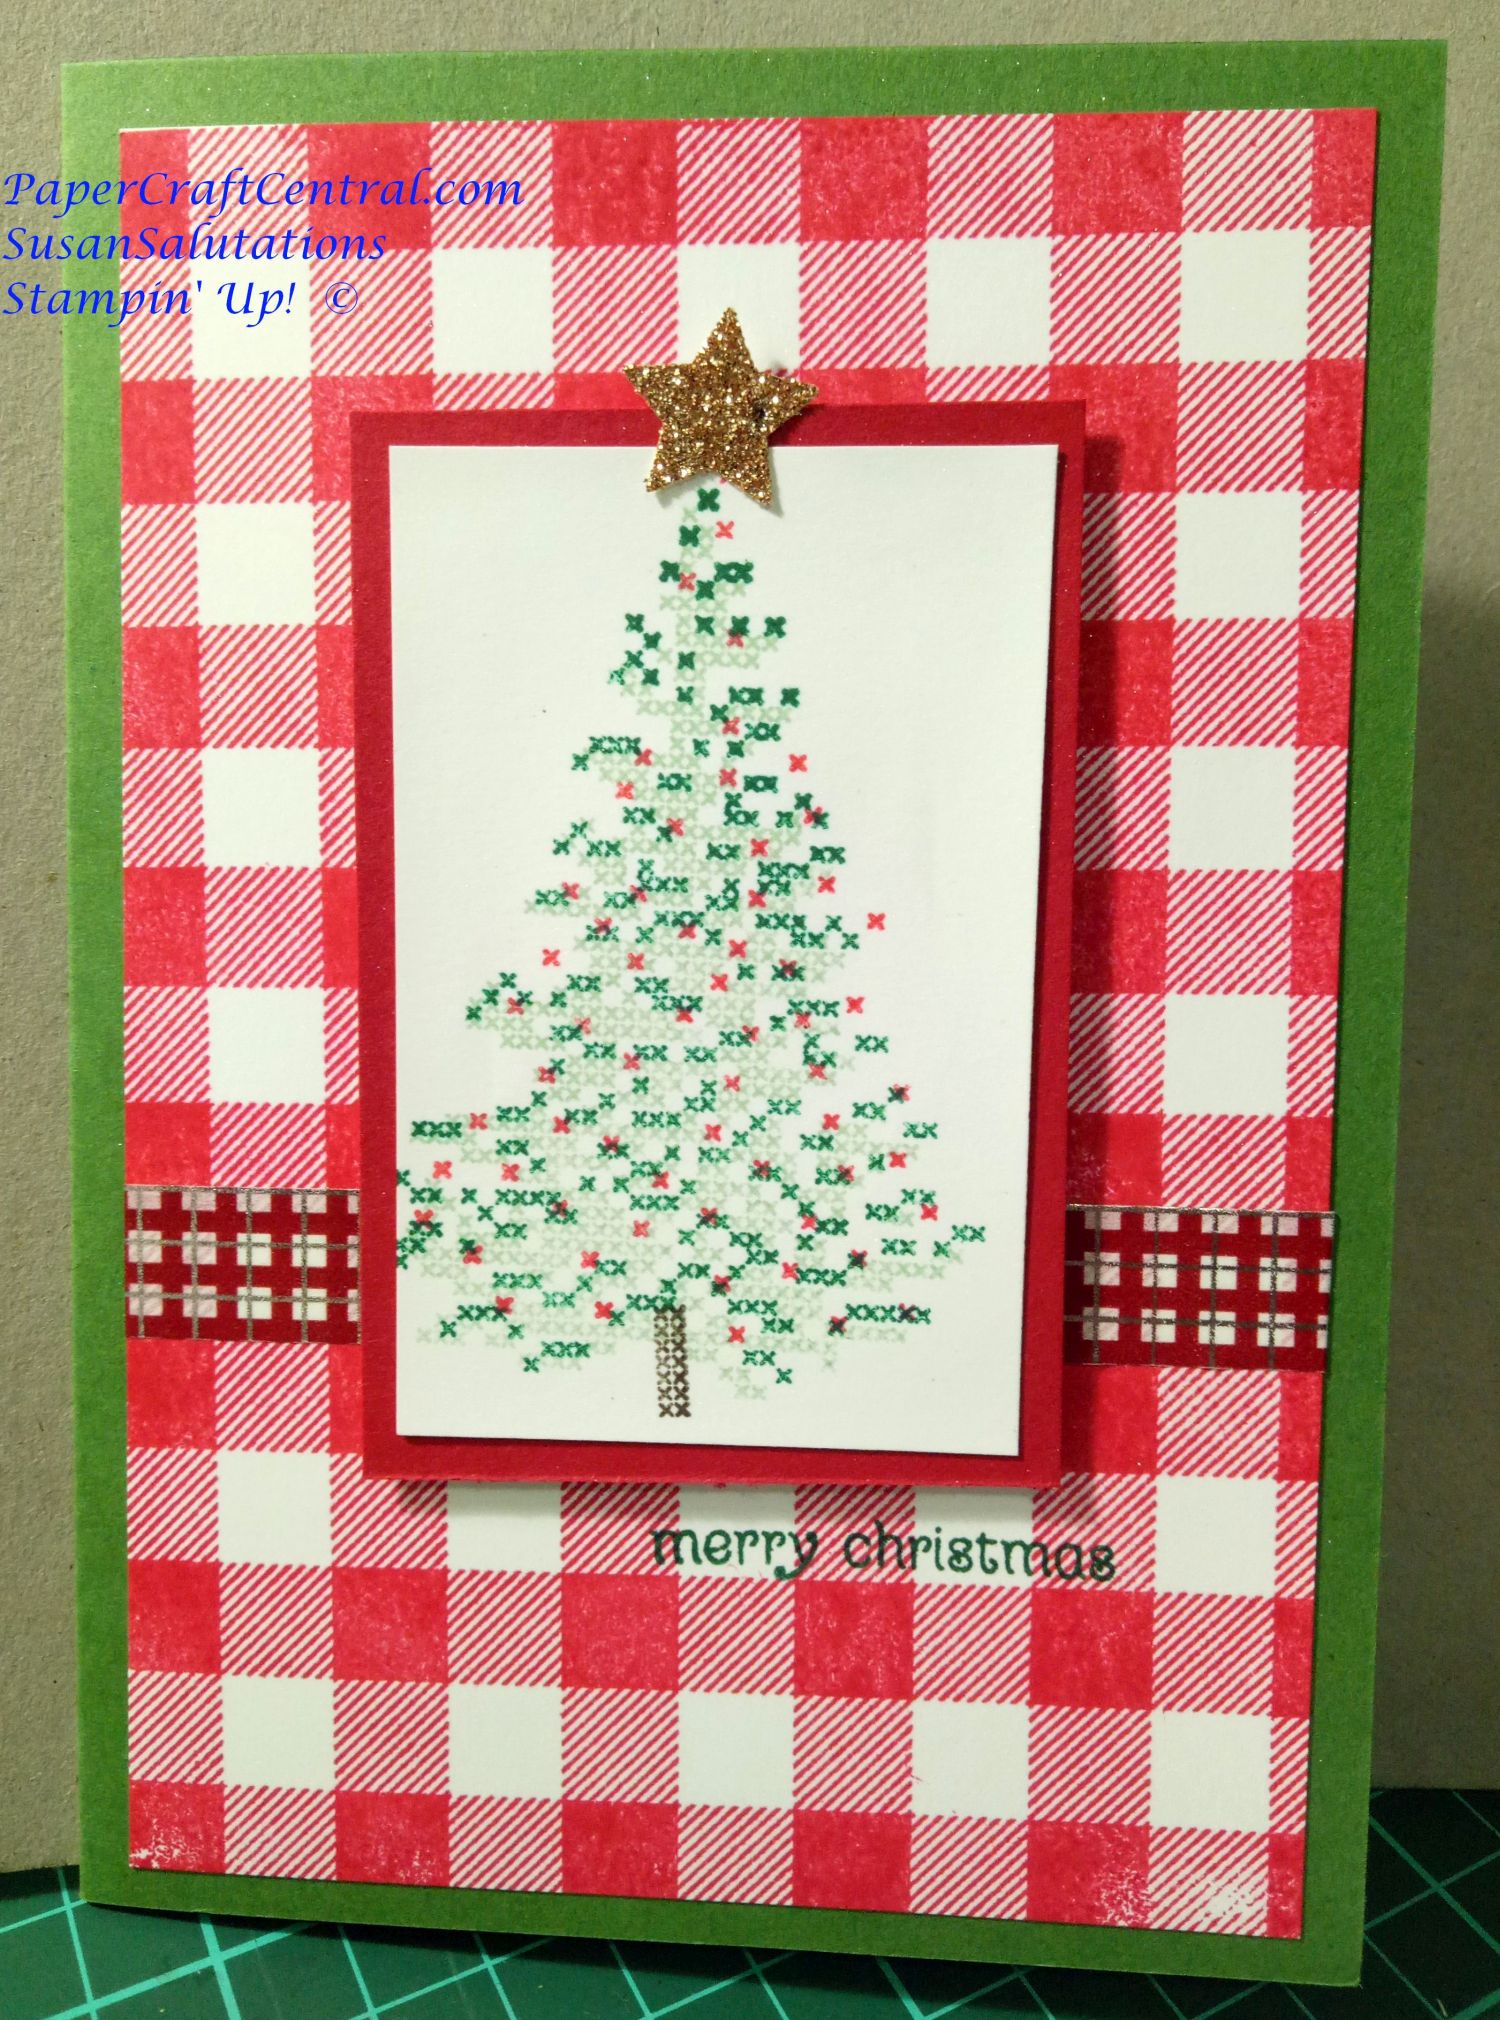
This card was made easy to make with my Stamparatus too. First I stamped lots of pieces of Whisper White cardstock with various shades of ink with my Buffalo Check stamp. Then I three step stamped the Christmas tree using my stamps from the Cross Stitched Christmas stamp set, using my hinged doors on my Stamparatus.
Putting my cards together after that was a breeze.
Christmas Card Design No 4
If any of you don't follow PaperCraftCentral.com on Facebook, I made a Facebook Live video showing how to make some more simple Christmas Cards.
I added the live session for you below.
I hope you enjoyed these Paper Twists Issue 27 Christmas Card ideas.
Cards for Troops Drive News
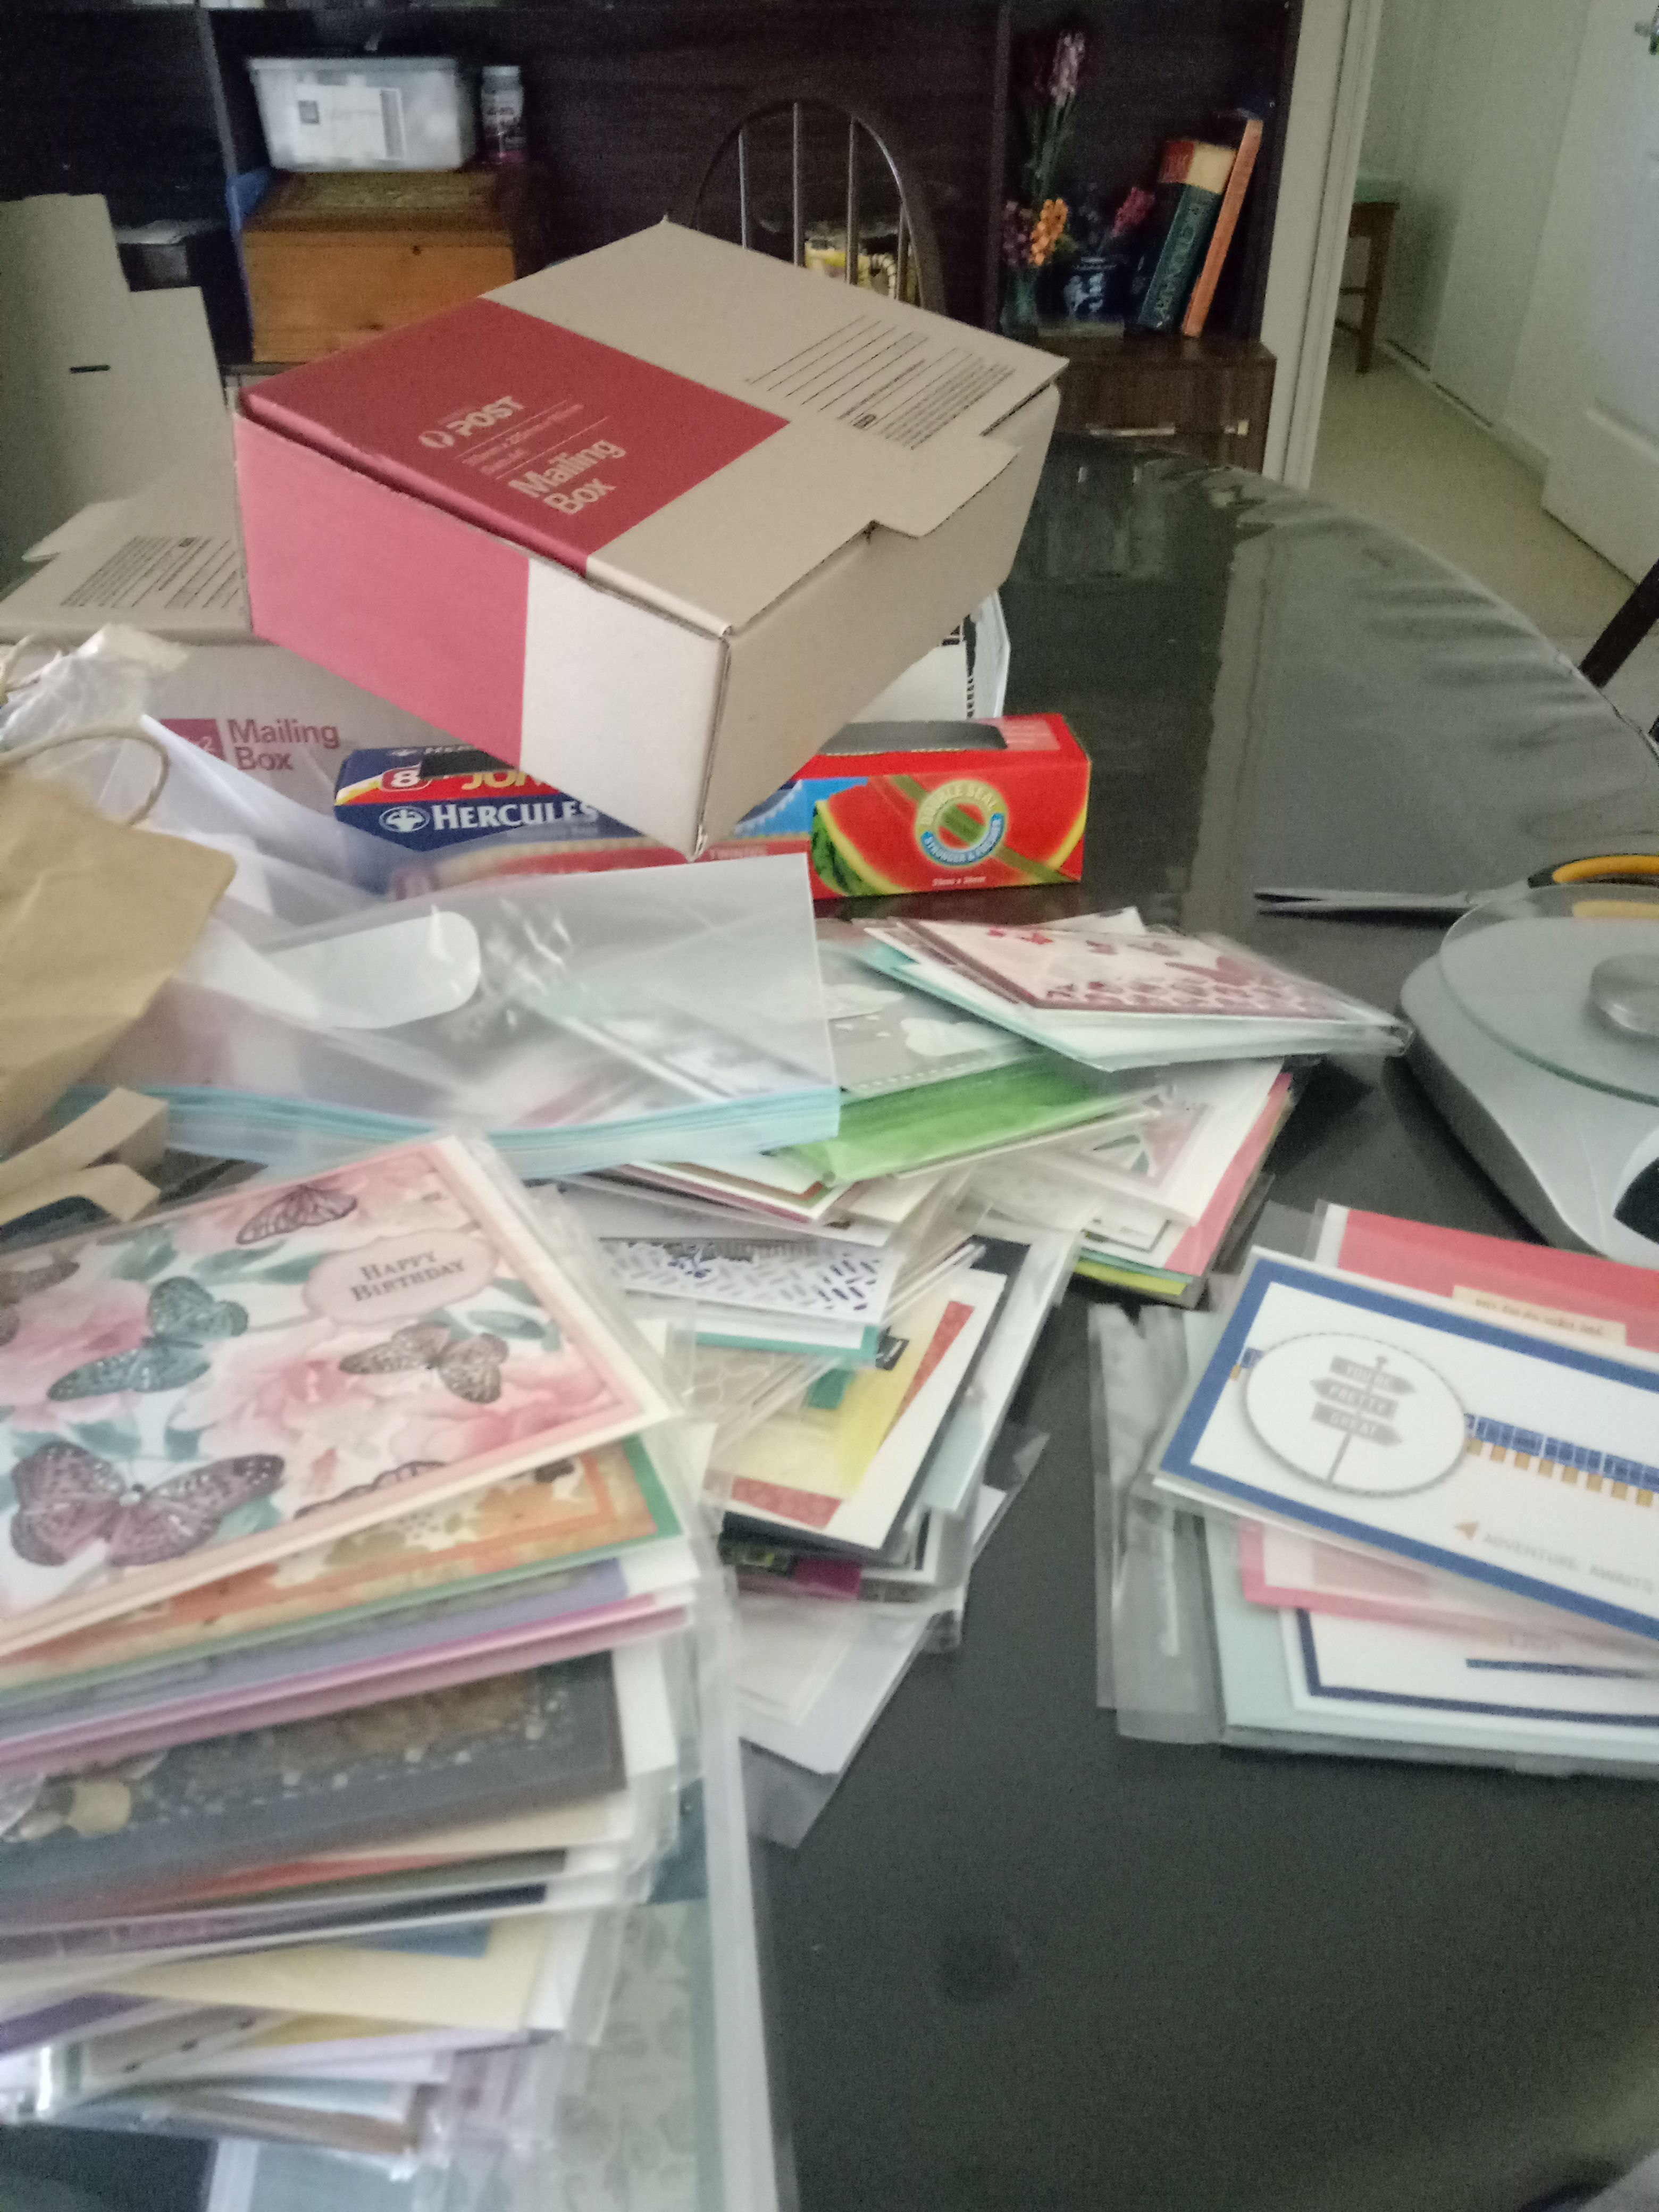
Our Cards for Troops Drive 2018 was so successful, I am delighted to tell you we were able to collect over 2,000 cards to send on to our Troops!
Thank you from the bottom of my heart for those who generously gave their time to make handmade cards and help me make the Drive a sucess.
Read more about how it all went, and stay tuned for next year's drive.
German Christmas Bell
This week I watched a German Stampin' Up! demonstrator create a beautiful little Christmas bell for the tree with just a 10cm x 10cm square of Designer Series Paper, some Baker's Twine, adhesive and a little tinkling bell!
I didn't need to understand German to follow her instructions, and made a few bells of my own today.
I have added her video for you here in case you want to make some of these little German Christmas bells too.
Handmade Scrapbook Albums
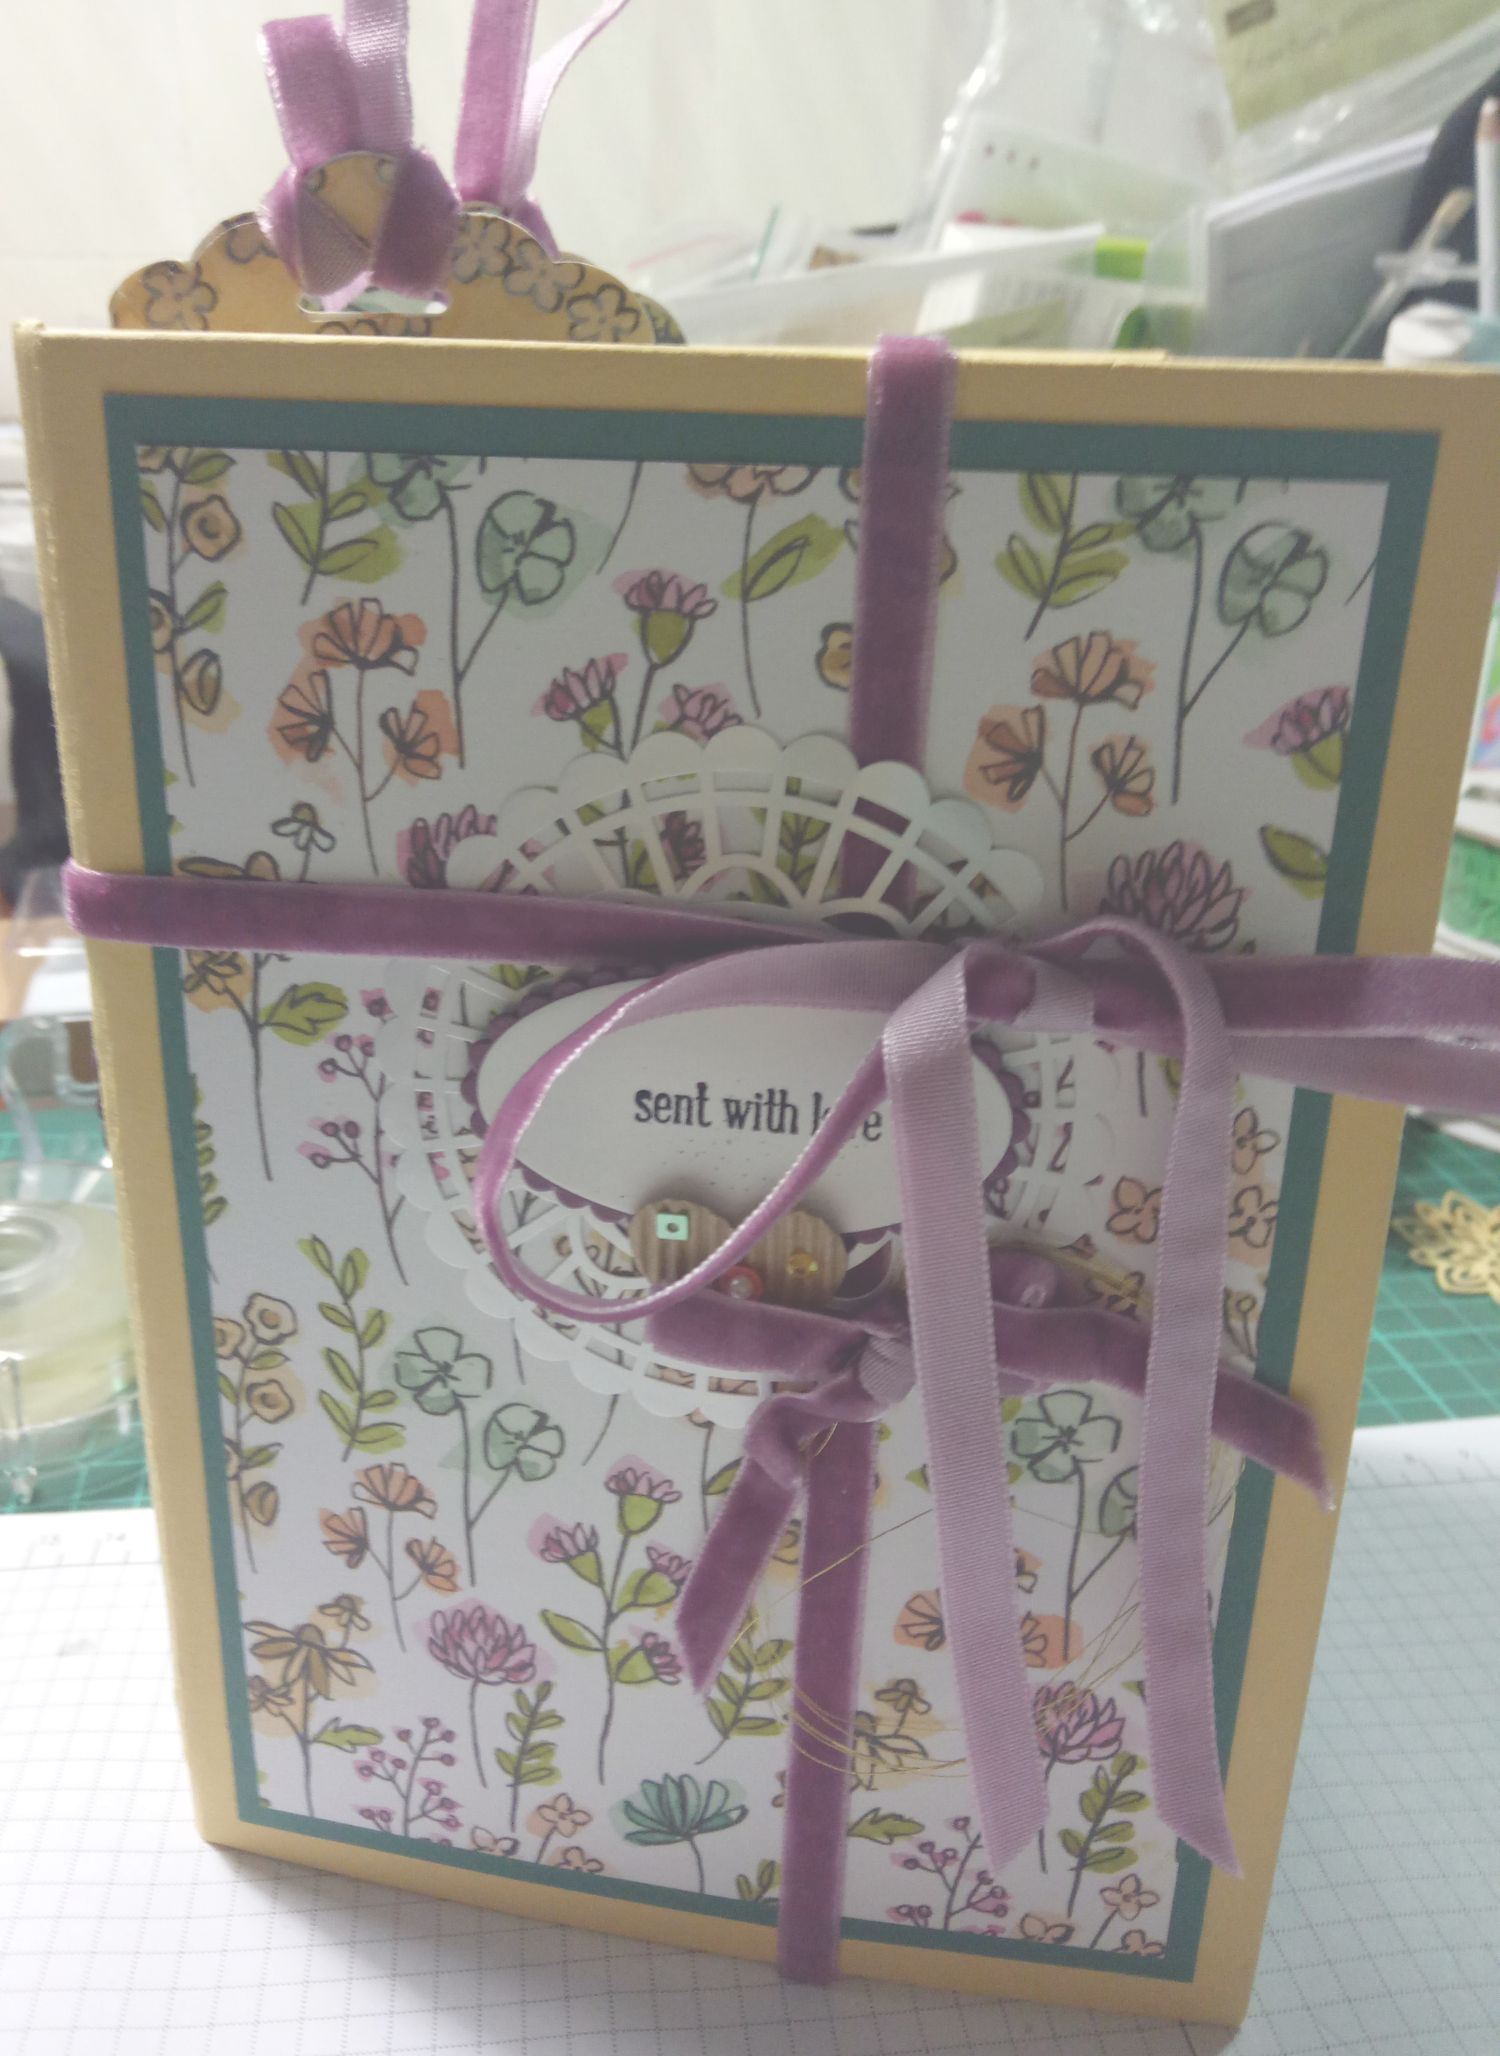
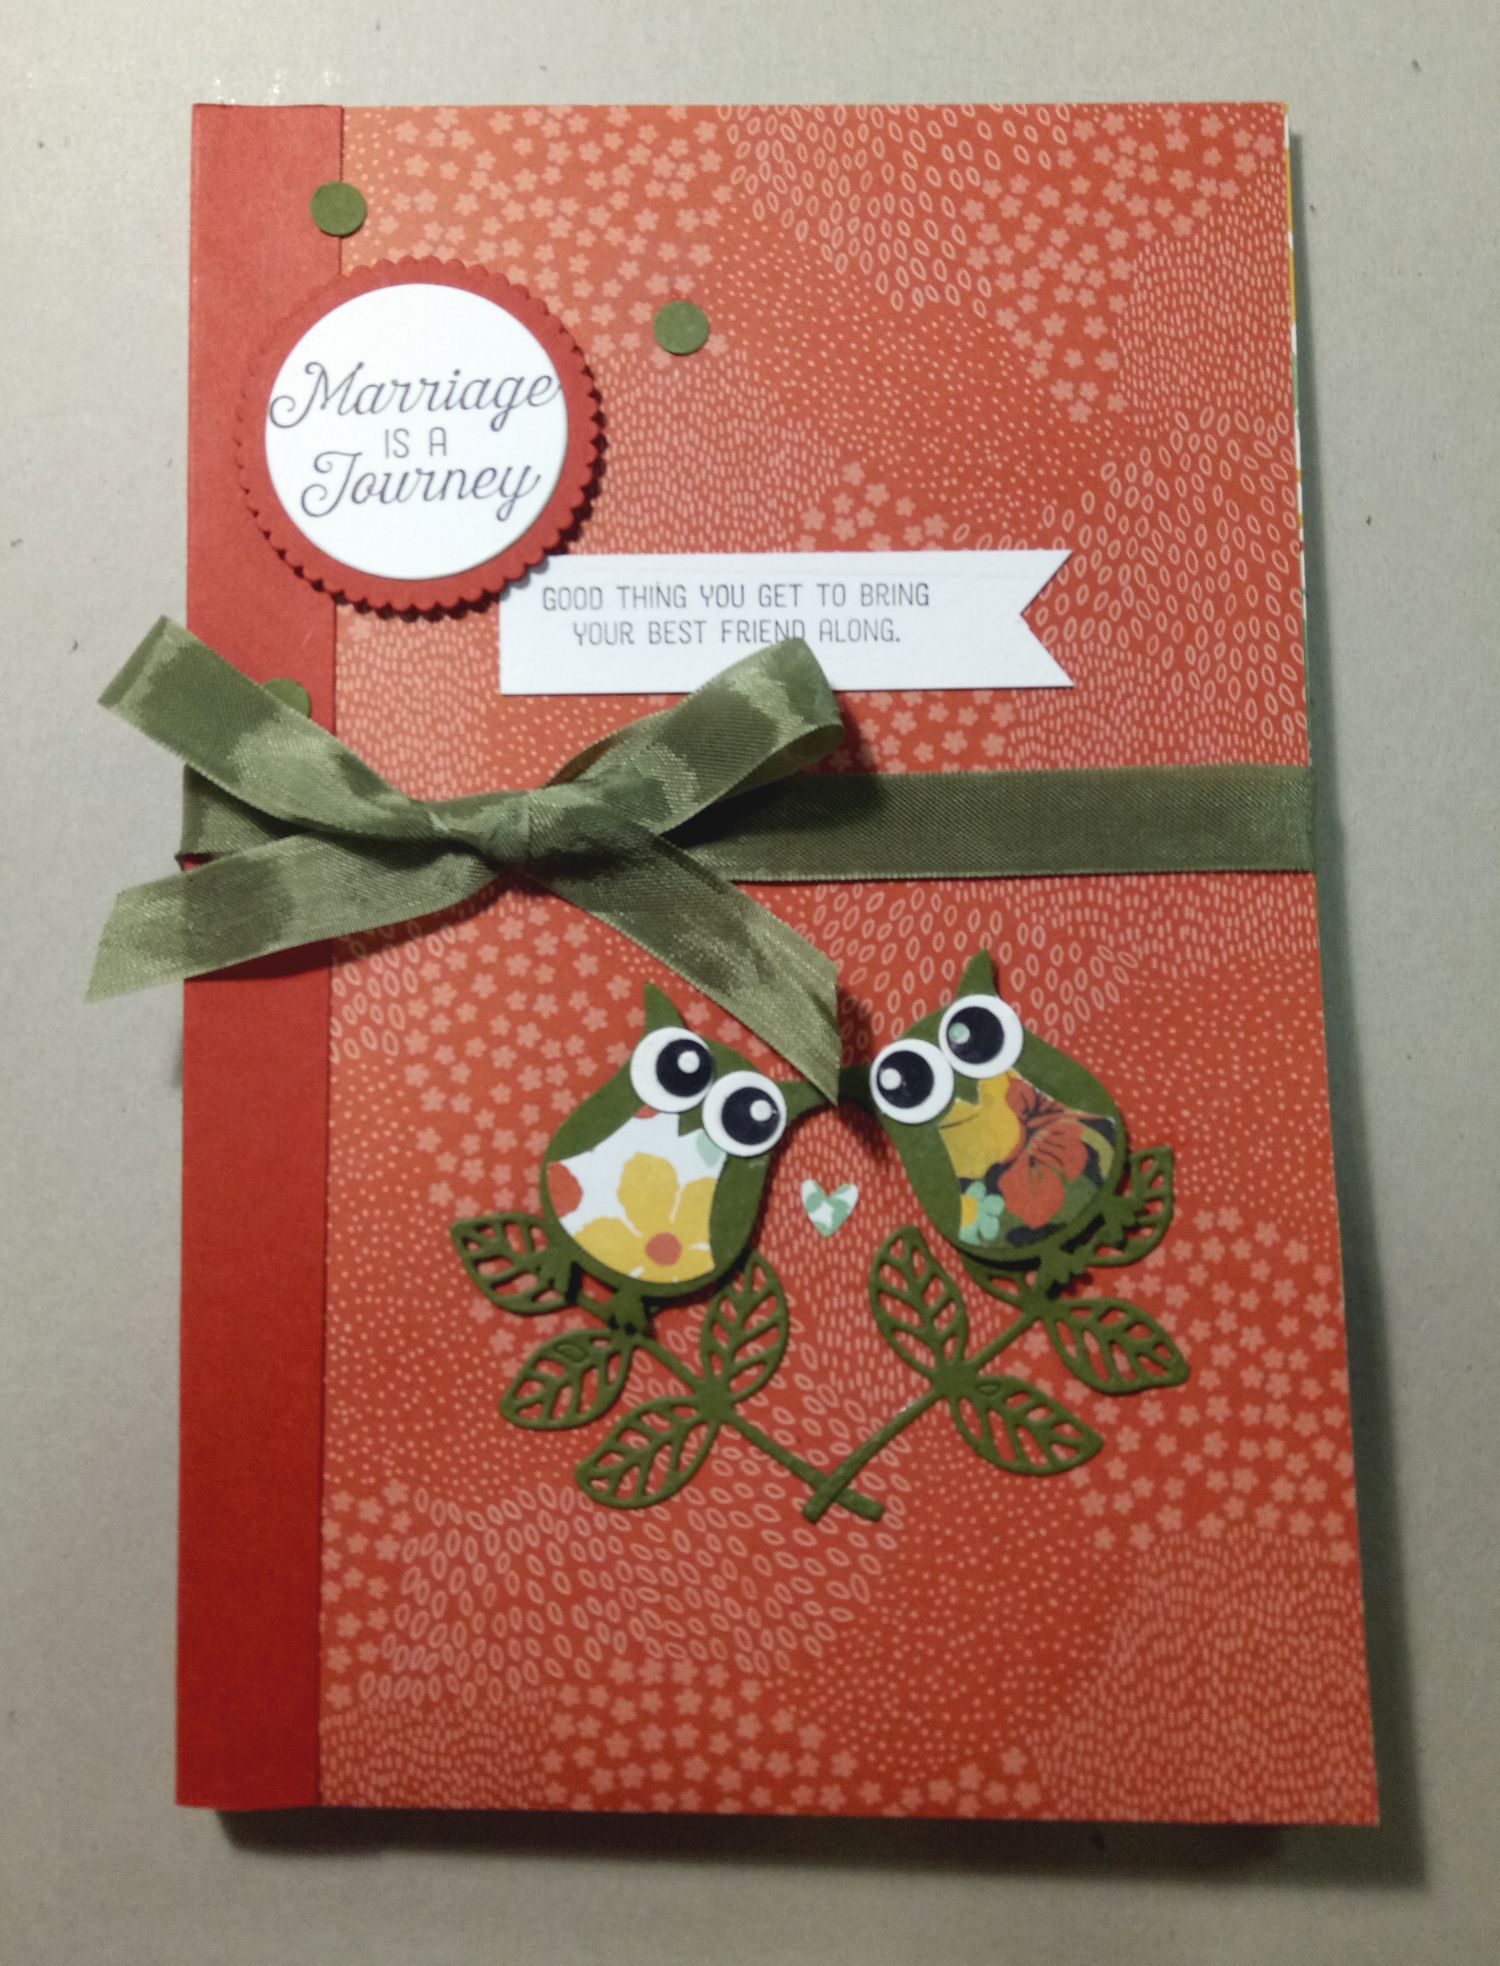
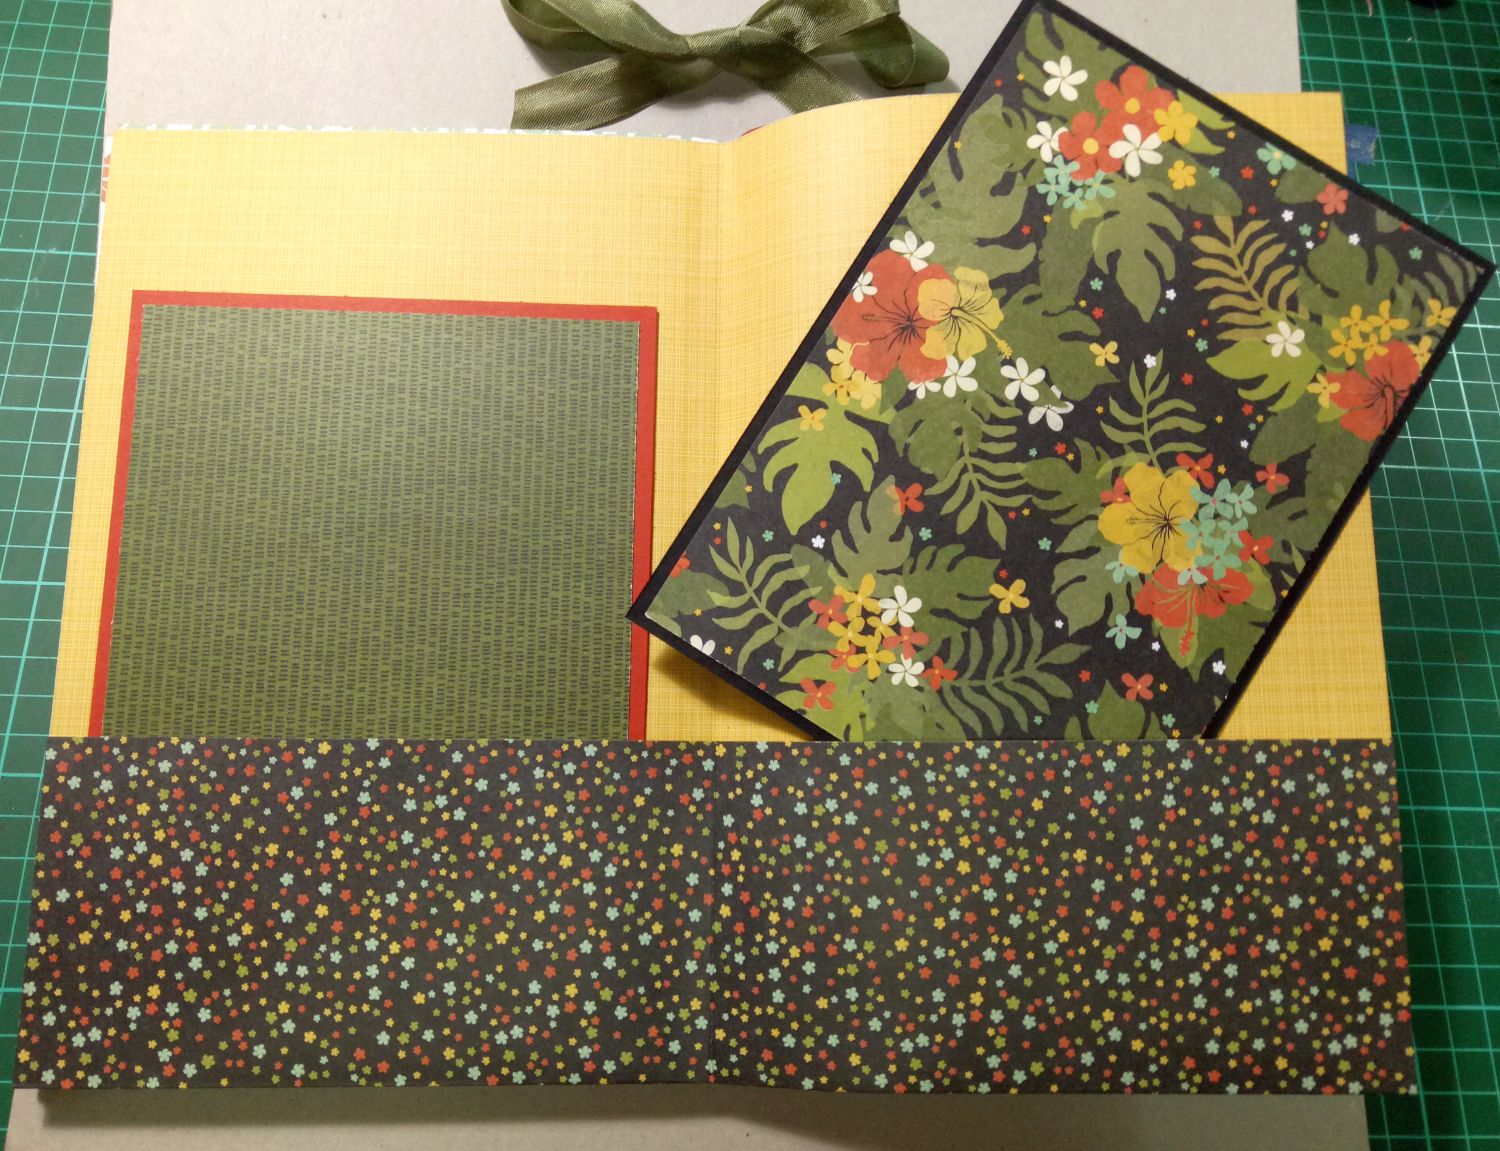
Something I have been making in my own studio is handmade scrapbook albums in various sizes.
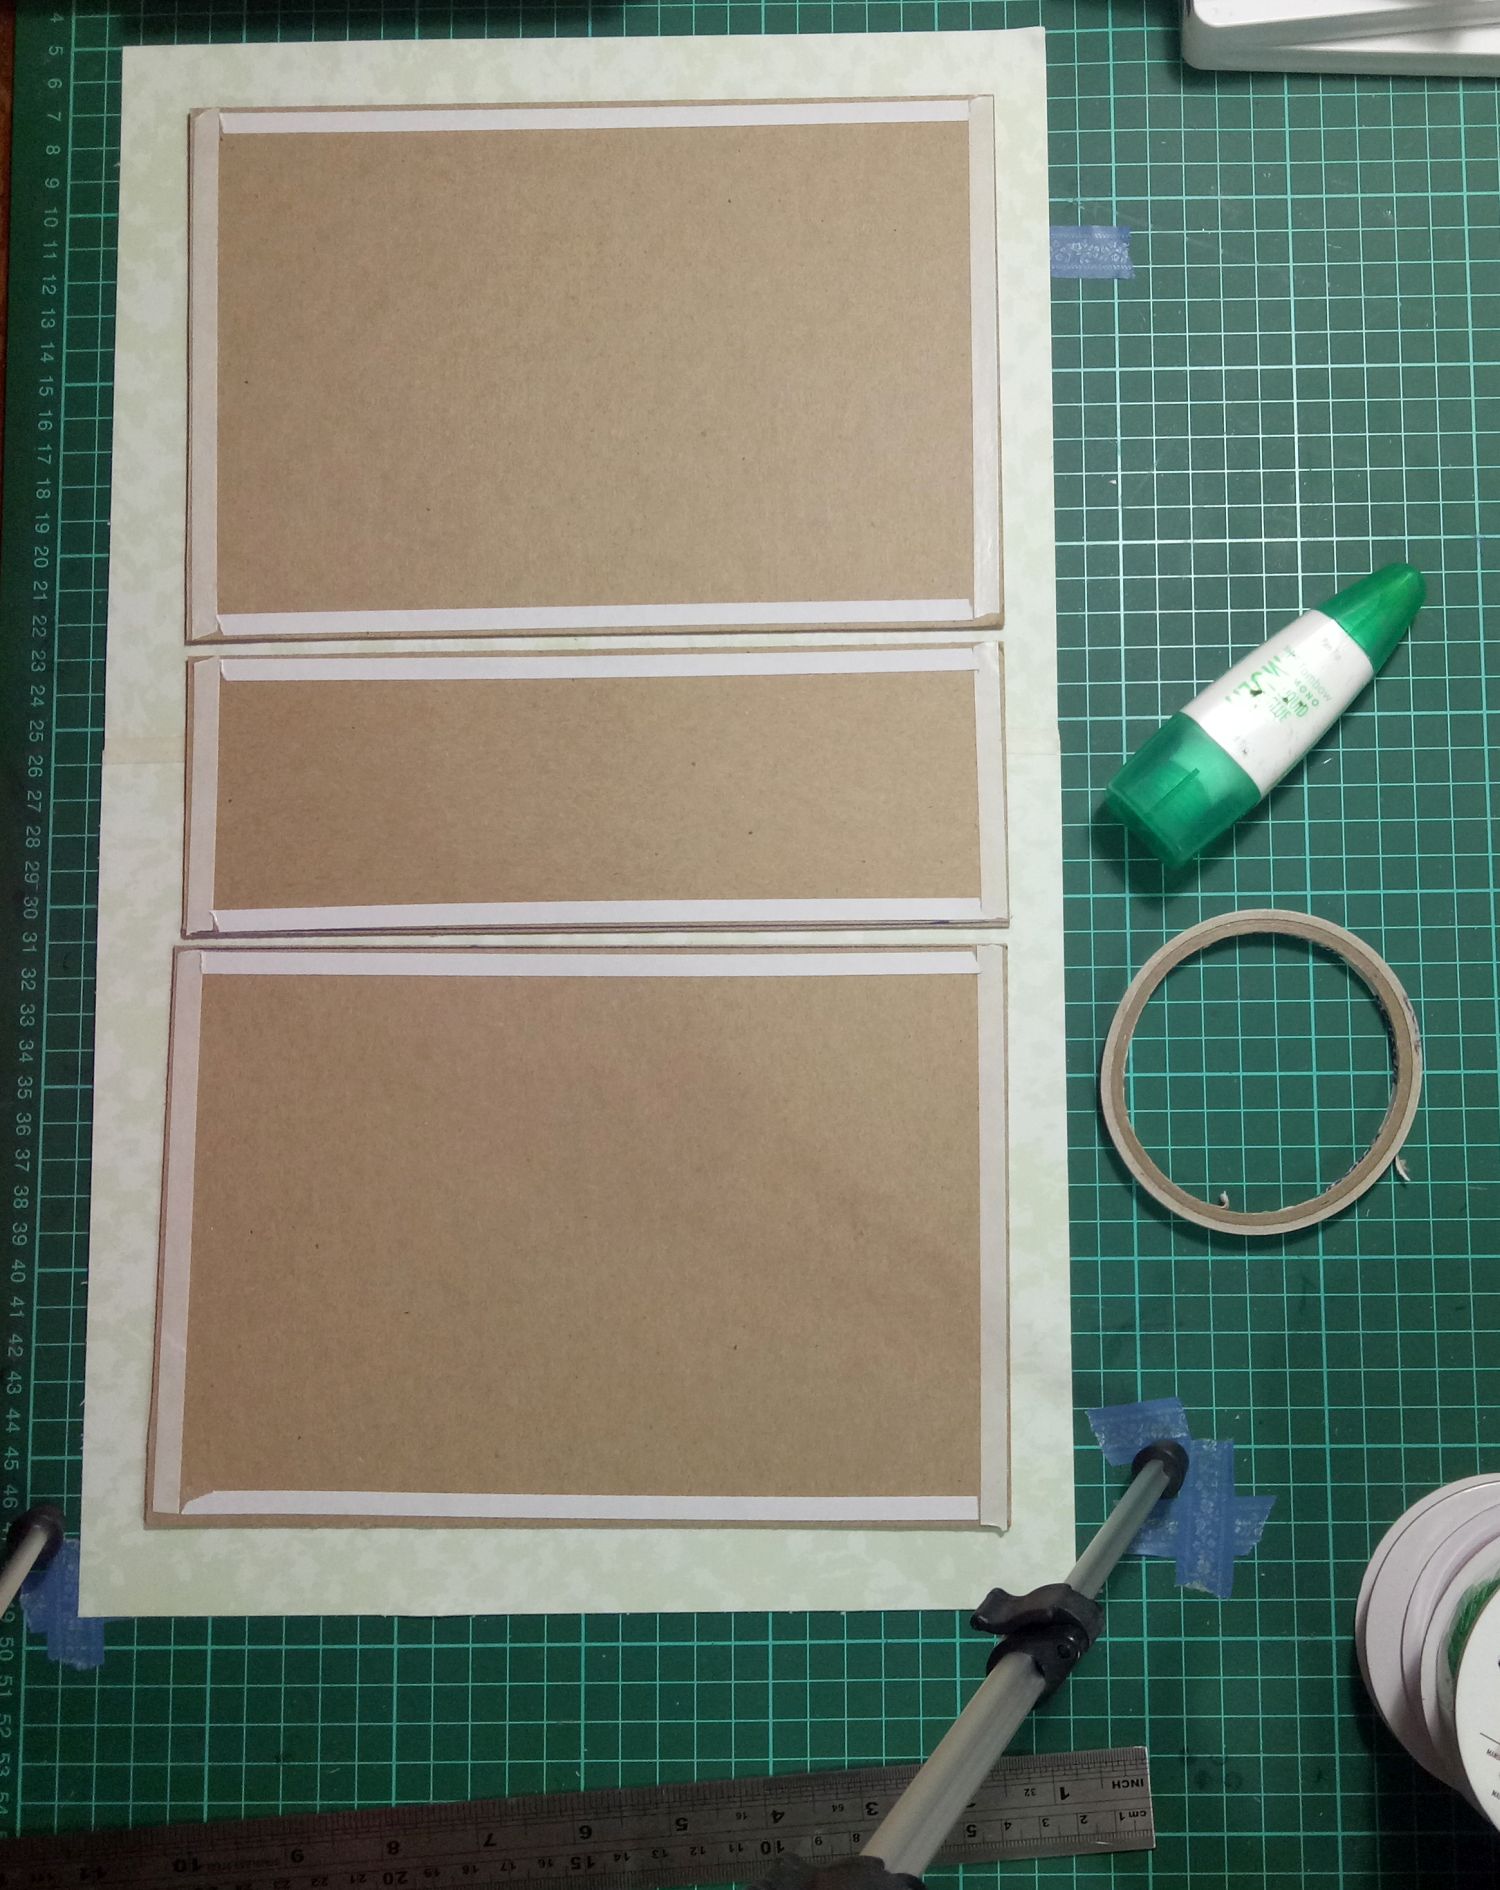
I used Kathy Ortega's hinging system (copywrited) to make the paper hinges, and made the covers out of light cardboard and designer series paper then added some stamping and embellishing.
I made my pages form cardstock and designer series paper.
If you like the look of any of these and want a tutorial, let me know.
I custom created these to suit my own purposes. Most have pockets as well as pages. Here are some 'work in progress' and finished photos.
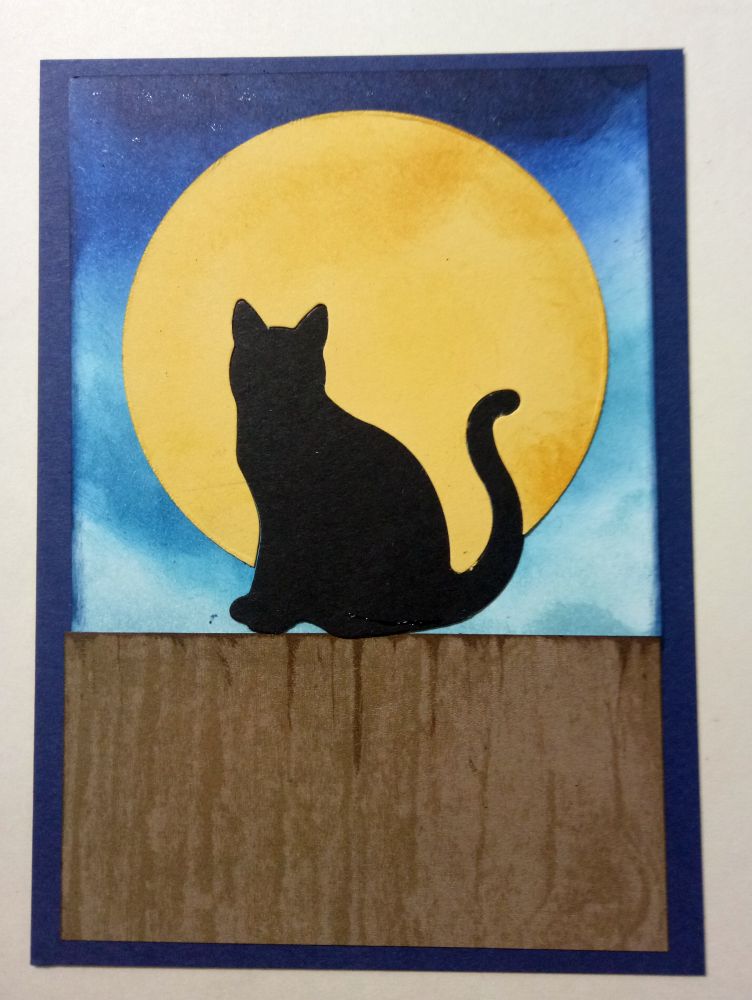
Easel Cat in the Moon Card
I updated the cat card page with an easel card showing the silhouette of a cat against the moon.This picture shows when I tried out a yellow moon. The final card had a silvery moon with craters on it. Follow the link to see the finished easel card.
While you are there, you might like to check out other cat card ideas on that page too.
Craft Room Remodel Invitation
In early 2019, my husband and I are going to do something I have wanted to do for a long time. We are going to remodel my craftroom/studio!
I have been fortunate to find some second hand pieces of good wooden furniture that I think will solve a few problems for me. I have some plastic storage units that are collapsing and quite a bit 'stored' in these things in the middle of my craft room.
I am going to move my craft desk, add some overhead storage there, add some book shelves with no backs over the windows, add some cupboards and throw away the chipboard and plastic units. Woo Hoo!
I need to help hubby sand, paint, and move things slowly, in keeping with our health issues and energy.
So I thought I would bring you along for the ride.
In 2019 I will give you craft room remodel updates and photos.
Now for the invitation.
- Have any of you wanted to remodel your craft room but didn't know where to start? Post stories and photos and see if the group can help out.
- Have any of you already remodeled your craft room? Please do share photos of your 'before' and 'after' pictures.
Only subscribers to Paper Twists Issue 27 will have the opportunity to see your stories and photos, so let's get to know each other's craft spaces a little and talk about how to solve problems with crafting and storing our supplies.
Sound good? Great! I am looking forward to hearing from you.
Tell your craft room makeover stories and share pictures here:
Do You Have a Papercraft Hint or Tip to Share?
Do you have a hint or tip to share about papercrafting? Please do share it below.
What Other Visitors Have Said
Click below to see contributions from other visitors to this page...
After storage tips for frequent movers 


Hi, I move a lot (every 2-4 years), and I was wondering if anyone has any tips on how to store craft stuff that is easy to move, preferably where the storage …
And that about wraps up the December edition of Paper Twists Issue 27. I hope you found something you would like to make or got inspired to make one of these ideas your own.
I will take a break from newsletters in January and return to you in February 2019.
Have a lovely Christmas season and a Happy New Year.
PaperCraftCentral Susan

Written and Created by PaperCraftCentral Susan


New! Comments
Have your say about what you just read! Leave me a comment in the box below.